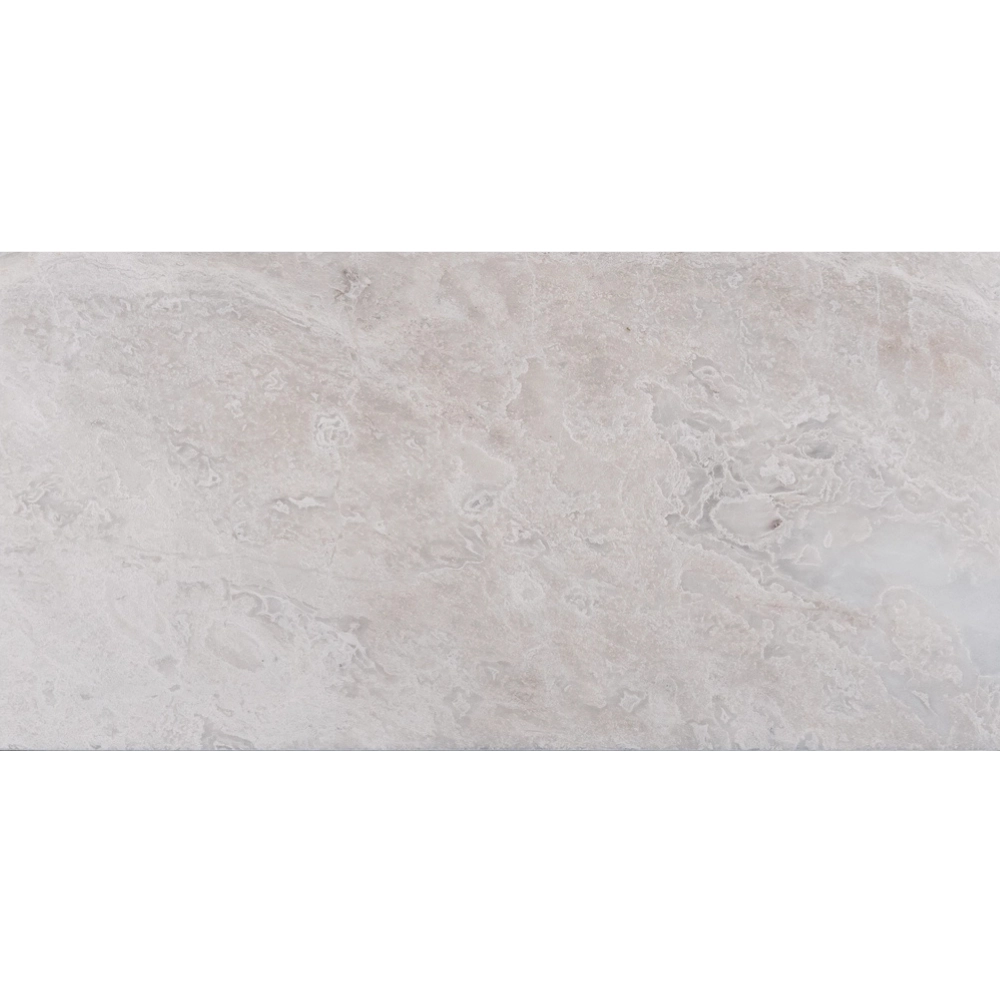
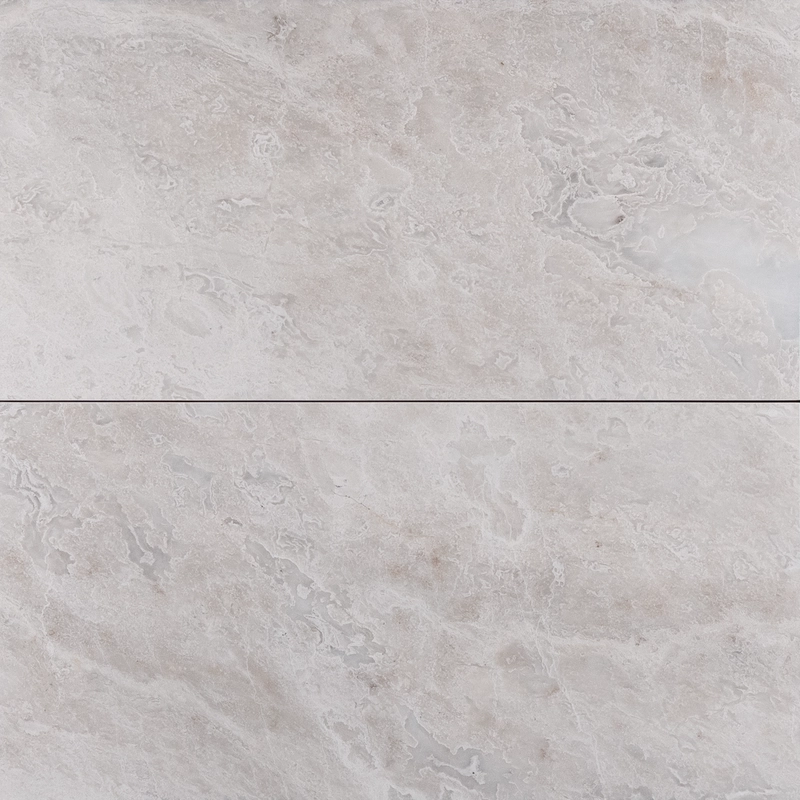
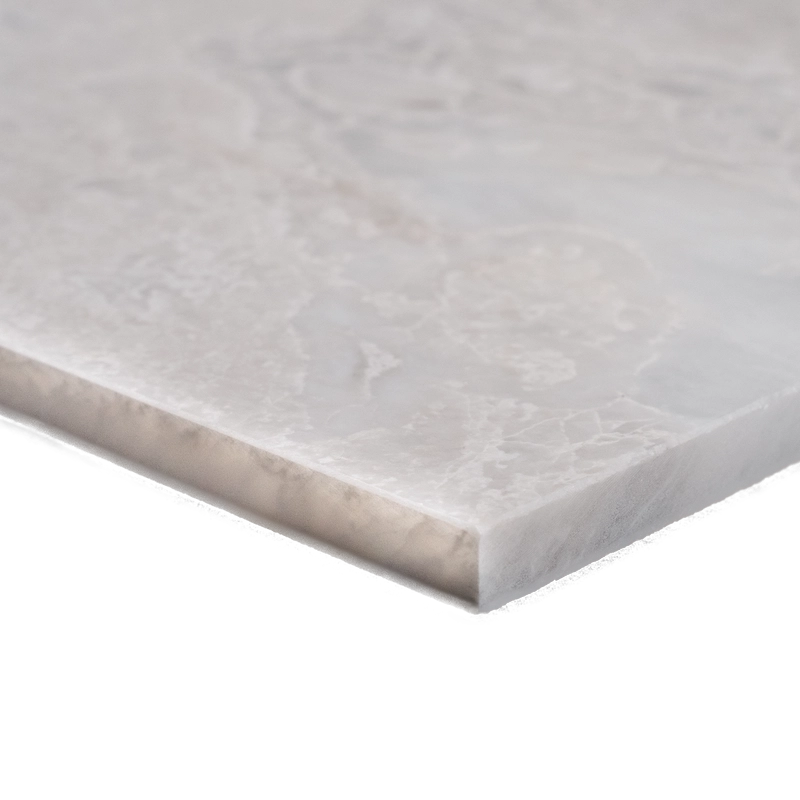
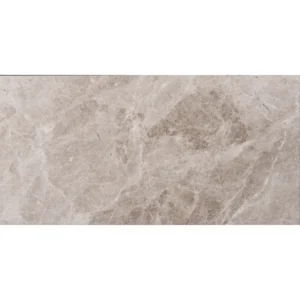
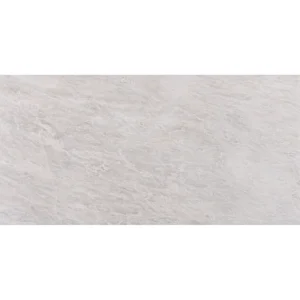
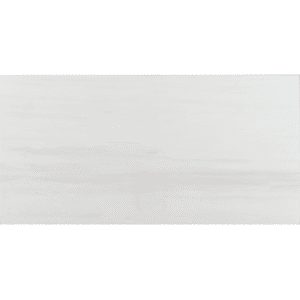
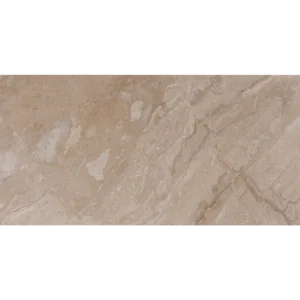
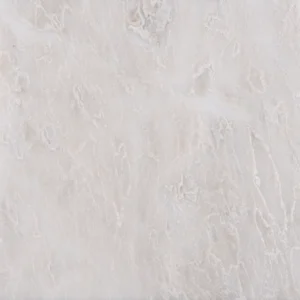
Iceberg Marble Tile 12″x24″ Honed – White Marble with Straight Edge
Cool Elegance in a Clean, Rectangular Format
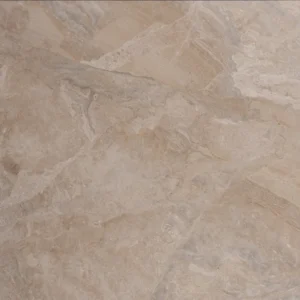
The Iceberg Marble Honed Tile delivers a timeless aesthetic with a modern twist. Crafted from premium white marble, it features icy veining and a smooth honed finish that softens reflected light. The straight edge ensures clean alignment, making it ideal for seamless installations in sophisticated interiors.
This versatile tile is perfect for both walls and floors, creating an atmosphere of calm refinement. Its rectangular size provides visual length, which enhances room dimensions—especially in narrow or compact spaces. Moreover, its neutral color palette pairs effortlessly with bolder tones or minimalist décor, offering design flexibility across styles.
Key Features – Iceberg 12″x24″ Honed Straight Edge Marble Tile
- Material: Natural Iceberg Marble
- Color: White with cool, icy veining
- Finish: Honed – smooth and matte
- Edge Type: Straight edge for clean, modern lines
- Tile Size: 12″x24″ (30.5 x 61 cm)
- Thickness: 0.47″ (1.2 cm)
- Application: Interior floors and walls – ideal for bathrooms, kitchens, and feature panels
Why Choose This Tile?
Designed for those who appreciate natural beauty and clean geometry, this tile blends traditional marble charm with minimalist appeal. Its honed surface resists glare, while the straight edge allows for tighter grout lines and a polished finish. Whether used in residential or commercial spaces, it promises style, durability, and easy maintenance.
Installation Guide – Step by Step
Step 1: Surface Preparation – Ensure Flatness
- Clean the surface thoroughly, removing all dust, oil, and debris.
- Use a long level to verify that the substrate is flat to within 1/8″ over 10 ft. Use self-leveling compound if needed.
- Apply a waterproofing membrane for wet applications such as bathrooms or kitchen backsplashes.
Step 2: Layout Planning – Seamless and Balanced
- Establish layout lines to center the tiles and ensure visual balance.
- Dry-lay tiles to plan veining direction and achieve a harmonious flow across Iceberg’s natural icy patterns.
- Blend from multiple boxes to distribute tone variation naturally.
- Use **1/16″–1/8″ grout joints** for a clean, uniform look with straight edges.
Step 3: Mortar Application – Use White Thin-Set
Recommended Adhesives:
- Laticrete 254 Platinum White
- Mapei Ultraflex LFT White
- Ardex X77 or X5 White
Instructions:
- Apply mortar with a 1/2″ square-notched trowel to ensure full contact with large-format tile.
- Back-butter each tile for complete bonding and to avoid voids beneath the surface.
- Spread mortar in small sections to avoid drying before tile placement.
Step 4: Cutting & Fitting – Clean Precision
- Use a wet saw with a continuous diamond blade made for marble to achieve clean, chip-free cuts.
- Dry-fit all cut pieces before final installation. Smooth edges as needed with a stone file.
Step 5: Setting Tiles – Flat and Even
- Place tiles firmly into the adhesive bed and tap with a rubber mallet to align surfaces.
- Use a leveling system to minimize lippage and maintain flat transitions between tiles.
- Wipe excess mortar from the surface immediately to prevent staining on the honed surface.
- Allow 24 hours for curing before grouting.
Step 6: Grouting & Sealing – Seal Before & After
- Pre-seal with a penetrating sealer to prevent grout staining on honed marble.
- Use non-sanded grout for narrow joints and to preserve the smooth edges.
- Grout diagonally across joints with a rubber float and clean the surface quickly.
- After grout has fully cured, apply a second layer of sealer for added protection.
Maintenance Tips – Preserve Natural Beauty
- Use pH-neutral, stone-safe cleaners only. Avoid acidic or abrasive agents.
- Wipe spills promptly, especially those containing oils, wine, or citrus.
- Re-seal the surface every 6–12 months depending on usage.
- Use felt pads under furniture and protective mats in high-traffic areas.
Shipping & Packaging
Each 12″ x 24″ Iceberg Honed Marble Tile with straight edge is boxed with corner guards and foam protection. Store indoors and inspect tiles before installation for consistent tone blending.
Important Note
Iceberg marble is a natural white stone with icy veining and inherent variation. Always dry-lay tiles to achieve the desired visual flow. Stonemarket USA assumes no responsibility for installation issues or color variation typical of natural stone.