Royal Beige Tile 24″x24″ Honed – Refined Neutral Elegance
Sophisticated Style with a Soft Matte Touch
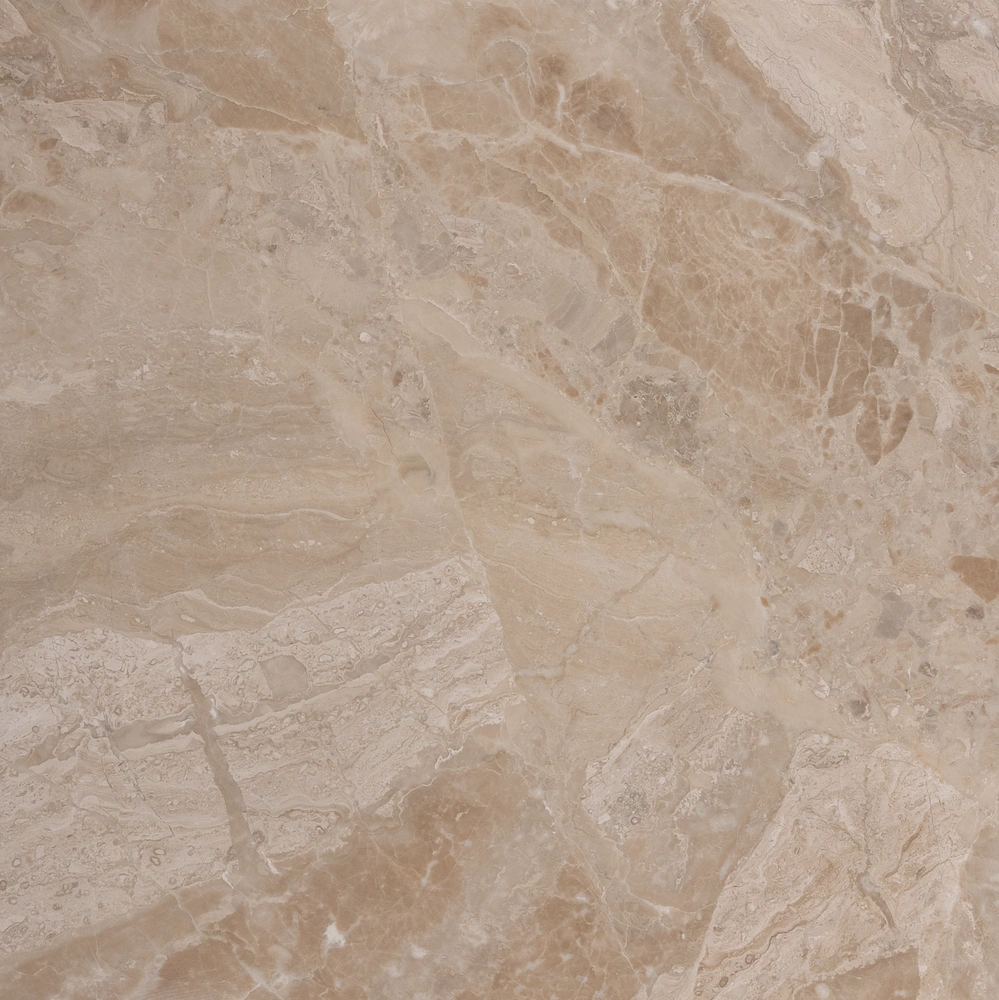
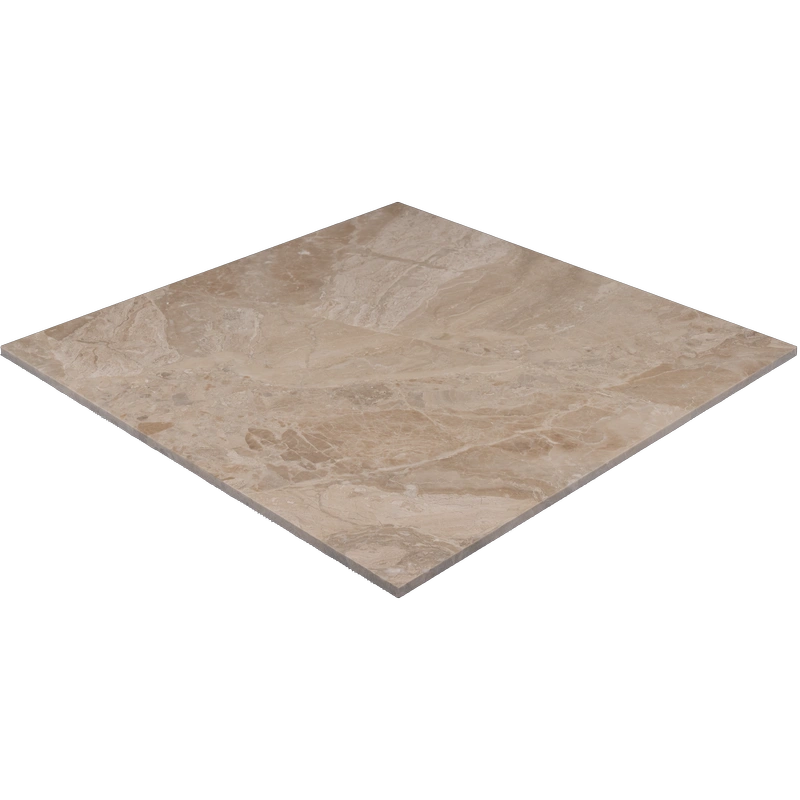
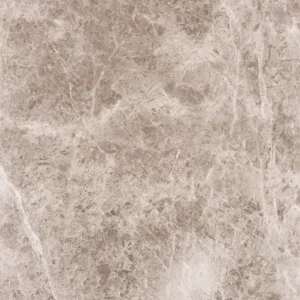
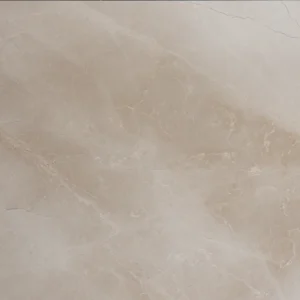
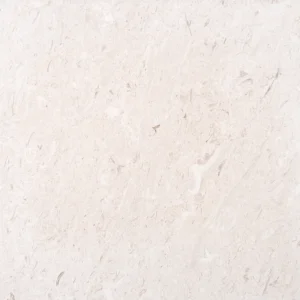
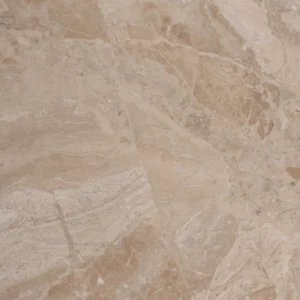
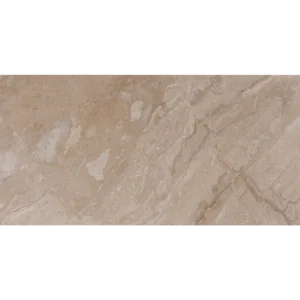
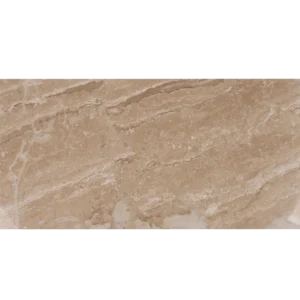
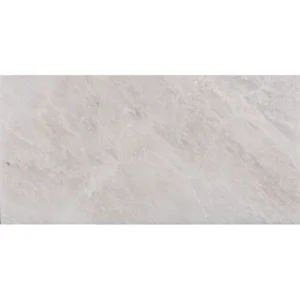
Introduce timeless warmth into your interiors with the Royal Beige Tile 24″x24″ Honed. Made from high-quality Royal Beige marble, this tile features a soft, honed finish that emphasizes the stone’s creamy beige tones and natural veining. The understated matte surface diffuses light gently, making it ideal for serene, contemporary spaces that prioritize comfort and elegance.
Perfect for both residential and commercial settings, this tile suits floors, walls, and accent installations. Thanks to its straight edges and uniform dimensions, it ensures precise alignment and a clean, modern look throughout any space.
Product Details
- Material: Royal Beige Marble
- Finish: Honed (smooth, matte surface)
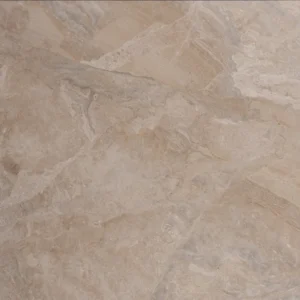
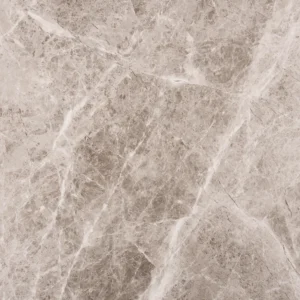
- Color: Beige with natural variation
- Size: 24″ x 24″ (61 x 61 cm)
- Thickness: Approx. 0.45″ (1.1 cm)
- Edge: Straight
- Application: Indoor floors and walls – ideal for living areas, kitchens, bathrooms, and lobbies
Why Choose Royal Beige Marble?
Royal Beige offers a soft, versatile color that harmonizes with various design styles—from minimal modern to rustic elegance. The honed finish reduces glare and adds slip resistance, making it a practical yet upscale option for both high-traffic and tranquil environments.
Installation Guide – Step by Step
Step 1: Surface Preparation – Ensure a Solid Foundation
- Clean and dry the substrate completely. Remove dust, oils, and loose debris.
- Check for flatness using a long level or straight edge. Large honed tiles must sit flush to prevent lippage.
- Apply a waterproofing membrane in wet zones such as bathrooms or showers to prevent moisture from reaching the back of the stone.
- If necessary, apply a self-leveling underlayment to fix surface dips or ridges before beginning installation.
Step 2: Layout Planning – Balanced and Aligned
- Snap chalk lines to define the center of your layout and plan outward from the most visible area.
- Dry-lay several tiles to visualize color consistency and natural variation in veining.
- Blend tiles from multiple boxes to distribute tonal shifts evenly across the surface.
- Use tile spacers to maintain **1/16″ to 1/8″ grout joints** for a clean, uniform appearance.
Step 3: Adhesive Application – Select the Right Mortar
Recommended Thin-Set Mortar:
- Mapei Ultraflex LFT White
- Laticrete 4-XLT or 254 Platinum White
- Ardex X77 White
Instructions:
- Use white, non-staining mortar to prevent discoloration through the semi-porous honed surface.
- Apply with a 1/2″ square-notched trowel for proper coverage on large-format tiles.
- Back-butter each tile to ensure full adhesive contact and eliminate air pockets beneath the surface.
- Install in small sections to prevent adhesive from drying prematurely.
Step 4: Cutting & Fitting – Smooth and Precise
- Cut tiles using a wet saw with a fine diamond blade designed for marble.
- Measure and mark carefully; honed tiles reveal inconsistencies more clearly than polished ones.
- Lightly ease or finish cut edges with a rubbing stone for a smooth, finished look if exposed.
Step 5: Setting Tiles – Maintain Flatness
- Use a tile leveling system to prevent lippage between adjacent 24″ x 24″ tiles.
- Align each tile with spacers and press firmly into the thin-set bed.
- Use a rubber mallet to lightly tap and level tiles while adhesive is workable.
- Clean off any excess mortar promptly with a sponge and clean water—avoid letting residue cure on honed surfaces.
- Let adhesive cure undisturbed for at least 24 hours.
Step 6: Grouting & Sealing – Protect the Surface
- Use non-sanded or finely sanded grout depending on joint width. Always test compatibility with the honed surface beforehand.
- Apply grout with a rubber float at a diagonal angle across the joints for complete fill.
- Wipe off excess grout promptly and buff with a soft cloth once haze develops (usually after 15–20 minutes).
- After full grout cure (typically 72 hours), apply a penetrating sealer approved for **honed marble** to protect against moisture and staining.
Maintenance Tips – Keep It Matte & Elegant
- Clean with pH-neutral stone cleaners only. Avoid acidic or alkaline substances that can damage the honed finish.
- Immediately wipe spills—especially oils, citrus, wine, or makeup—to prevent surface darkening or etching.
- Reapply sealer every 6–12 months, or as needed based on exposure and usage.
- Use rugs or felt pads in high-traffic areas or under furniture to protect the tile from abrasion.
Shipping & Packaging
Each 24″ x 24″ Royal Beige Honed Marble Tile is securely cushioned and boxed to minimize breakage. Inspect all tiles before installation and store in a clean, dry environment.
Important Note
Royal Beige marble is a natural product; each tile features unique veining and tonal variations. Honed surfaces may highlight these characteristics subtly. We recommend professional installation and use of premium materials. Stonemarket USA is not responsible for improper installation or substrate issues.