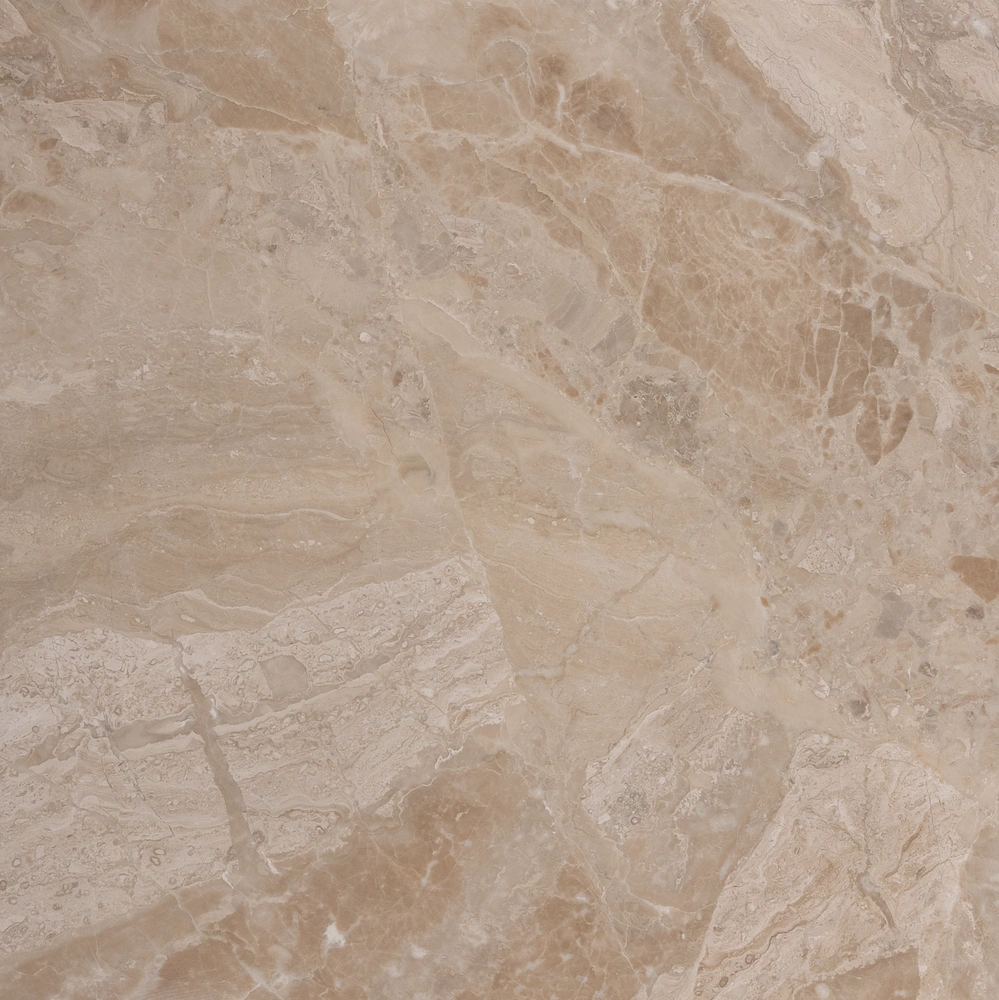
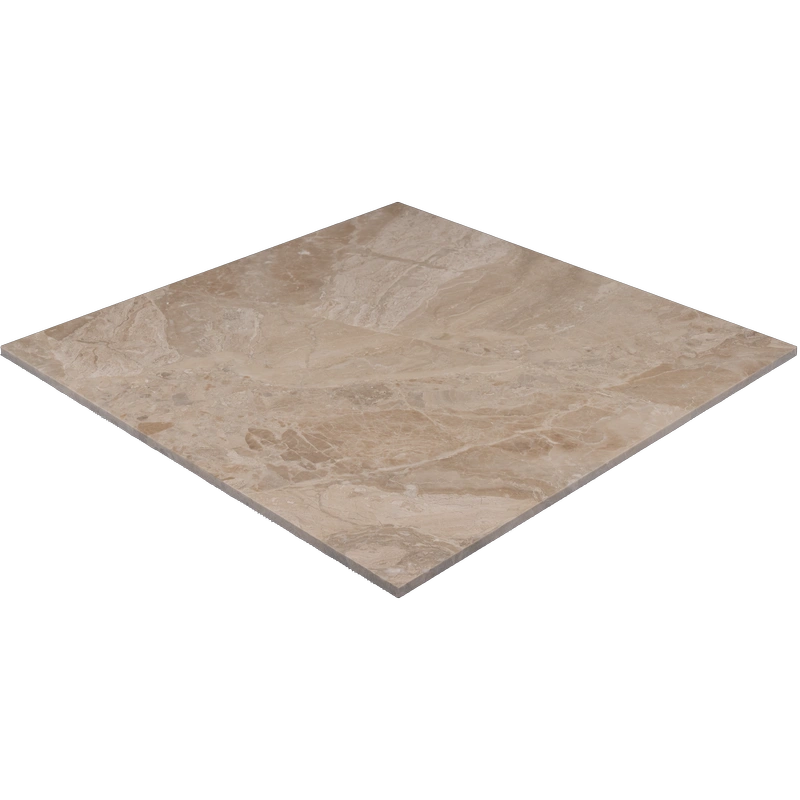
Royal Beige Tile 18″x18″ Honed – Natural Marble, Smooth Elegance
Subtle Luxury in a Refined Finish
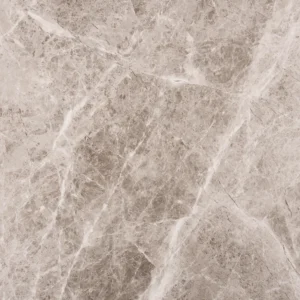
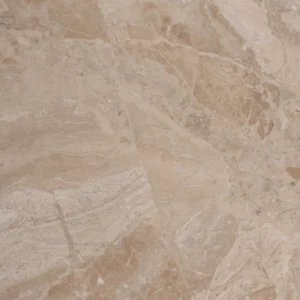
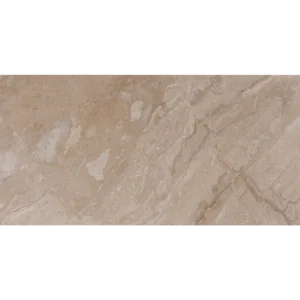
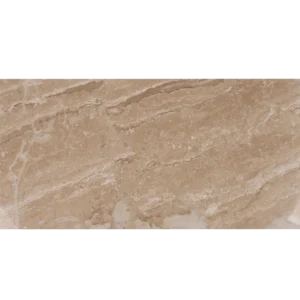
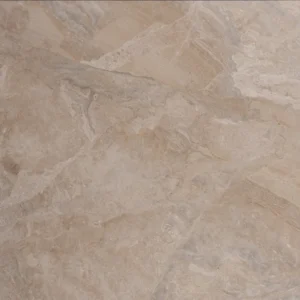
Bring a calm, understated elegance to your space with the Royal Beige Tile 18″x18″ Honed. This natural marble tile features warm beige tones and a velvety honed finish that offers a smooth, matte surface—ideal for those who appreciate a quiet, sophisticated aesthetic. Its generous square size and straight edges allow for clean, seamless installations that enhance spatial balance and architectural clarity.
Perfect for bathroom walls, powder rooms, kitchens, or luxury accent walls, this tile lends a soft natural texture that complements both modern and classic interiors. Its subdued sheen captures ambient light without glare, making it especially well-suited for serene, spa-inspired designs. Moreover, the honed surface helps mask smudges and fingerprints, offering both beauty and practicality in high-use areas.
Product Features – Royal Beige 18″x18″ Honed Tile
- Material: Genuine Royal Beige Natural Marble
- Color: Soft beige with organic veining and natural tone variations
- Finish: Honed – matte and smooth for a soft, modern texture
- Tile Size: 18″x18″ (45.7 x 45.7 cm)
- Thickness: Approx. 0.45″ (1.1 cm)
- Edge Style: Straight edge for clean, geometric alignment
- Suggested Use: Indoor walls – bathrooms, vanities, fireplaces, and feature walls
Why Choose This Tile?
This tile is an ideal choice for creating spaces that feel calm, expansive, and timeless. The honed finish emphasizes the natural elegance of marble without overwhelming shine. Its square format offers layout flexibility, while the neutral beige palette effortlessly pairs with other natural materials, from warm wood tones to brushed brass fixtures. Additionally, the tile’s durability ensures it performs beautifully in both residential and commercial settings.
Installation Guide – Step by Step
Step 1: Surface Preparation – Flat, Clean, and Dry
- Ensure the substrate is completely clean and dry—free from dust, grease, and other contaminants.
- Check that the surface is flat using a long level. A smooth substrate is essential to prevent lippage with 18″ x 18″ tiles.
- Apply a waterproofing membrane in wet zones like bathrooms, showers, and kitchen backsplashes.
- Use a self-leveling underlayment where necessary to correct dips and high points.
Step 2: Layout Planning – Visual Flow & Efficiency
- Snap chalk lines from the center of the space to ensure balanced tile placement.
- Dry-lay tiles to review the natural variation in Royal Beige marble (tone, veining, and finish).
- Blend tiles from several boxes to maintain a natural, even distribution of color and movement.
- Use spacers to maintain **1/16″ to 1/8″ grout joints**, ideal for straight-edged honed marble.
Step 3: Adhesive Application – Use a Non-Staining White Mortar
Recommended White Thin-Set Mortars:
- Mapei Ultraflex LFT White
- Laticrete 254 Platinum White
- Ardex X77 White
Instructions:
- Apply adhesive using a 1/2″ square-notched trowel to support tile size and weight.
- Back-butter each tile for full coverage and better bond strength.
- Apply mortar in small sections to avoid premature drying and ensure consistent bonding.
Step 4: Cutting & Fitting – Clean and Consistent
- Use a wet saw with a continuous rim diamond blade designed for natural stone to ensure clean, chip-free cuts.
- Double-check measurements and layout to avoid miscuts—especially around edges and fixtures.
- Lightly ease cut edges with a stone file if they are exposed to view.
Step 5: Tile Setting – Stay Flat and True
- Use a tile leveling system to maintain flush transitions between tiles and prevent lippage.
- Align each tile using spacers for consistent joint spacing and alignment.
- Gently press and tap tiles into place using a rubber mallet for secure setting.
- Remove any thin-set on the tile surface immediately using a soft, damp sponge to avoid staining the honed surface.
- Allow adhesive to cure for at least 24 hours before grouting.
Step 6: Grouting & Sealing – Lock in and Protect
- Use non-sanded or finely sanded grout (depending on joint width) to avoid scratching the honed finish.
- Apply grout diagonally across joints using a rubber float.
- Wipe away excess grout promptly and rinse with clean water to avoid haze formation.
- After full grout curing (typically 72 hours), apply a **penetrating sealer** formulated for honed natural marble.
Maintenance Tips – Long-Term Care
- Clean regularly using pH-neutral stone-safe cleaners. Avoid acidic or harsh chemicals.
- Wipe spills immediately, especially oil, wine, citrus, and cosmetics to avoid staining.
- Re-seal every 6–12 months depending on use and moisture exposure.
- Use area rugs or pads in high-traffic areas and under furniture to protect the surface.
Shipping & Packaging
Each 18″ x 18″ Royal Beige Honed Marble Tile is carefully packaged to reduce breakage. Inspect all tiles upon delivery and store indoors before installation.
Important Note
As a natural marble, Royal Beige may vary in tone and veining. These variations are part of the stone’s beauty and uniqueness. Always work with an experienced installer. Stonemarket USA is not responsible for improper installation or material handling.