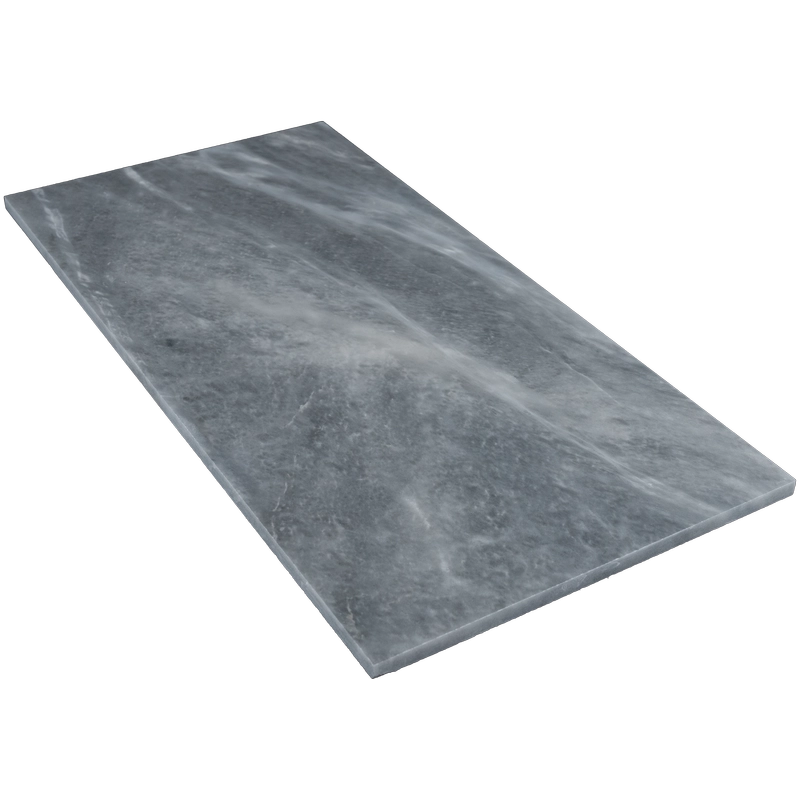
Bardiglio Honed Marble Tile – 12″ x 24″ Straight Edge
Understated Luxury in Cool Grey Marble
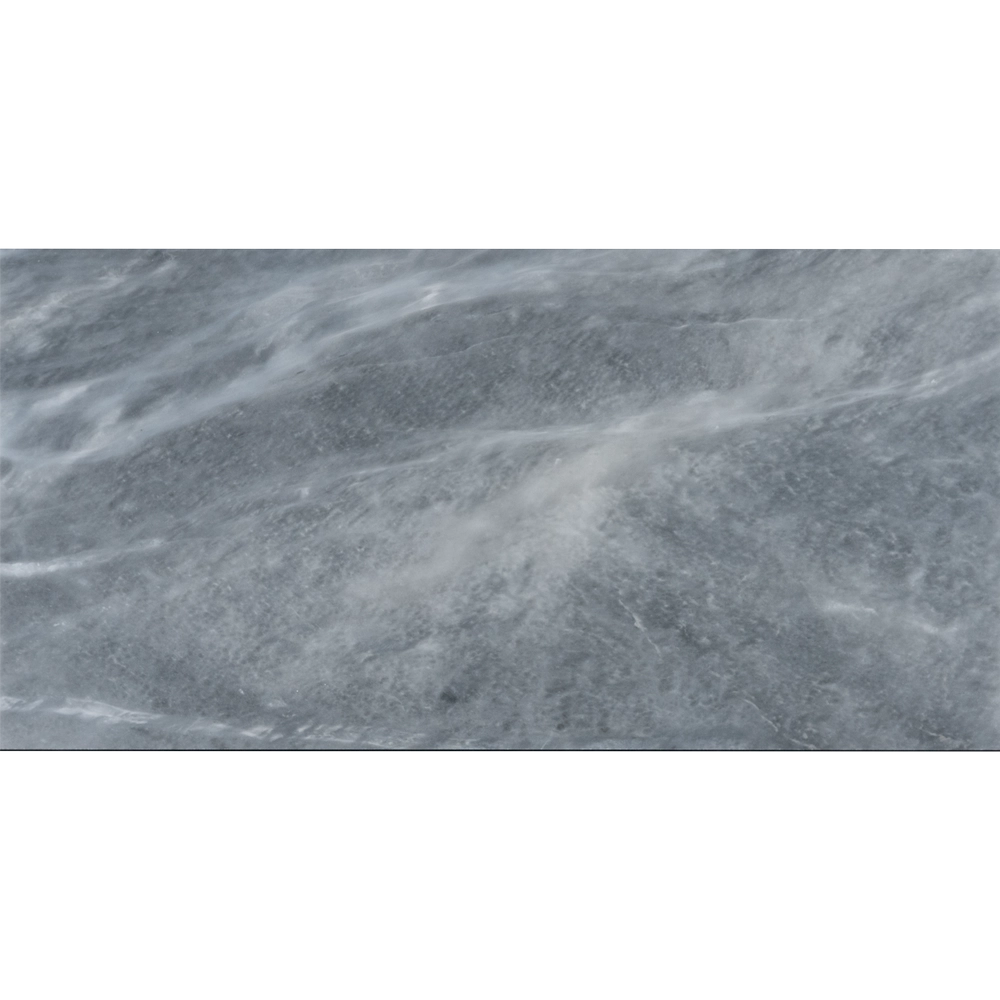
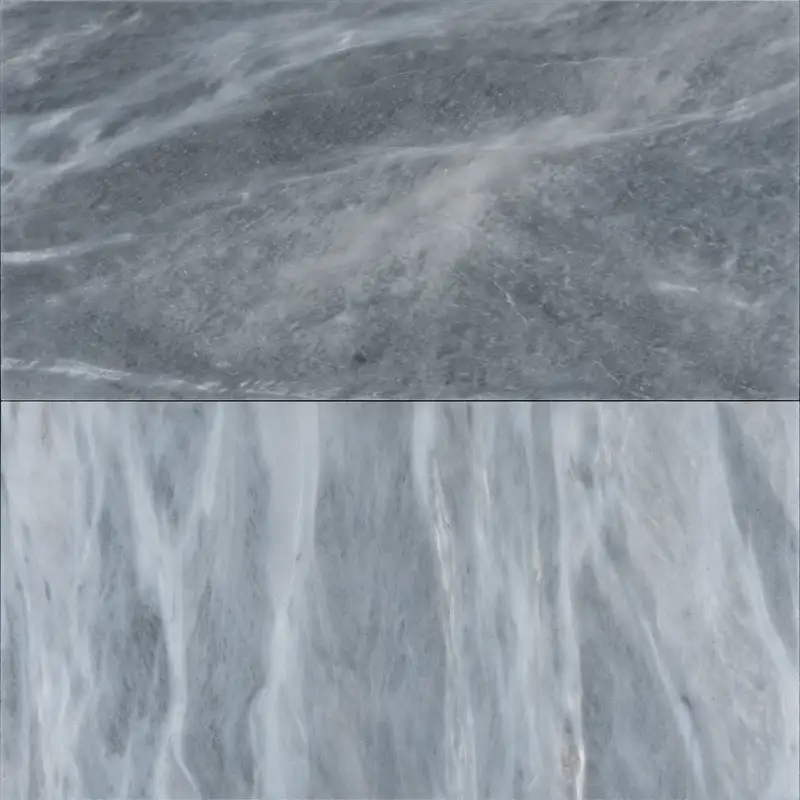
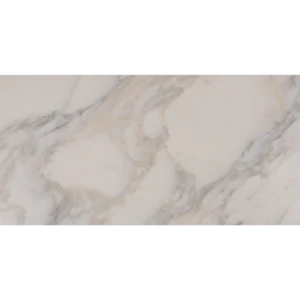
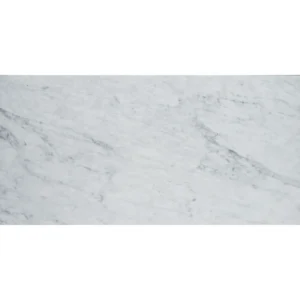
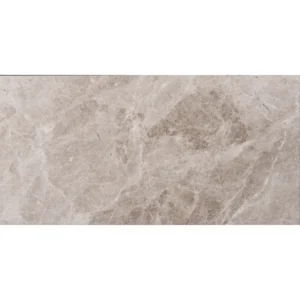
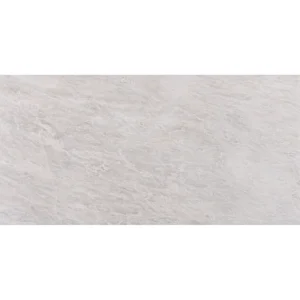
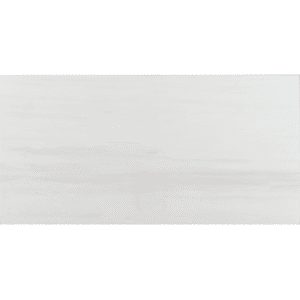
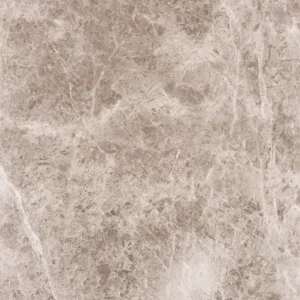
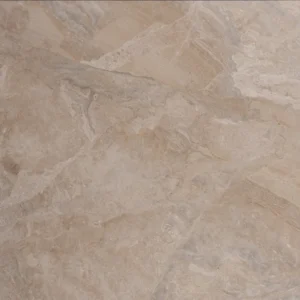
The Bardiglio Honed Marble Tile features rich, smoky grey tones and soft veining that bring depth and sophistication to any space. With a smooth honed finish, it delivers a matte surface that feels natural and refined—perfect for those seeking modern elegance with a timeless twist.
Whether you’re designing a spa-style bathroom or upgrading your kitchen floor, this 12″ x 24″ marble tile offers versatility and durability. In addition, the straight edge design ensures a clean and seamless layout across both walls and floors.
Key Features – Bardiglio 12″x24″ Marble Tile
- Material: Natural Bardiglio Marble
- Color: Smoky grey with delicate veining
- Finish: Honed – matte and non-reflective
- Size: 12″ x 24″ (30.5 x 61 cm)
- Thickness: 0.5″ (1.2 cm)
- Edge Type: Straight edge for smooth transitions
- Use: Suitable for residential and commercial walls or floors
Why Choose Bardiglio Honed Tile?
Thanks to its elegant color and finish, this tile works well in both minimalist and luxurious settings. It’s also incredibly durable, making it a smart option for high-traffic areas. Furthermore, the large 12″x24″ format reduces grout lines and adds a clean, contemporary feel.
Packaging & Coverage
- Sold per box – includes 4 tiles
- Total coverage: approx. 8 sq.ft. per box
- Box weight: 56.4 lbs
- Carefully packaged for secure delivery
Installation Guide – Step by Step
Step 1: Surface Preparation – Start Strong
- Clean the surface thoroughly—remove dust, grease, or debris that may interfere with adhesion.
- Ensure the substrate is dry, flat, and solid. Bardiglio tiles require a level foundation due to their size and honed finish.
- For wet areas (e.g., showers, baths), apply a waterproofing membrane to protect the installation from moisture penetration.
- Use a long level or straight edge to check for dips or bumps. Apply a self-leveling compound if necessary to ensure a flush surface.
Step 2: Layout Planning – Plan with Precision
- Measure and mark the center of the installation area. Dry-lay a row of tiles in both directions to determine the best starting point.
- Use tile spacers to maintain consistent spacing—**1/16″ to 1/8″ is recommended** for straight-edge honed marble tiles.
- Mix tiles from different boxes to evenly distribute natural color variation and veining across the layout.
- Avoid small slivers of tile near edges—adjust layout to allow for at least half-tile cuts where possible.
Step 3: Adhesive Application – Use the Right Thin-Set
Recommended Thin-Set Mortar (White, Non-Staining):
- Mapei Ultraflex LFT White
- Laticrete 4-XLT or 254 Platinum
- Ardex X77 White
Instructions:
- Use a large-format thin-set mortar suitable for natural stone and heavy tiles.
- Spread adhesive using a 1/2″ square-notched trowel to support the weight and size of each tile.
- Back-butter each tile to ensure 100% contact, minimizing the risk of voids and cracking under stress.
- Set tiles firmly into place and slightly move them back and forth to collapse the ridges for a full bond.
Step 4: Cutting & Fitting – Clean and Accurate
- Use a wet saw with a fine diamond blade designed for marble to ensure clean, chip-free cuts.
- Mark cuts precisely and test-fit before installing. Honed surfaces show imperfections more readily than polished ones.
- For exposed edges, consider lightly rounding or easing the edge with a stone rubbing block to soften the profile.
Step 5: Setting Tiles – Leveling is Key
- Use a tile leveling system to prevent lippage between the large-format Bardiglio tiles.
- Insert spacers between tiles to maintain consistent grout joints and straight alignment across the floor or wall.
- Use a rubber mallet or tile beating block to gently tap tiles into place and ensure flush transitions.
- Immediately remove any excess mortar from the tile face using a damp sponge to prevent haze.
- Allow tiles to cure undisturbed for at least 24 hours before grouting.
Step 6: Grouting & Sealing – Protect and Enhance
- Use non-sanded or finely sanded grout, depending on joint width (≤ 1/8″ for non-sanded).
- Apply grout with a rubber float, working diagonally across the joints to fill evenly.
- Wipe away excess grout promptly with a damp sponge, rinsing frequently to prevent film buildup.
- Buff the surface after 15–20 minutes to remove any haze without damaging the honed finish.
- After grout has cured (typically 72 hours), apply a penetrating sealer safe for honed marble to protect against moisture, staining, and etching.
Maintenance Tips – Keep It Refined
- Clean regularly with a pH-neutral stone cleaner. Avoid vinegar, bleach, or acidic products.
- Use mats or rugs in high-traffic areas to reduce wear and prevent debris from scratching the surface.
- Wipe spills promptly—especially oils, citrus, or wine—to prevent staining or etching.
- Re-seal annually or as needed, depending on location and exposure.
Shipping & Packaging
Each 12″ x 24″ Bardiglio tile is individually cushioned and boxed to prevent breakage. Tiles should be inspected upon delivery and stored indoors prior to installation.
Important Note
Bardiglio marble is a natural material. Expect and embrace variations in veining, shading, and tone from tile to tile. For optimal results, we recommend professional installation. Stonemarket USA is not responsible for issues resulting from improper installation or material handling.