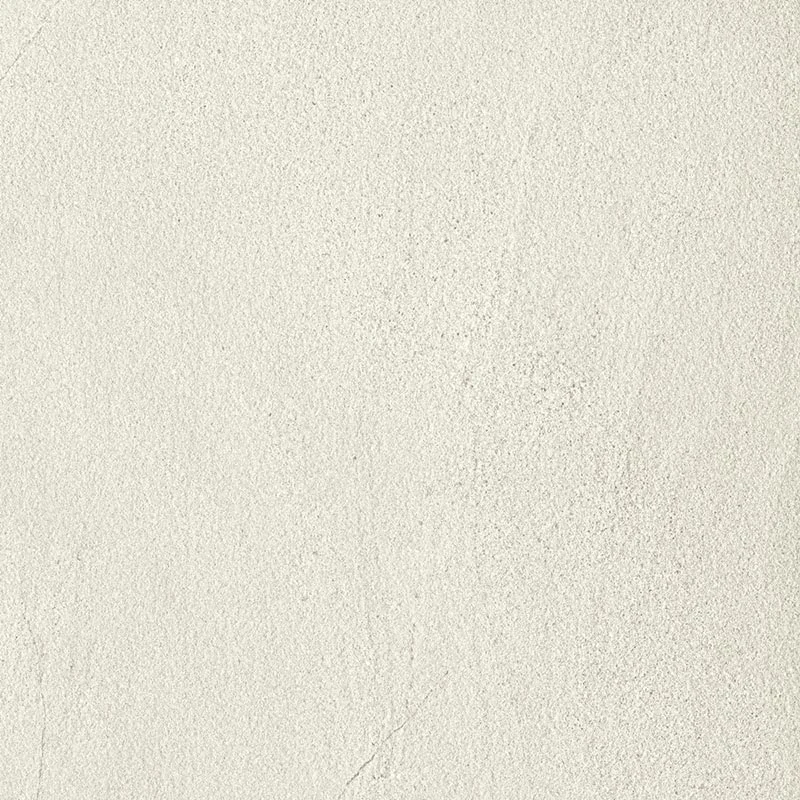
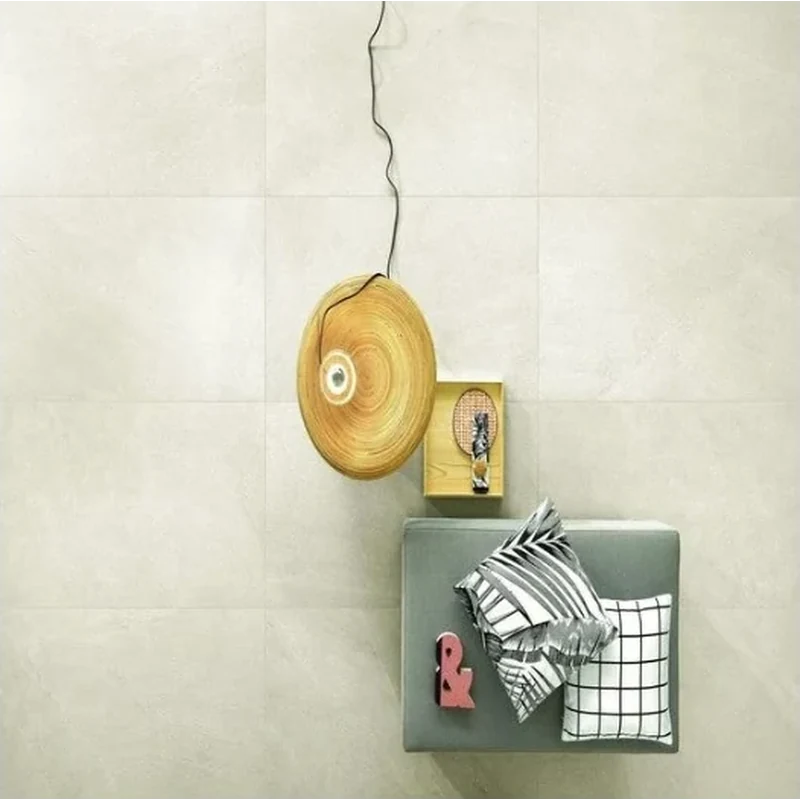
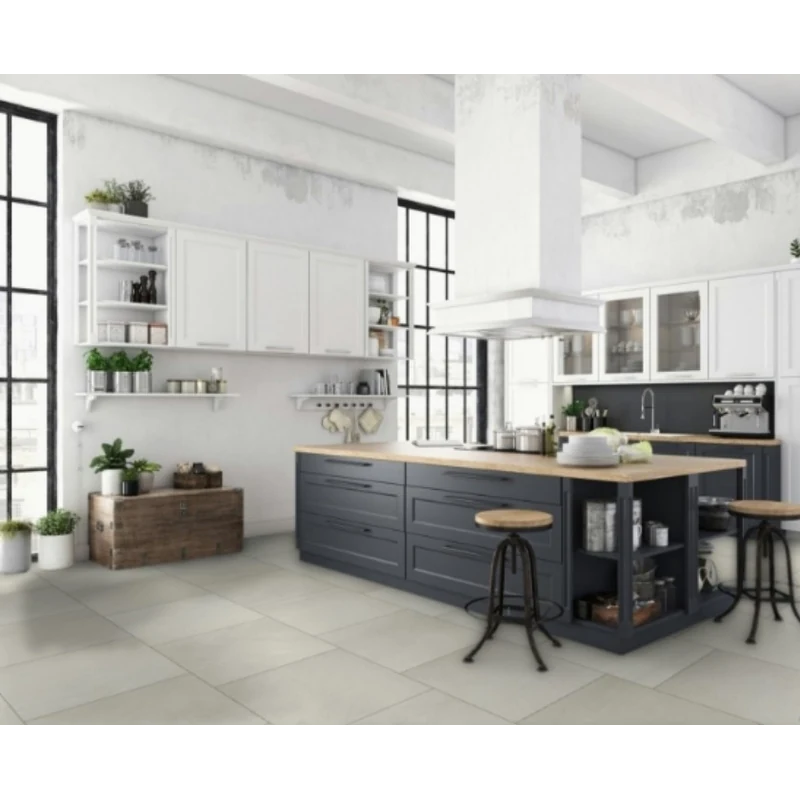
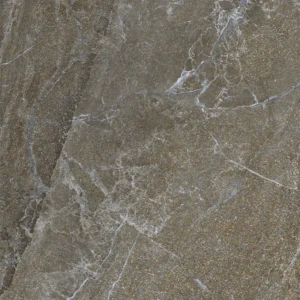
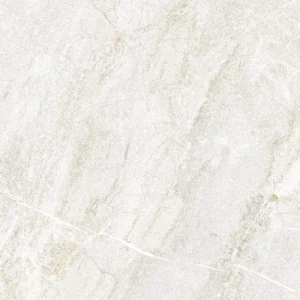
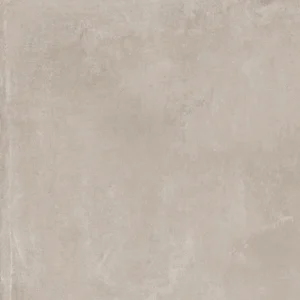
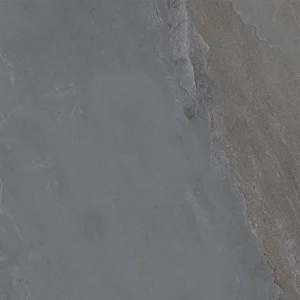
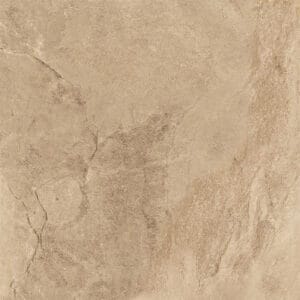
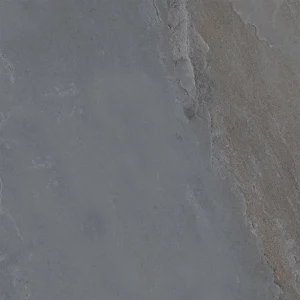
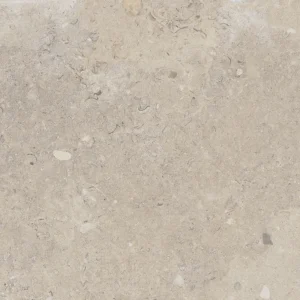
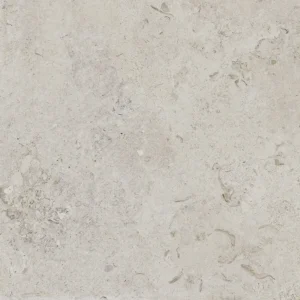
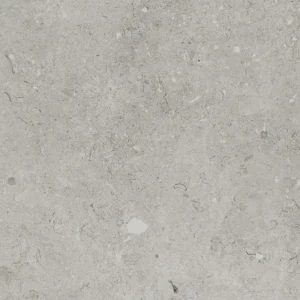
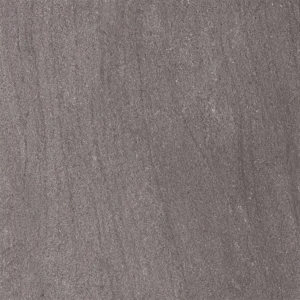
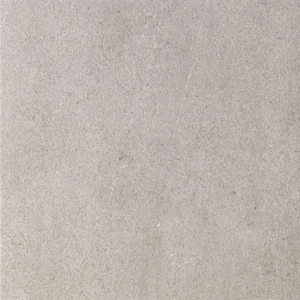
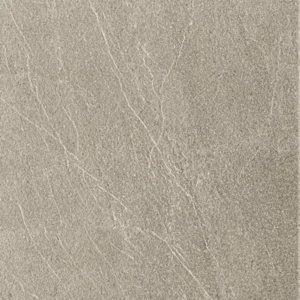
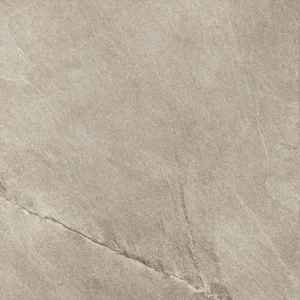
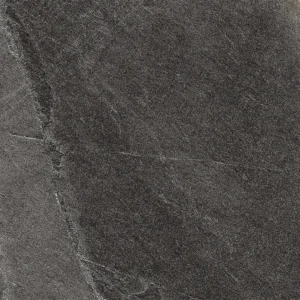
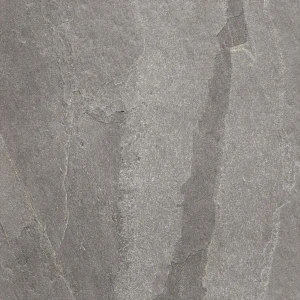
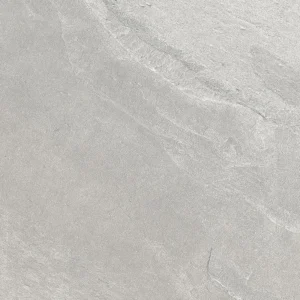
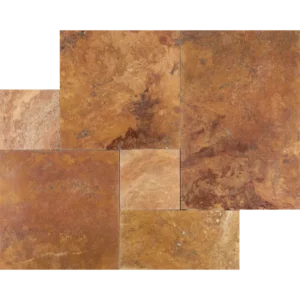
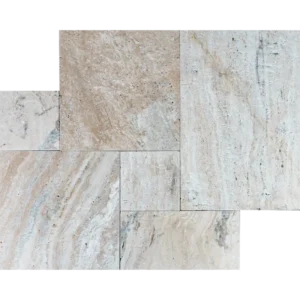
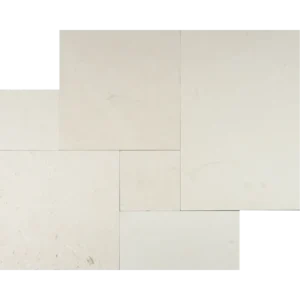
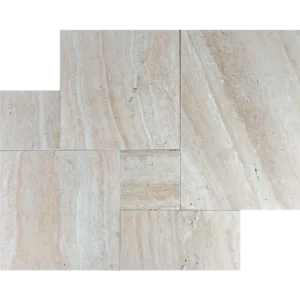
Nextone White 24×24 2CM Porcelain Paver – Natural
Clean, contemporary, and built for the outdoors, the Happy Floors Nextone White 24×24 2CM Porcelain Paver brings a bright, versatile tone to patios, terraces, and open‑air living areas. Its natural finish keeps the look refined and understated, pairing easily with modern and transitional landscape designs.
Engineered in a robust 20 mm (2CM) thickness, this porcelain paver delivers dependable outdoor performance with low‑maintenance care. Rectified edges support tight, consistent joint lines for polished layouts, and frost resistance helps ensure reliable, year‑round use when installed to industry standards.
The large 24×24 format creates balanced, modular patterns with fewer grout joints, simplifying layouts and enhancing visual continuity across walkways, courtyards, and outdoor rooms.
Features
- 24×24 large-format 20 mm (2CM) porcelain paver
- White color in a Natural finish
- Rectified edges for precise, consistent joints
- PEI 5 wear rating for robust surface durability
- Frost resistant for year‑round outdoor reliability
- Low maintenance and easy to clean
- Approx. 7.75 sq ft per box coverage
- Supports sand‑set, mortar‑set, or approved pedestal installations when done per standards
Recommended Applications
- Patios
- Walkways
- Garden Paths
- Outdoor Kitchens
- Outdoor Living Areas
- Rooftop Terraces
- Courtyards
Installation Guide – Nextone White 24×24 2CM Porcelain Paver – Natural
Important Advisory
This guidance applies to the installation of Happy Floors Nextone White 24×24 2CM porcelain pavers. Always follow manufacturer instructions, local building codes, substrate and drainage requirements, and current industry standards (e.g., TCNA/ANSI) before starting any project.
Step 1: Layout & Planning
- Dry‑lay several pavers to review shade, size calibration, and layout before installation.
- Plan patterns and cuts for balanced joints and to avoid narrow sliver cuts at edges.
- Establish reference lines with chalk or a laser to maintain straight courses and proper slope for drainage.
Step 2: Paver Installation
- Install 24×24 porcelain pavers over a properly prepared and compacted sand setting bed, a bonded mortar bed, or an adjustable pedestal system approved for 2CM porcelain.
- Confirm adequate slope and drainage away from structures per local codes.
- Maintain consistent joint spacing (typically about 1/8"–3/16") using appropriate spacers.
- Seat each paver gently with a rubber mallet to ensure full support without chipping the rectified edges or surface.
- Check alignment, flatness, and joint consistency frequently, and incorporate movement joints per standards and site conditions.
Step 3: Cutting
- Use a wet saw with a premium diamond blade rated for porcelain.
- Support the paver fully during cutting to minimize edge chipping and ensure accuracy.
- Measure carefully and mark clearly before every cut; wear appropriate PPE.
- Avoid dry cutting 2CM porcelain; control dust per safety regulations.
Step 4: Joint Filling
- For sand‑set installations, fill joints with polymeric sand or another jointing material approved for porcelain pavers and outdoor use.
- For mortar‑set installations, use an exterior‑grade grout per manufacturer guidance; clean as you go to prevent haze.
- On pedestal systems, follow the pedestal and spacer manufacturer’s recommendations for joint treatment and perimeter restraint.
- Remove all excess jointing material from the surface before curing and final cleaning.
Step 5: Cleaning & Maintenance
- Clean routinely with water and a pH‑neutral cleaner using non‑abrasive tools.
- Avoid acidic, bleach‑based, or abrasive products that may harm surrounding materials or finishes.
- Promptly remove construction residues and grout haze following manufacturer recommendations.
- Porcelain pavers generally do not require sealing; inspect joints and borders periodically and maintain as needed.
Disclaimer
Shade and size variation can occur between production runs; verify caliber and dye lot before installation. Inspect all materials prior to install—installed materials are considered accepted. Professional installation is recommended to ensure code compliance, structural integrity, and long‑term performance.