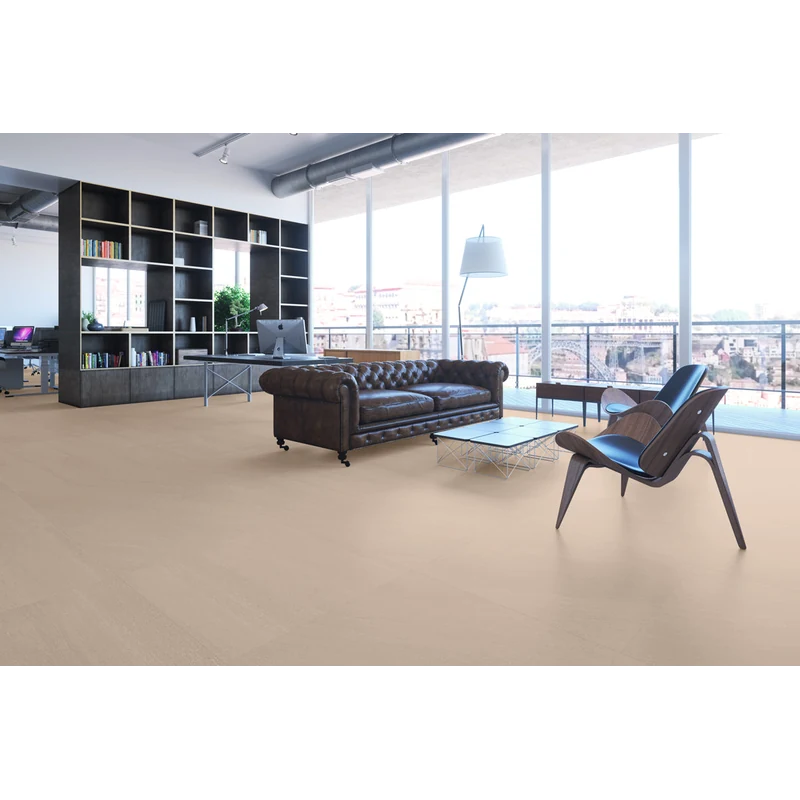
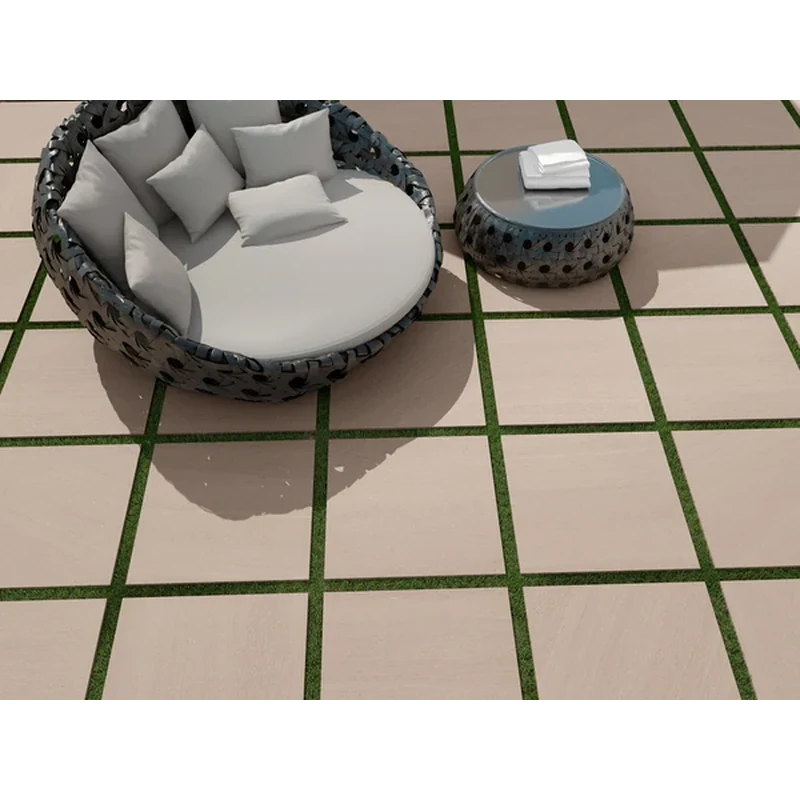
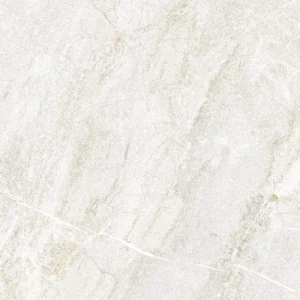
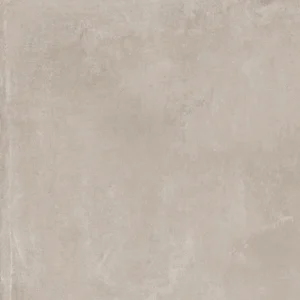
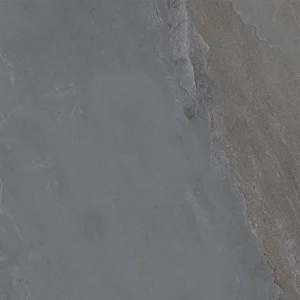
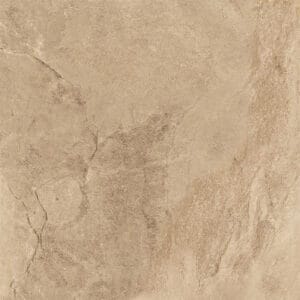
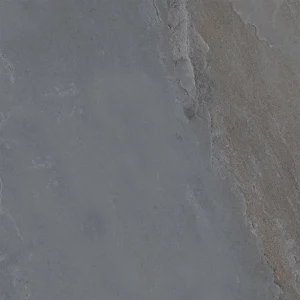
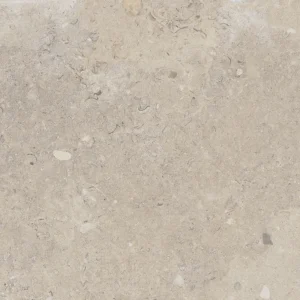
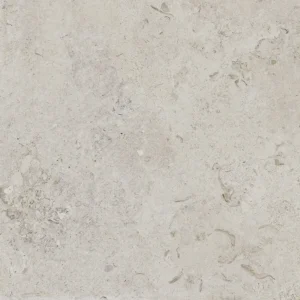
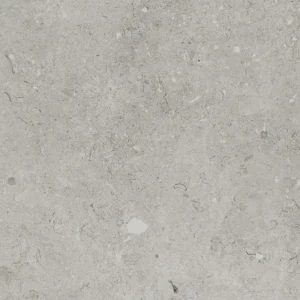
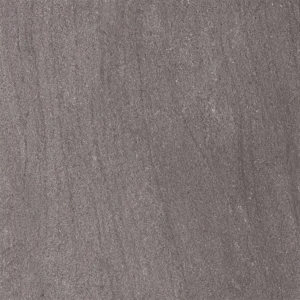
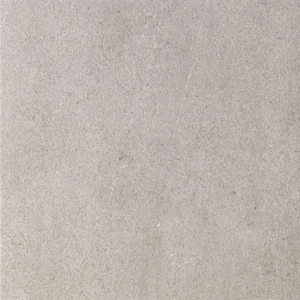
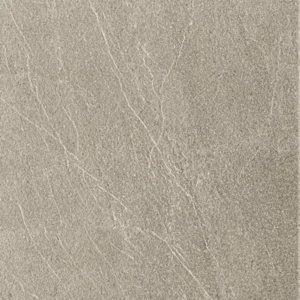
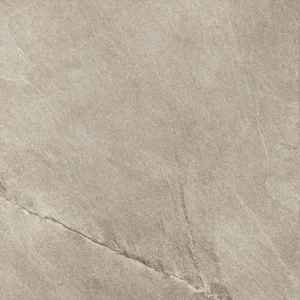
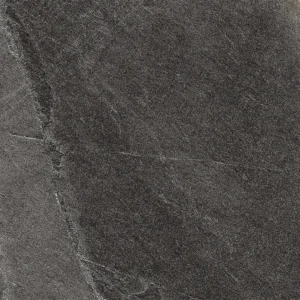
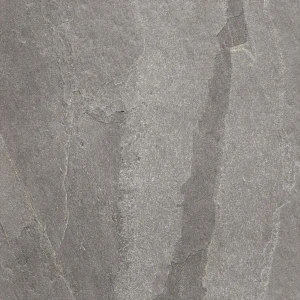
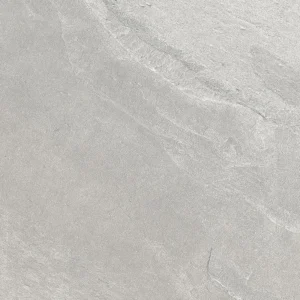
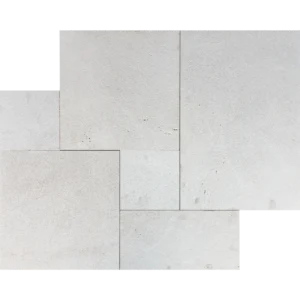
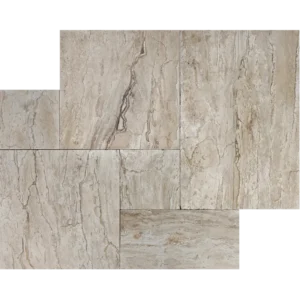
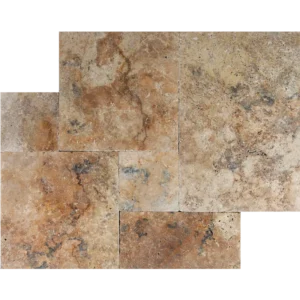
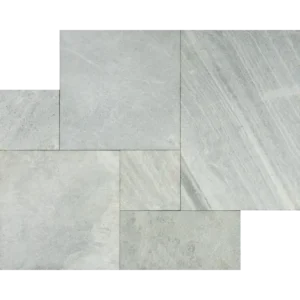
Kursaal Extreme Pure 24×24 2CM Porcelain Paver – Natural
The Kursaal Extreme Pure 24×24 2CM Porcelain Paver pairs outdoor-ready durability with a clean, versatile aesthetic. Crafted by Happy Floors in a Natural finish, this 20 mm porcelain paver is built to perform in exterior environments while keeping maintenance simple and straightforward.
The large-format 24×24 size and robust 2CM thickness provide stability and visual continuity across patios, pool decks, walkways, and terraces. With a DCOF of 0.60 and frost resistance, Kursaal Extreme Pure helps support safe footing in wet areas and reliable year-round performance.
Choose it to create cohesive outdoor living areas and high-traffic spaces that demand strength, consistency, and an understated, contemporary look.
Features
- Material: Porcelain
- Size: 24×24
- Thickness: 2CM (20 mm)
- Finish: Natural
- Edge Type: Pressed
- DCOF: 0.60
- PEI Rating: 4
- Frost resistant for year-round outdoor use
- Large-format paver for a clean, modern layout
- Low-maintenance surface suited to busy outdoor spaces
Recommended Applications
- Patios
- Pool Decks
- Walkways
- Garden Paths
- Outdoor Kitchens
- Outdoor Living Areas
- Rooftop Terraces
- Courtyards
- Commercial Landscapes
- Hospitality Projects
Installation Guide – Kursaal Extreme Pure 24×24 2CM Porcelain Paver – Natural
Important Advisory
Always follow manufacturer instructions, local building codes, and recognized industry standards for substrate preparation, drainage, and installation. Verify that site conditions and methods are appropriate for 2CM porcelain pavers before beginning work.
Step 1: Layout & Planning
- Dry-lay pavers to review shade variation and determine the preferred layout and pattern.
- Establish reference lines with chalk or a laser for straight, consistent courses and proper alignment.
- Plan slopes for drainage away from structures per local code and project requirements.
Step 2: Paver Installation
- Install 24×24 porcelain pavers over a properly prepared sand setting bed, bonded mortar, pedestal system, or other approved method suitable for 2CM pavers.
- Maintain uniform joint spacing of approximately 1/8″ to 3/16″ throughout the installation.
- Use a rubber mallet to seat each paver evenly without damaging pressed edges or the surface finish.
- Check level, alignment, and slope frequently to ensure a clean layout and proper drainage.
Step 3: Cutting
- Cut using a wet saw with a premium diamond blade rated for porcelain.
- Support the paver fully during cutting and feed steadily to minimize chipping.
- Measure and mark carefully before each cut for accurate fitting and clean edges.
Step 4: Joint Filling
- Fill joints with polymeric sand or another jointing material approved for porcelain pavers and the chosen installation method.
- Remove excess jointing material from the surface before activation or curing.
- Follow the jointing product manufacturer’s instructions for best performance.
Step 5: Cleaning & Maintenance
- Clean routinely with water and a pH-neutral cleaner; rinse thoroughly.
- Avoid acidic, bleach-based, or abrasive cleaners that can affect surrounding materials.
- Sealing is generally not required for porcelain; consult manufacturer guidance for project-specific needs.
- Inspect joints and edges periodically and replenish jointing material as needed.
Disclaimer
Shade and tone variations are normal characteristics of porcelain pavers. Inspect all materials prior to installation; installed materials are considered accepted. Professional installation is recommended to achieve optimal performance and appearance.