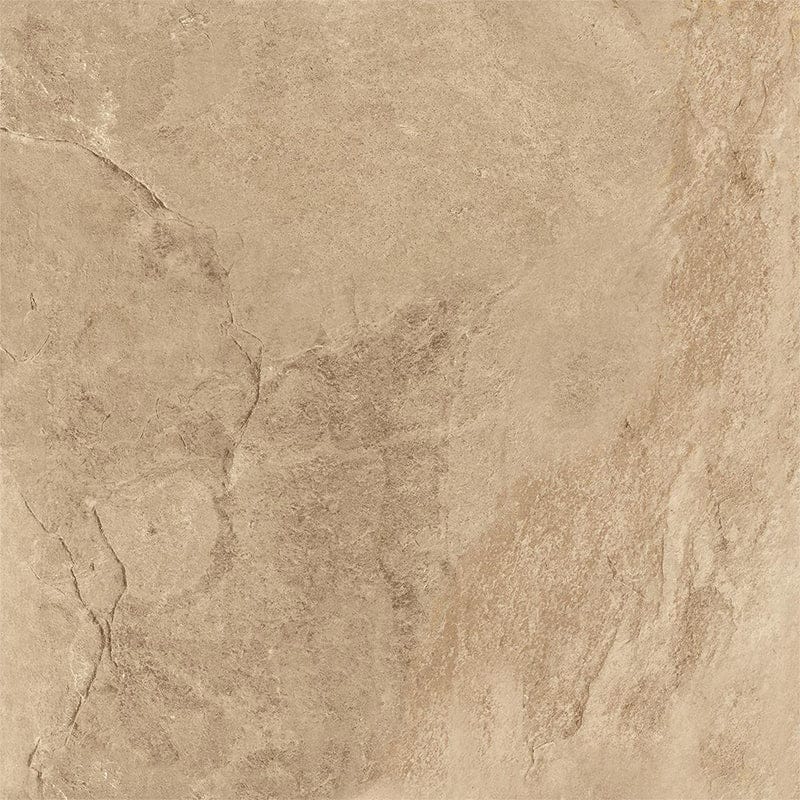
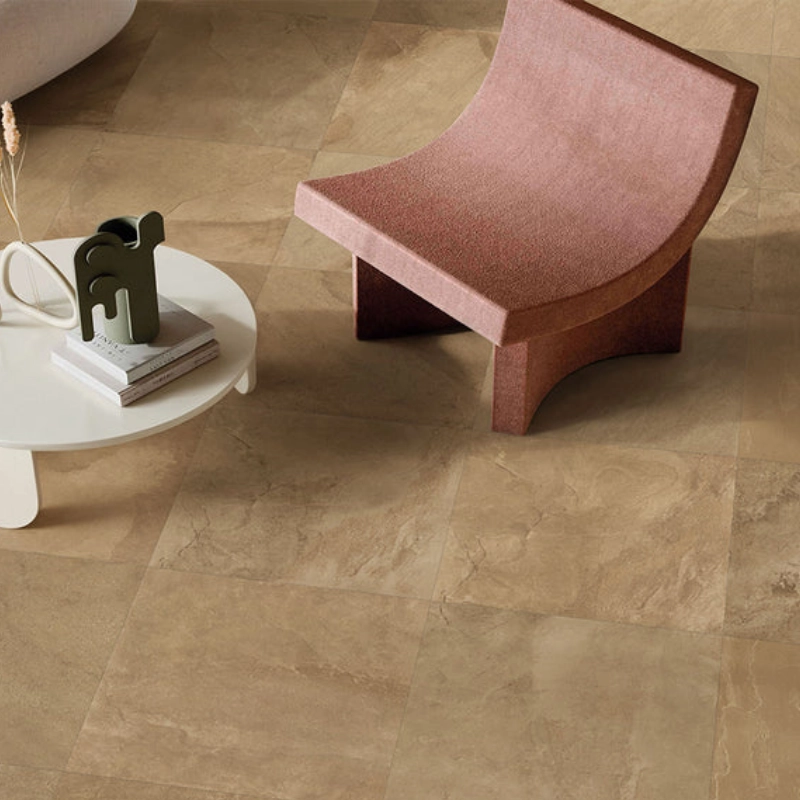
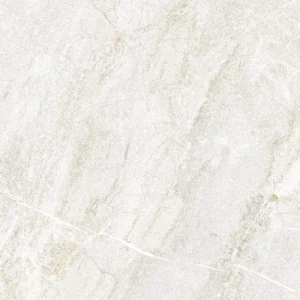
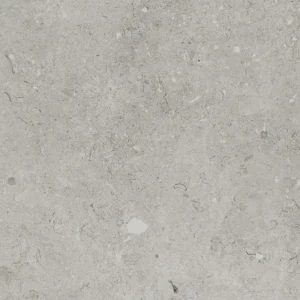
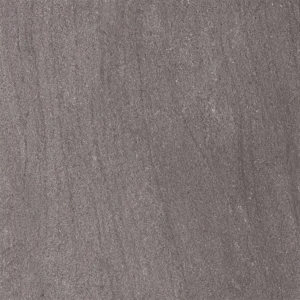
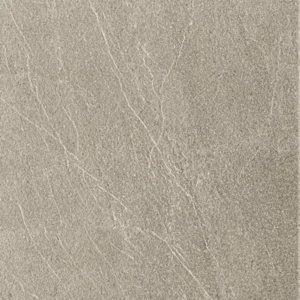
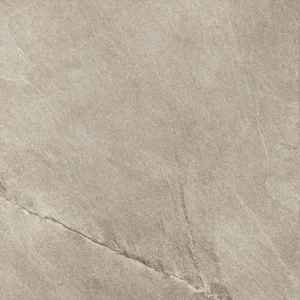
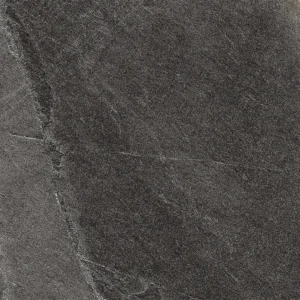
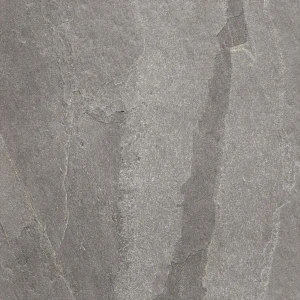
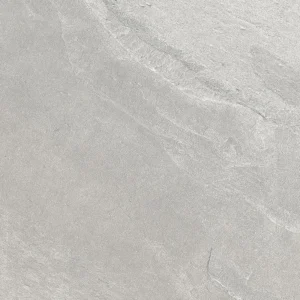
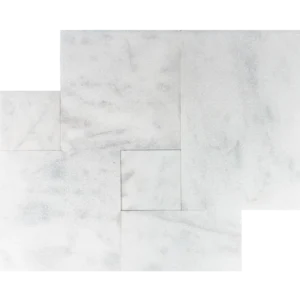
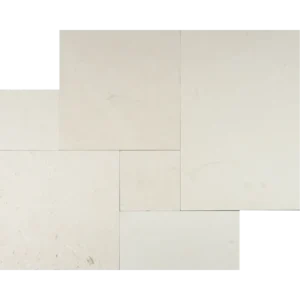
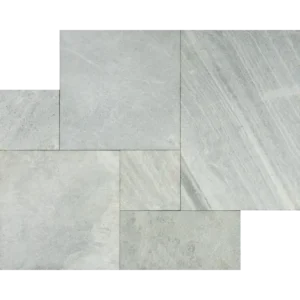
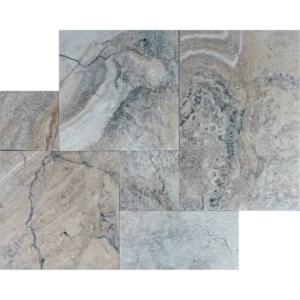
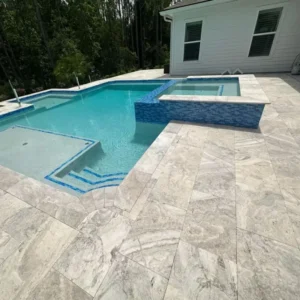
Berwyn Ivory 24×24 Matte Porcelain Tile
The Berwyn Ivory 24×24 Porcelain Tile brings the timeless appearance of natural limestone together with the durability and low maintenance of premium porcelain. Its warm ivory tones and subtle stone-inspired texture create an elegant, inviting atmosphere suitable for both residential and commercial interiors.
The large-format 24″ x 24″ rectified porcelain tile offers clean lines with minimal grout joints, creating a seamless and spacious appearance. The matte finish provides a refined, natural look while offering excellent slip resistance for everyday living.
Whether you’re designing a modern kitchen, luxury bathroom, open-concept living room, retail space, or office, Berwyn Ivory delivers a sophisticated aesthetic that complements a wide variety of architectural styles.
Features
- Premium porcelain construction
- Warm ivory limestone appearance
- Large format 24″ x 24″
- Rectified edges for narrow grout joints
- Matte finish
- Durable, scratch and stain resistant
- Suitable for residential and commercial applications
- Easy to clean and maintain
- Frost resistant
- PEI Rating 4
- Made for long-lasting performance
Recommended Applications
- Living Rooms
- Kitchens
- Bathrooms
- Hallways
- Laundry Rooms
- Commercial Floors
- Office Spaces
- Hotel Projects
- Retail Stores
Installation Guide – Berwyn Ivory 24×24 2CM Porcelain Paver
Important Advisory
This guide covers only the porcelain paver installation phase. Proper sub-base preparation, drainage, and bedding should be completed according to local building codes and industry standards before installation.
Step 1: Dry Layout & Planning
- Dry-lay the pavers to evaluate color variation and determine the preferred layout.
- Plan the installation pattern before setting the pavers to achieve balanced joints and a natural appearance.
- Use chalk lines or a laser level to establish straight reference lines for accurate alignment.
Step 2: Paver Installation
- Install the 24″x24″ porcelain pavers on the prepared setting bed or pedestal system, depending on the installation method.
- Maintain consistent joint spacing of approximately 1/8″ to 3/16″.
- Use a rubber mallet when necessary to properly seat each paver without damaging the surface.
- Frequently check for level and alignment throughout the installation.
Step 3: Cutting
- Use a wet saw equipped with a premium diamond blade designed for porcelain.
- Support the pavers properly during cutting to prevent chipping.
- Measure carefully before making any cuts for the best finished appearance.
Step 4: Joint Filling
- Fill joints using polymeric sand or another jointing material recommended for porcelain pavers.
- Remove excess material from the surface before final curing.
- Follow the jointing material manufacturer’s installation instructions.
Step 5: Cleaning & Maintenance
- Clean the surface regularly using water and a pH-neutral cleaner.
- Avoid harsh acidic or abrasive cleaning products.
- Porcelain pavers do not require sealing under normal conditions.
- Periodically inspect joints and surrounding areas to maintain long-term performance.
Disclaimer
Shade and pattern variations are intentional and replicate the natural appearance of stone. Always inspect all materials before installation. Professional installation is recommended to ensure proper performance and long-lasting results.