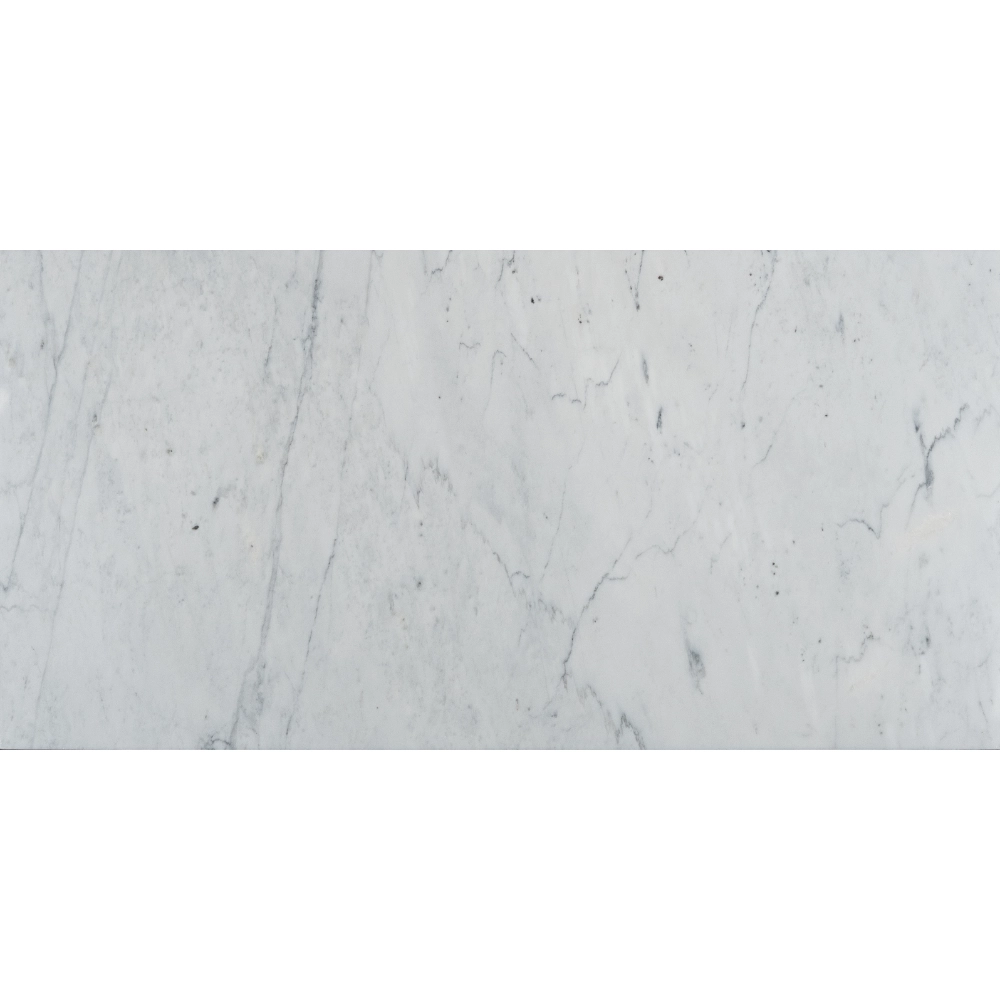
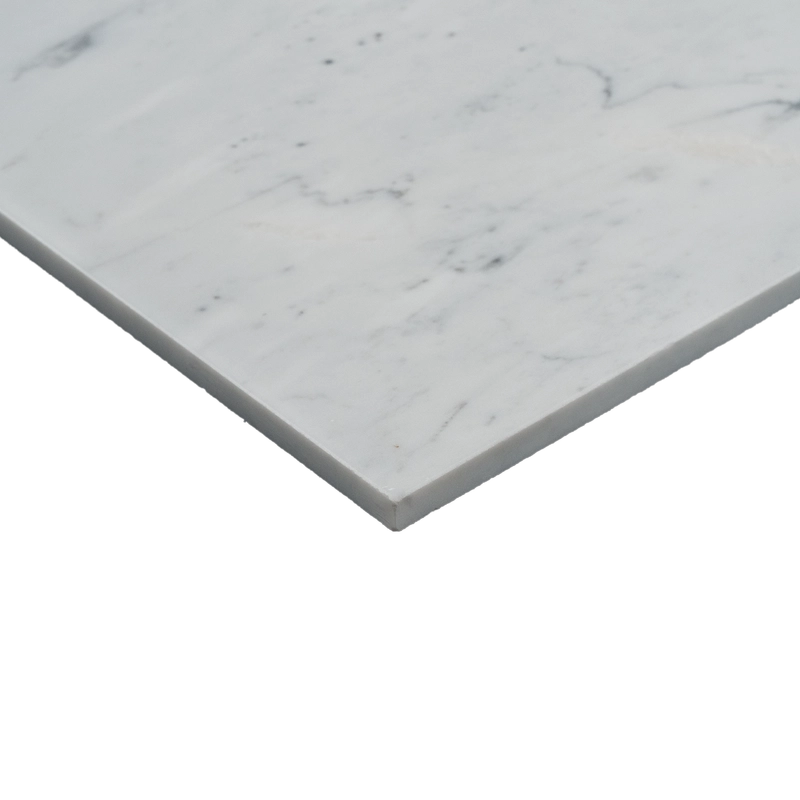
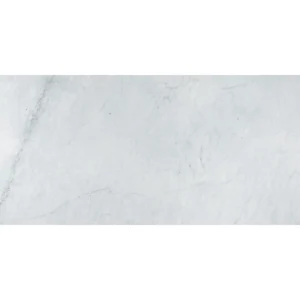
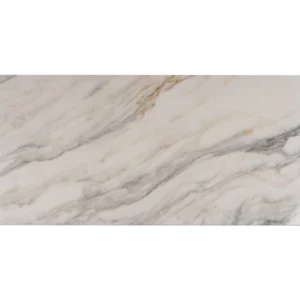
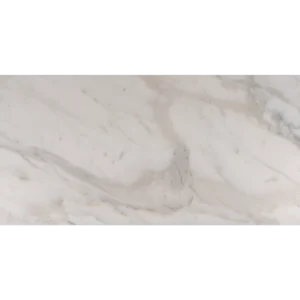
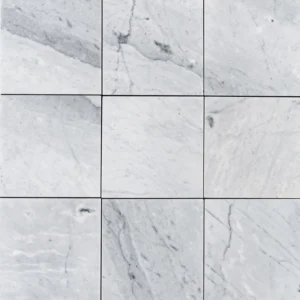
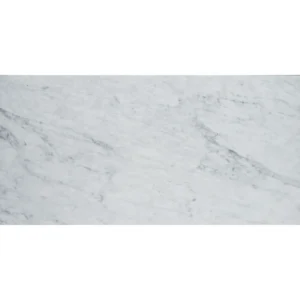
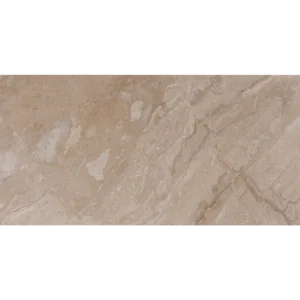
Carrara Marble Tile 18″x36″ Polished – Straight Edge
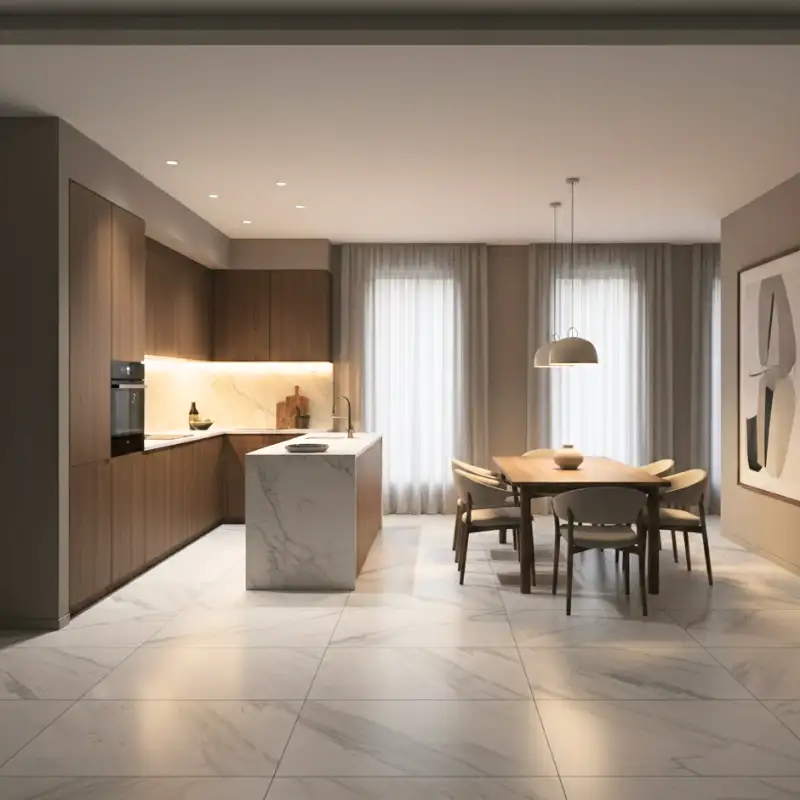
Monumental Beauty in a Contemporary Format
Refined yet powerful, the Carrara Marble Tile 18″x36″ Polished – Straight Edge captures the timeless appeal of Italian marble in an architectural scale. With its large rectangular format and straight-edge detailing, this tile introduces dimensional nuance to clean white surfaces marked by subtle, elegant veining. Its polished finish reflects light across the stone’s cool-toned canvas, enhancing both natural and artificial lighting environments.
Ideal for upscale interiors, it pairs effortlessly with minimalist, transitional, or classical design styles. Whether installed vertically or horizontally, the 18″x36″ size minimizes grout lines, creating a continuous flow perfect for expansive wall applications, bath surrounds, and designer floors. Meanwhile, the Straight edge adds an elevated profile, lending depth and architectural precision to every installation.
Product Specifications
- Material: Genuine Carrara White Marble
- Color: Crisp white base with soft gray veining
- Finish: Polished for a glossy, high-end appearance
- Size: 18″ x 36″ (45.7 x 91.4 cm)
- Thickness: 0.47″ (1.2 cm)
- Edge: Straight for refined visual depth
- Use: Walls and floors – ideal for bathrooms, lobbies, and living areas
Why Choose Carrara Marble in 18″x36″?
This large-format tile delivers a bold statement while preserving the grace of traditional Carrara. Its expansive dimensions offer fewer grout interruptions, making spaces feel larger and more refined. Furthermore, the polished surface and Straight detailing enrich the textural variation, ensuring your design stands out with understated luxury.
Installation Guide – Step by Step
Step 1: Surface Preparation – Prioritize Flatness & Stability
- Ensure substrate is solid, level, and dry. Clean off all debris and contaminants.
- Use a 10-ft straightedge to verify surface flatness; maximum variation must not exceed 1/8″.
- Apply self-leveling underlayment where necessary to accommodate large-format tile dimensions.
- Install a waterproof membrane in wet zones for long-term moisture control.
Step 2: Layout Planning – Enhance Flow & Minimize Cuts
- Mark layout reference lines for symmetry and optimal positioning of seams.
- Dry-lay tiles to preview Carrara veining and organize blending from multiple boxes.
- Arrange tiles to maintain consistency in tone and veining across large surfaces.
- Plan for minimal grout joints; recommended spacing is 1/16″ to 1/8″.
Step 3: Mortar Application – Large Format Thin-Set
Recommended Mortars:
- Mapei Ultraflex LFT White
- Laticrete 4-XLT or 254 Platinum White
- Ardex X77 White
Instructions:
- Use a 1/2″ square-notched trowel to spread mortar evenly.
- Back-butter each tile to ensure complete contact and eliminate hollow spots.
- Work in small areas and press tiles gently into position using light vibration or a rubber mallet.
Step 4: Cutting & Fitting – Maintain Edge Quality
- Cut tiles using a wet saw with a continuous-rim diamond blade rated for marble.
- Polish visible edges with a fine hand pad or polishing tool as needed.
- Dry-fit all cut tiles before final application to check alignment and spacing.
Step 5: Setting Tiles – Control Lippage & Joint Uniformity
- Use a tile leveling system to avoid lippage and ensure flat, even installation across large tile faces.
- Apply consistent pressure and use spacers to maintain uniform Straight joints.
- Clean excess thin-set promptly to prevent staining the polished marble surface.
- Allow adhesive to cure for a full 24 hours before proceeding to grout.
Step 6: Grouting & Sealing – Enhance & Protect
- Pre-seal polished marble with a penetrating sealer before grouting.
- Use non-sanded grout to prevent scratching the surface.
- Apply grout with a rubber float at a 45° angle and clean joints promptly.
- Buff surface haze within 30 minutes using a soft microfiber cloth.
- Re-seal tile and grout after full curing (typically 72 hours) for long-term protection.
Maintenance Tips – Preserve the Finish
- Use pH-neutral, non-abrasive marble-safe cleaners only.
- Wipe spills immediately to avoid etching or discoloration.
- Re-seal surfaces every 6–12 months depending on exposure and use.
- Place pads beneath furniture to avoid scratching the polished surface.
Shipping & Packaging
Each Carrara Marble 18″ x 36″ Polished Tile is securely packed with corner and surface protection. Open and inspect all tiles before installation for veining consistency and finish quality.
Important Note
Carrara marble is a natural material and will exhibit variation in tone, veining, and pattern. Always dry-lay tiles prior to installation to achieve the desired appearance. Stonemarket USA is not responsible for installation errors or natural stone variation.