Loading... (Warehouse Local Time)
Mon–Fri: 9:00 AM – 6:00 PM |

Stella Marble – 12×24 Honed Straight Edge Black Tile

The Stella Honed Marble Tile 12×24 features a bold brecciated pattern with deep charcoal, gray, and subtle taupe tones. Its larger format and honed finish create a sleek, modern look ideal for floors, walls, and contemporary interior spaces.

Item Code: TM428-31102 Category Tag

1080 Sq. Ft. in stock

Est. Coverage: 2.00 sq. ft. per piece | 8.00 sq. ft. per box | 321 sq. ft. per crate | Request Info
Note on Samples:
Sample pieces are small cut sizes, approximately 3" x 3" to 8" x 8", and intended for color and finish reference only.
If you need a full-size sample, please contact us.

Request Custom Pricing for Large Orders

Planning a large project? Orders over 500 sq. ft., full crates, or commercial applications may qualify for exclusive volume pricing. Reach out today and let us provide a custom quote tailored to your needs.

Request Volume Quote
  • Volume pricing available for qualified bulk orders.
  • We offer custom sizes, finishes, and crate-based shipments.

Different Sizes & Stone Options

Stella Honed Marble Tile 12×24

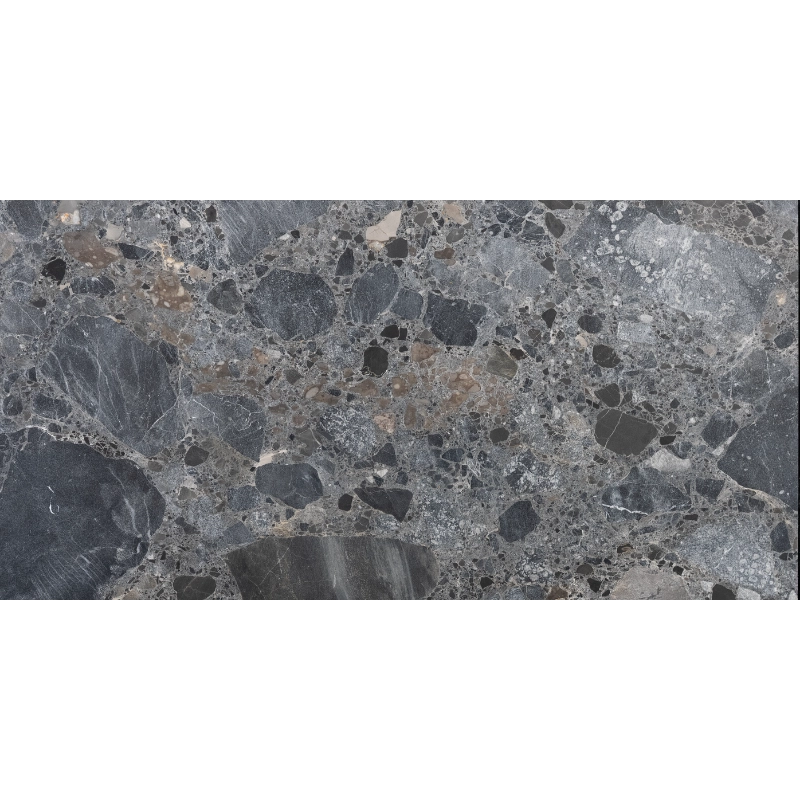
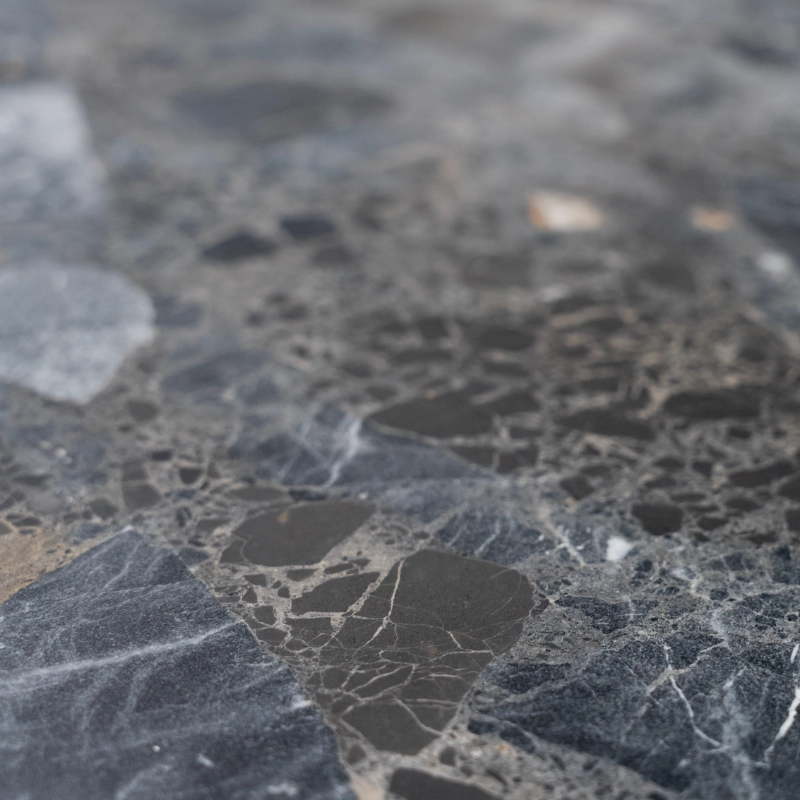
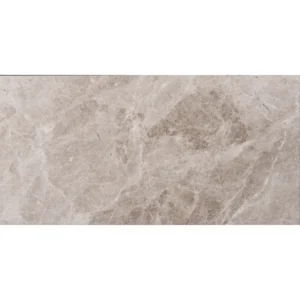
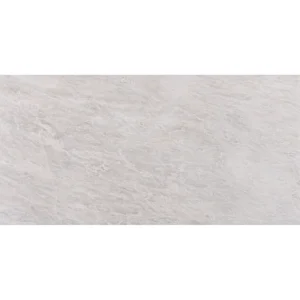
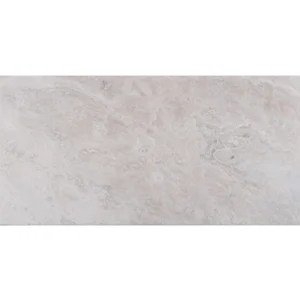
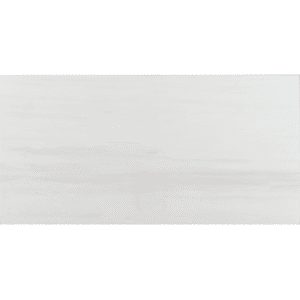
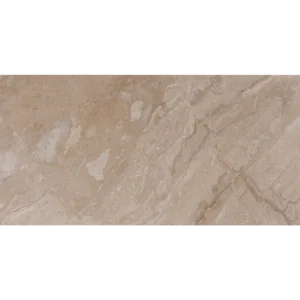
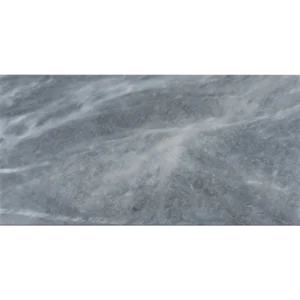
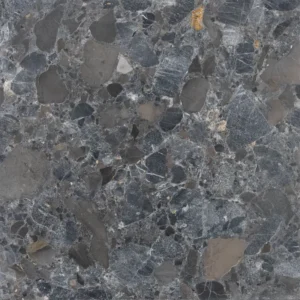
The Stella Marble collection brings a bold and architectural natural stone aesthetic to modern interiors. This 12×24 honed marble tile showcases a dramatic brecciated structure, combining rich charcoal tones with layered gray and taupe fragments that create a visually dynamic surface.

Compared to smaller formats, the 12×24 size enhances spatial continuity and reduces grout lines, making it an excellent choice for open areas and large surfaces. The elongated format helps create a more seamless and expansive visual effect, especially in floor applications.

Unlike traditional marble characterized by linear veining, Stella Marble stands out with its fragmented composition. The interplay of darker stone pieces and softer neutral accents results in a bold yet refined design suitable for both contemporary and timeless interiors.

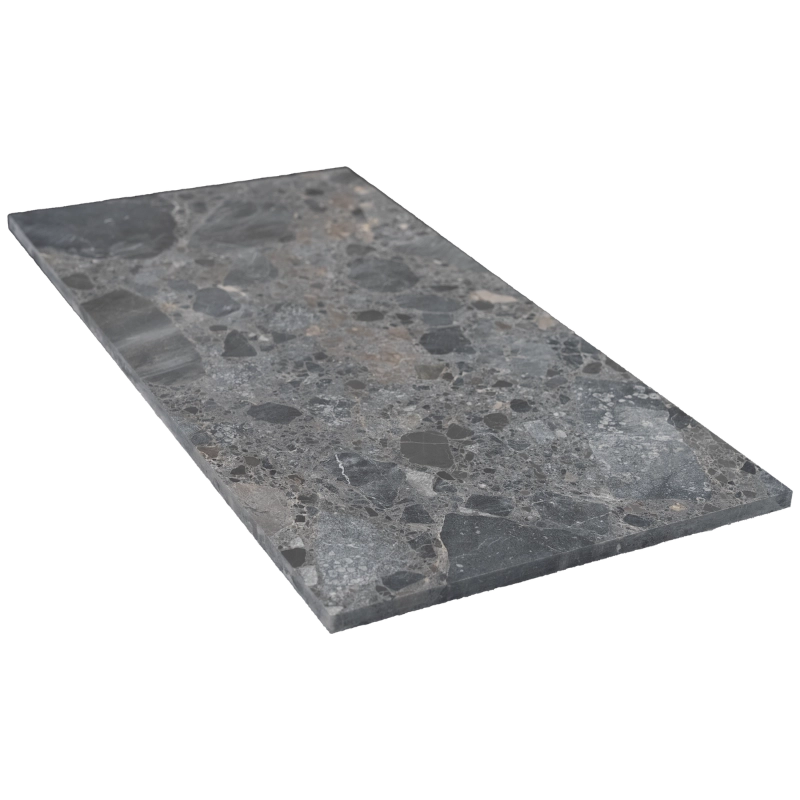
The honed finish provides a smooth, matte surface that highlights the stone’s natural variation while offering a modern, understated appearance. Straight edges allow for tighter grout joints, ensuring a clean and sophisticated installation.

Ideal Applications

  • Large format flooring
  • Bathroom floors and walls
  • Walk-in showers
  • Kitchen backsplashes
  • Living room floors
  • Feature walls
  • Commercial interiors and open spaces

Thanks to its larger format and bold natural pattern, Stella Marble 12×24 is particularly effective in modern architectural designs where continuity and visual impact are key.

Natural Stone Variation

Each Stella marble tile is unique. Variations in color, fragment size, and veining are inherent characteristics of natural stone, ensuring that every installation has a one-of-a-kind appearance.

Product Specifications

  • Material: Natural Marble
  • Collection: Stella Marble
  • Finish: Honed
  • Edge: Straight Edge
  • Tile Size: 12″x24″
  • Thickness: 1.2 cm (3/8″)
  • Coverage per Tile: 2 sq ft
  • Usage: Interior Floors & Walls
Weight14.10 lbs
Dimensions12 × 24 × 0.50 in
Collection

Stella Collection

Color

Design

Rectangular

Finish

Material

Size (inches)

Thickness

Usage Area

Backsplash, Commercial Interior Floors, Commercial Interior Walls, Outdoor Floors, Outdoor Walls, Residential Interior Floors, Residential Interior Walls, Residential Light Floors, Shower Floors, Shower Walls

Edge Type

Straight Edge

Brand

Installation Guide – Step by Step

Step 1: Surface Preparation – Stable & Level Base

  • Ensure the surface is clean, dry, and structurally sound.
  • Correct uneven areas using a self-leveling compound.
  • Apply waterproofing in wet areas such as showers and bathrooms.

Step 2: Layout Planning – Large Format Alignment

  • Plan layout carefully to minimize cuts and ensure balance.
  • Dry-lay tiles to distribute brecciated patterns evenly.
  • Use spacers (1/16″–1/8″) for consistent joints.

Step 3: Mortar Application – Proper Support

  • Use white thin-set mortar suitable for natural stone.
  • Back-butter tiles to ensure full coverage.
  • Use a 1/2″ notch trowel for large format tiles.

Step 4: Tile Installation – Precision Placement

  • Press tiles firmly and align edges carefully.
  • Use leveling systems to prevent lippage.

Step 5: Grouting

  • Use non-sanded grout for narrow joints.
  • Clean excess grout immediately.

Step 6: Sealing

  • Seal before and after grouting.
  • Reapply sealer periodically.
Category
Category
Material
Material
Color
Color
Size
Size
Finish
Finish
Design
Design
Thickness
Thickness
Application
Usage Area
Request a Quote
Tell us briefly about your project, sq ft, and timing.