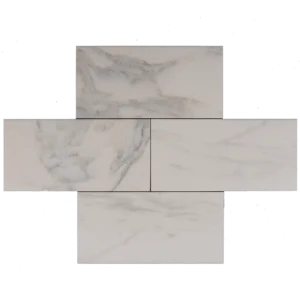
18″ x 36″ Calacatta Polished Beveled Marble Tile
Timeless Grandeur in a Sleek Format
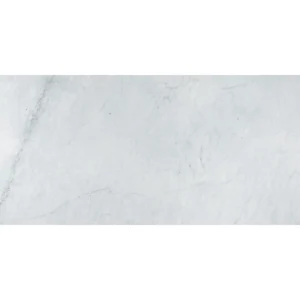
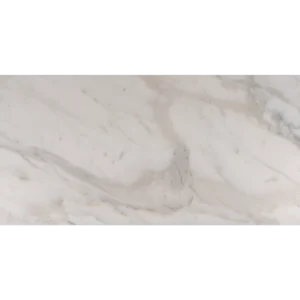
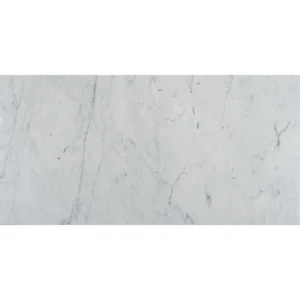
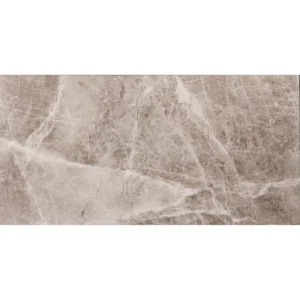
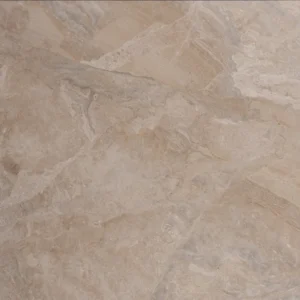
Enhance your space with the unmistakable luxury of the 18″ x 36″ Calacatta Polished Beveled Marble Tile. Featuring a brilliant polished finish and classic white background with bold, gray veining, this large-format marble tile makes a striking statement. Thanks to its generous size and beveled edges, it brings both architectural interest and a seamless, upscale look to your interiors.
Whether used in grand foyers, master bathrooms, or open-plan living spaces, this tile creates a sense of openness and elegance. Moreover, the reflective polished surface helps brighten rooms while adding depth. Its timeless aesthetic pairs beautifully with modern, transitional, and traditional designs.
Key Features of 18×36 Calacatta Polished Marble Tile
- Material: Premium Calacatta Marble
- Finish: Polished – smooth and reflective
- Edge Detail: Beveled edges for depth and texture
- Dimensions: 18″ x 36″ (45.7 x 91.4 cm)
- Thickness: 0.47″ (1.2 cm)
- Color: White with dramatic gray veining
- Recommended Applications: Indoor walls and floors – ideal for feature walls, bathrooms, lobbies, and upscale living areas
Why Choose This Calacatta Polished Marble Tile?
This tile stands out not just for its beauty, but also for its versatility. In addition to its striking size and design, it’s durable and easy to maintain. Furthermore, the beveled detail adds architectural character, making it a refined option for both homes and commercial settings. Elevate your space with marble that speaks of craftsmanship and timeless charm.
Want to see the full category this belongs to? Here’s our Tiles catalog with all available options.
Installation Guide – Step by Step
Step 1: Surface Preparation – Flawless Foundation
- Ensure substrate is flat with a maximum deviation of 1/8″ over 10 feet.
- Use a self-leveling compound where needed.
- Confirm the surface is clean, dry, and free from dust or grease.
- Apply a waterproof membrane in bathrooms or other wet areas.
Step 2: Layout Planning – Veining Alignment Matters
- Establish control lines for symmetry and balance.
- Dry-lay tiles to plan veining direction and pattern flow.
- Blend tiles from several boxes to avoid stark contrast.
- Recommended grout spacing: 1/16″ to 1/8″ to highlight beveled edges.
Step 3: Mortar Application – White Thin-Set Only
Recommended Mortars:
- Mapei Ultraflex LFT White
- Laticrete 254 Platinum White
- Ardex X77 White
Instructions:
- Use a 1/2″ square-notched trowel for even thin-set coverage.
- Back-butter each tile for complete bond and to prevent hollow spots.
- Set while mortar is fresh and workable.
Step 4: Cutting & Fitting – Preserve the Polished Face
- Cut with a wet saw using a continuous-rim diamond blade rated for marble.
- Polish any visible cut edges to match the tile face.
- Dry-fit tiles before installing to ensure layout alignment.
Step 5: Setting Tiles – Prevent Lippage
- Use a tile leveling system to minimize lippage between large tiles.
- Apply even pressure and regularly check with a level.
- Clean off excess thin-set before it dries on the polished surface.
- Allow 24 hours of curing before grouting.
Step 6: Grouting & Sealing – Finish with Care
- Pre-seal tiles with a penetrating sealer to prevent grout staining.
- Use non-sanded grout to avoid scratching the polished finish.
- Apply grout diagonally using a rubber float and clean quickly with a damp sponge.
- Buff away haze after 30 minutes with a soft microfiber cloth.
- Re-seal after full grout cure (typically 72 hours) to protect stone and joints.
Maintenance Tips – Maintain the Shine
- Use only pH-neutral, marble-safe cleaners.
- Wipe up spills immediately—especially acidic substances like wine or citrus.
- Reseal every 6–12 months depending on use and exposure.
- Use felt pads under furniture to prevent scratches.
Shipping & Packaging
Each 18″ x 36″ polished Calacatta tile is packed with edge guards and foam separators to prevent damage in transit. Inspect all tiles before installation to ensure consistency.
Important Note
Calacatta marble features natural variation in veining and color. Dry-lay tiles before installation to plan the layout. Stonemarket USA is not responsible for natural variation or installation issues.