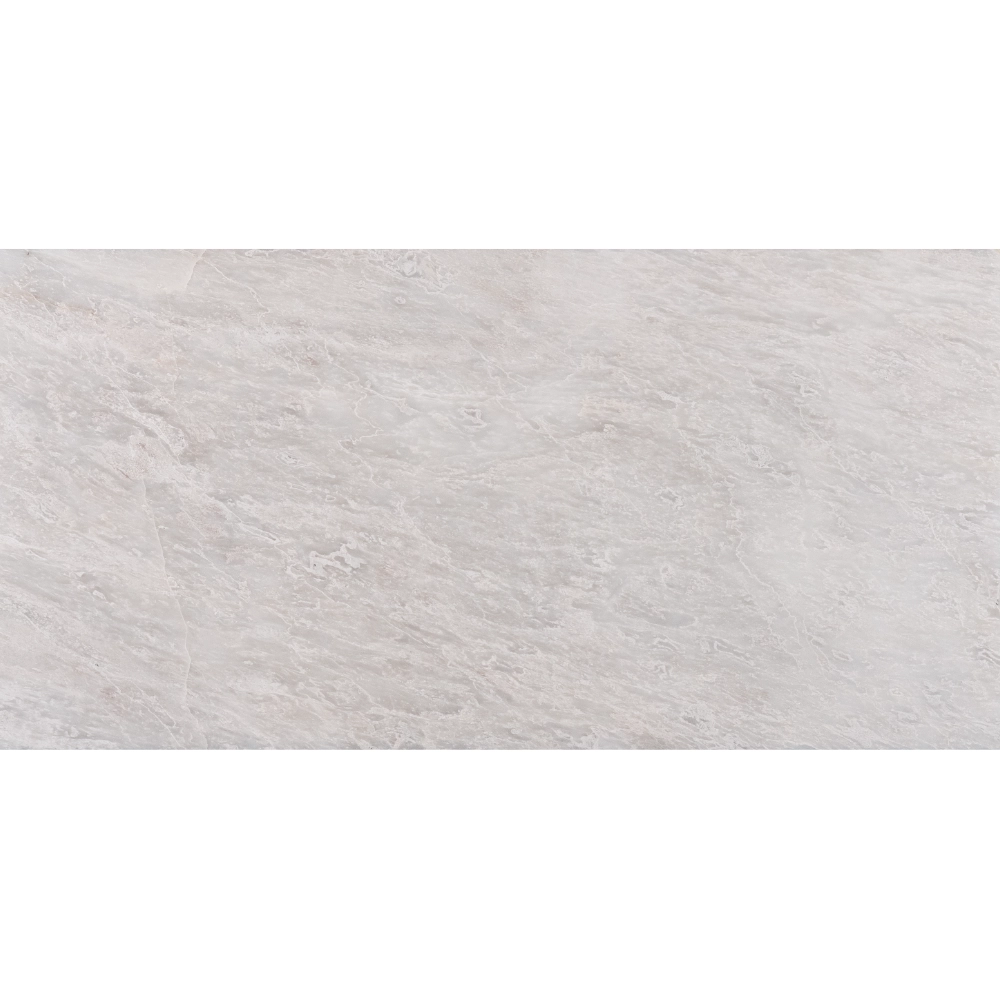
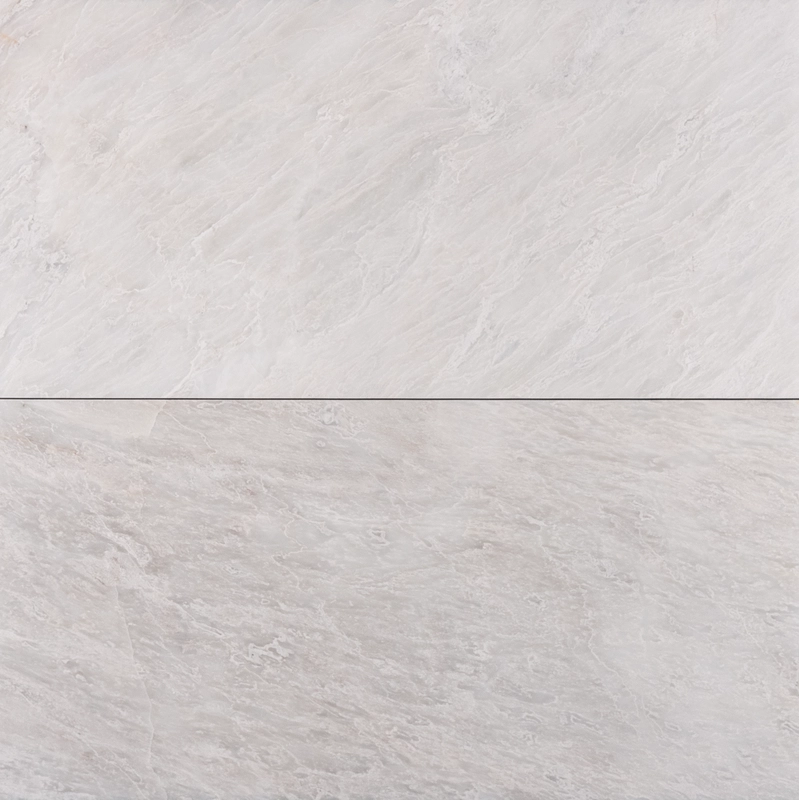
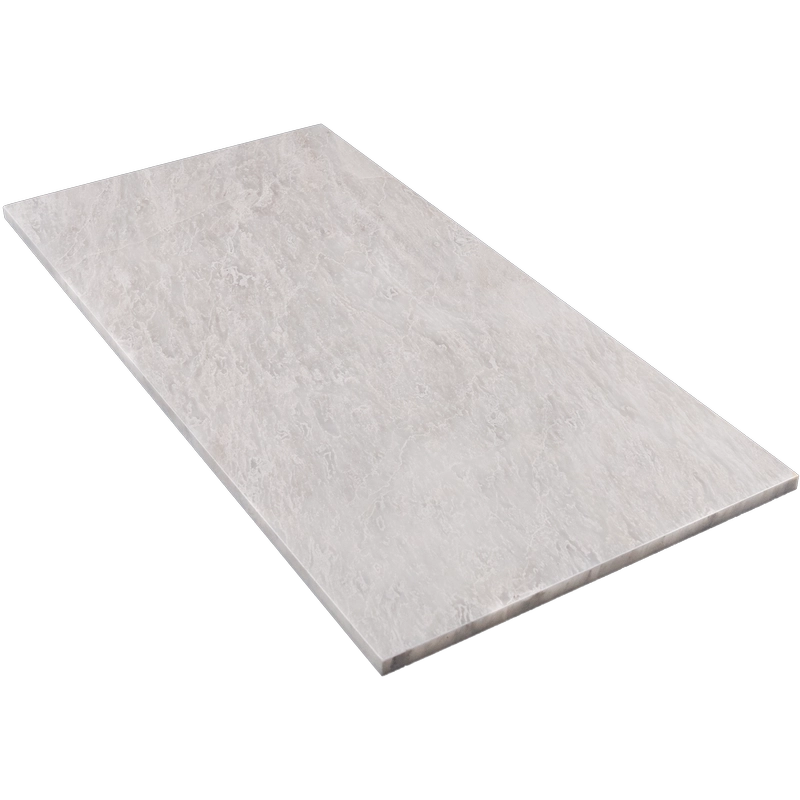
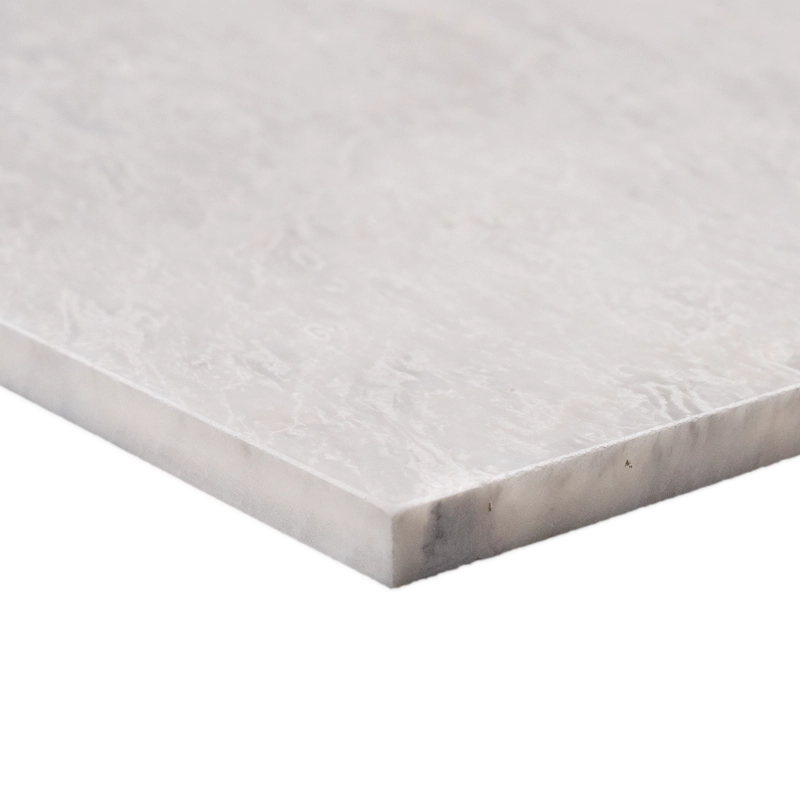
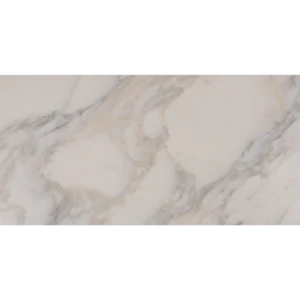
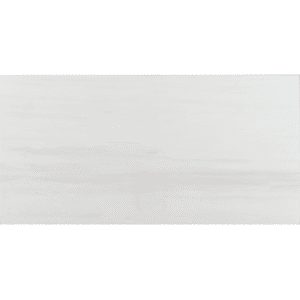
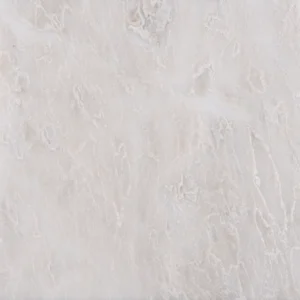
Iceberg Marble Tile 12″x24″ Polished – White Marble with Straight Edge
Timeless Luxury with a Brilliant Surface
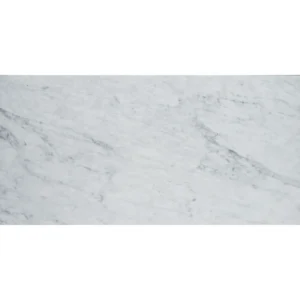
Elevate your space with the sleek elegance of the Iceberg Marble Tile 12″x24″ Polished. Made from natural white marble with signature icy veining, this tile delivers a radiant polished surface that reflects light beautifully and adds visual spaciousness to any room. Its straight edges ensure a precise, modern layout with minimal grout lines.
This tile brings luxury to both classic and contemporary interiors. Ideal for feature walls, bathroom installations, or upscale kitchen backsplashes, the 12″x24″ format offers a balanced rectangular design that enhances both vertical and horizontal layouts. Thanks to its smooth surface and durable construction, it’s as practical as it is elegant.
Product Features – Iceberg 12″x24″ Polished Straight Edge Tile
- Material: Premium Iceberg Marble
- Color: White with subtle icy veining
- Finish: Polished – glossy, light-reflective surface
- Edge Type: Straight edge for clean, modern alignment
- Size: 12″x24″ (30.5 x 61 cm)
- Thickness: 0.47″ (1.2 cm)
- Applications: Indoor walls – ideal for bathrooms, living rooms, and accent surfaces
Why Choose This Tile?
Whether you’re designing a serene spa-inspired bathroom or an open-concept modern kitchen, this tile provides a polished, elegant base. Its reflective finish adds brightness, while the large format reduces grout lines for a more seamless look. Durable, low maintenance, and visually stunning, it’s a smart choice for timeless interiors.
Installation Guide – Step by Step
Step 1: Surface Preparation – Flat and Stable
- Clean the substrate completely. Remove dirt, oil, and any old adhesives.
- Use a long straightedge to ensure the surface is flat within 1/8″ over 10 feet. Large-format polished tiles demand an even foundation.
- Apply a waterproofing membrane in wet areas such as showers or backsplashes.
Step 2: Layout Planning – Vein Coordination
- Mark layout lines centered in the room or space for a balanced appearance.
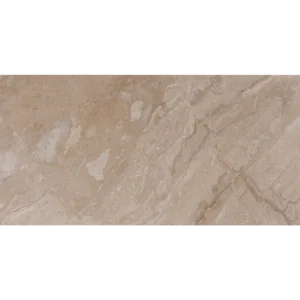
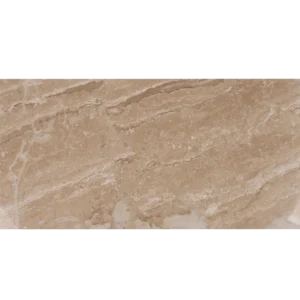
- Dry-lay the tiles to evaluate tone consistency and the natural icy veining of Iceberg marble. Blend from multiple boxes.
- Use **1/16″–1/8″ grout spacing** to maintain sharp lines and showcase the straight edge profile.
Step 3: Mortar Application – Use White Thin-Set
Recommended Products:
- Mapei Ultraflex LFT White
- Laticrete 254 Platinum White
- Ardex X77 or X5 White
Instructions:
- Use a 1/2″ square-notched trowel to spread thin-set mortar evenly.
- Back-butter each tile to ensure 100% contact, preventing voids that can cause cracking under stress.
- Work in manageable sections and avoid letting adhesive dry out before setting tiles.
Step 4: Cutting & Fitting – Chip-Free Execution
- Use a wet saw with a continuous-rim diamond blade designed for marble to ensure clean cuts without chipping.
- Test-fit cut pieces, and polish exposed edges if needed using a marble hand pad.
Step 5: Setting Tiles – Precision and Alignment
- Place tiles with precision and use a leveling system to avoid lippage over large areas.
- Ensure straight edges are aligned edge to edge with consistent joints.
- Clean thin-set immediately from the polished surface and joints to avoid staining or haze.
- Allow adhesive to cure for 24 hours before grouting.
Step 6: Grouting & Sealing – Preserve the Shine
- Pre-seal the polished marble with a penetrating sealer before grouting to protect against staining.
- Use non-sanded grout to avoid scratching the polished surface or damaging tight joints.
- Apply grout with a rubber float diagonally across the joints. Wipe away excess promptly with a damp sponge.
- Buff haze from the surface after 15–30 minutes using a dry, lint-free cloth.
- Apply a second coat of sealer once the grout has fully cured (typically 72 hours).
Maintenance Tips – Keep It Gleaming
- Use pH-neutral, non-abrasive marble cleaners for regular maintenance.
- Never use acidic or bleach-based products on polished marble.
- Reseal every 6–12 months depending on foot traffic and environmental exposure.
- Wipe spills quickly—especially oils, wine, or citrus liquids—to avoid etching or discoloration.
Shipping & Packaging
Each 12″ x 24″ Iceberg Polished Marble Tile with straight edge is securely packed with foam protection and edge guards. Store in a clean, dry location and inspect thoroughly before installation for tone consistency.
Important Note
Natural Iceberg marble features subtle tone shifts and unique veining. Dry-lay before installation for optimal blending. Stonemarket USA is not responsible for installation or material variation typical to natural stone.