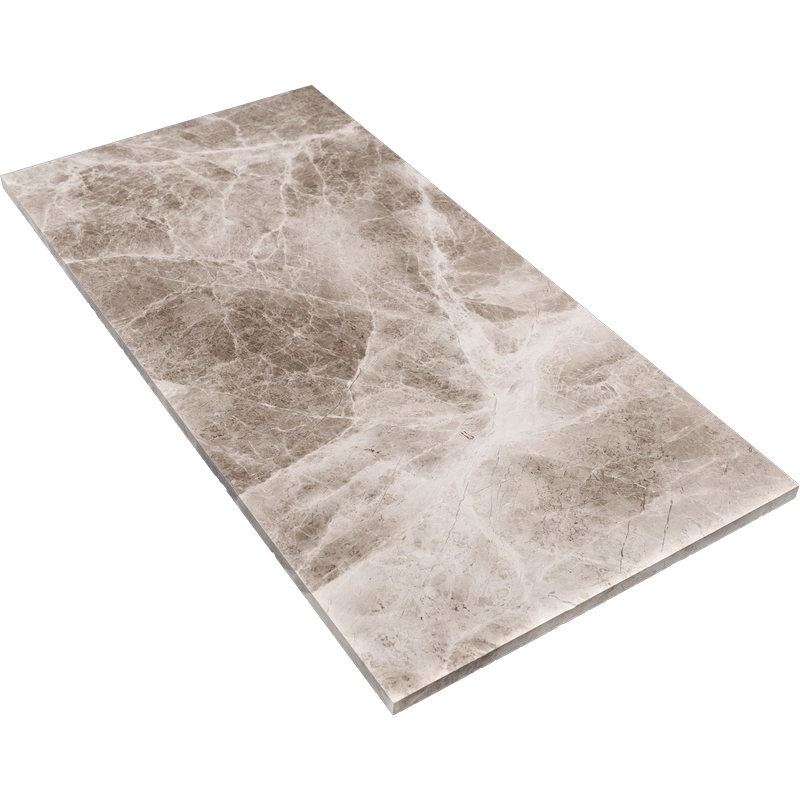
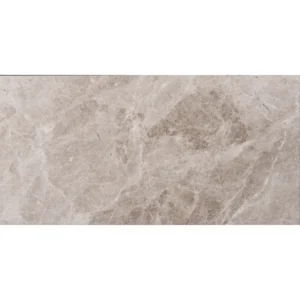
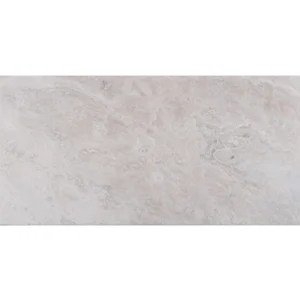
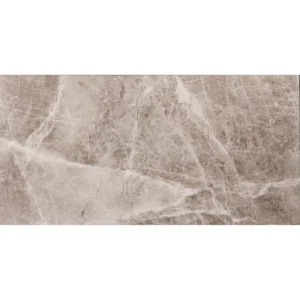
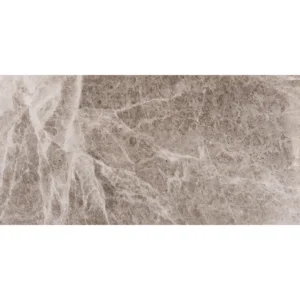
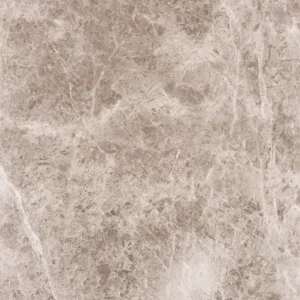
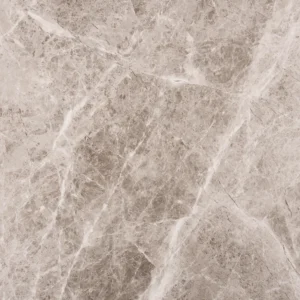
Beige Diamond Beige Marble Tile 12″x24″ – Polished Finish
Modern Elegance with Timeless Natural Stone
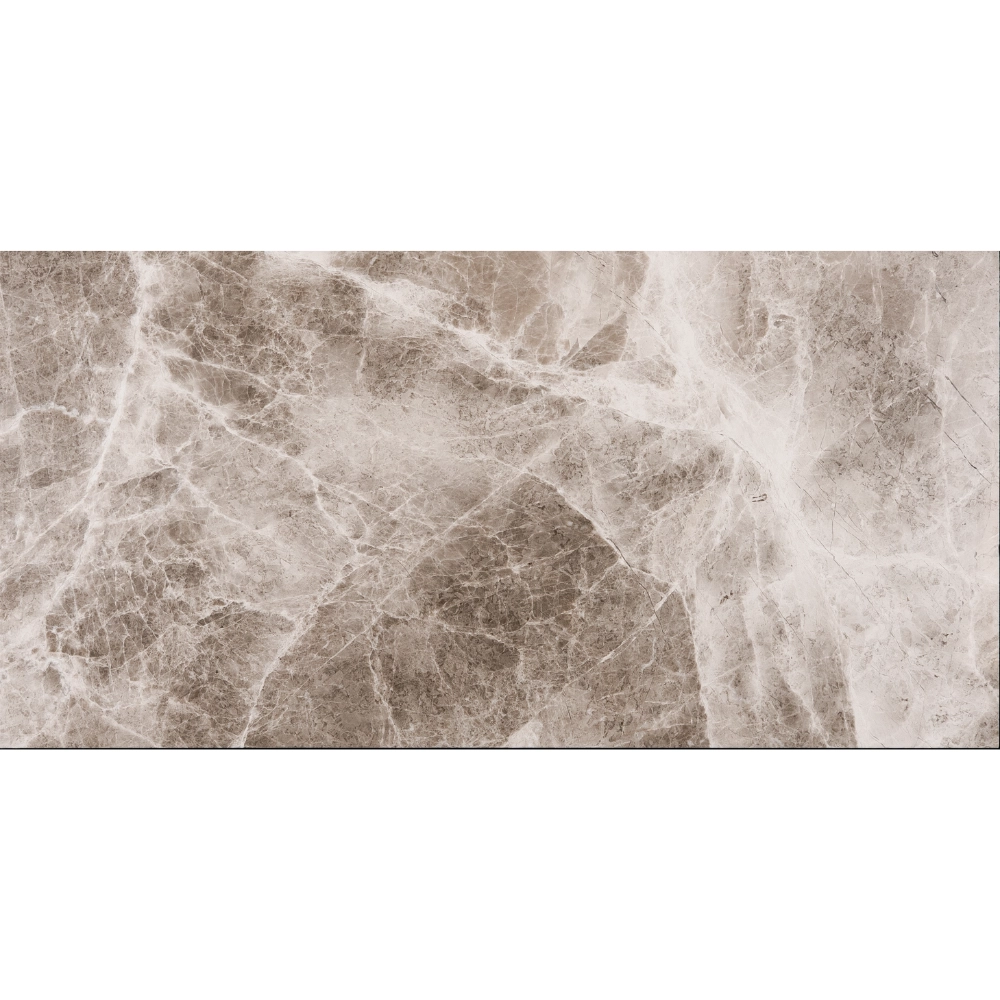
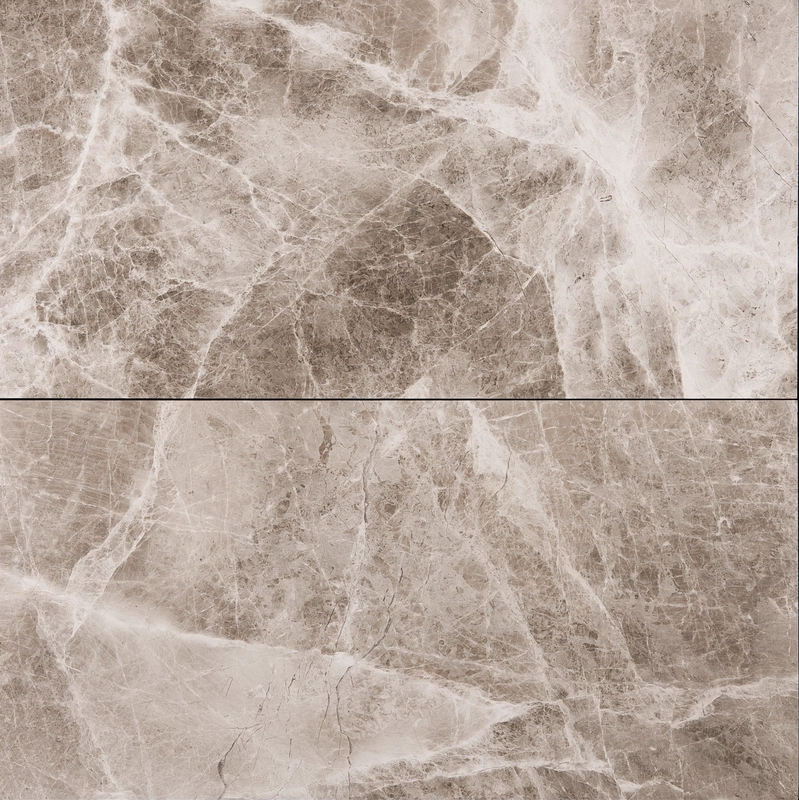
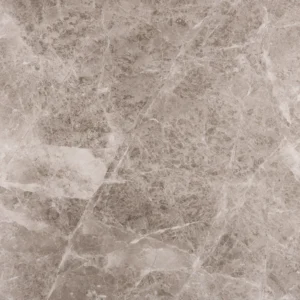
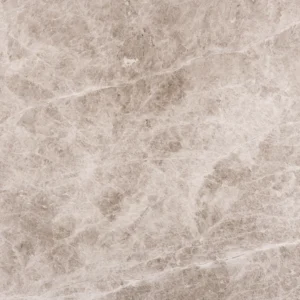
Enhance your interior with the smooth polish and refined tones of the Beige Diamond Beige Marble Tile 12″x24″. Crafted from premium marble, this tile features a warm cappuccino-beige surface with subtle natural veining, offering a balance between sophistication and neutrality. The polished finish adds a luminous surface that reflects light beautifully, brightening any space and making rooms appear more expansive.
Ideal for both residential and commercial applications, this straight-edge tile fits seamlessly into modern and transitional designs. It’s suitable for walls and floors in bathrooms, kitchens, entryways, and even boutique hospitality projects. Its linear 12″x24″ size reduces grout lines and helps establish visual continuity across larger areas.
Key Features of Beige Diamond 12″x24″ Polished Tile
- Material: Natural Beige Diamond marble
- Color: Warm beige with soft cappuccino undertones
- Finish: Polished – elegant, light-enhancing surface
- Tile Size: 12″x24″ (30.5×61 cm)
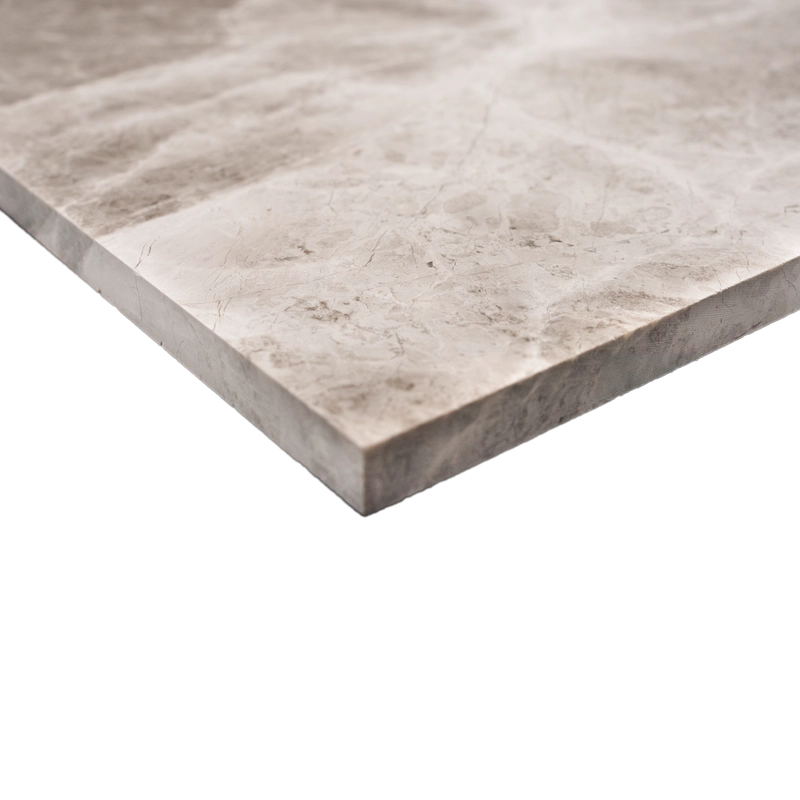
- Thickness: 0.47″ (1.2 cm)
- Edge Type: Straight edge for clean alignment
Benefits & Recommended Use
- Brings a clean and polished finish to contemporary interiors
- Versatile for wall and floor use in both home and light commercial projects
- Durable and easy to clean with neutral pH stone cleaners
- Excellent for creating a unified, high-end surface appearance
Installation Guide – Step by Step
Step 1: Surface Preparation – Ensure Flatness
- Clean the substrate completely, removing any dust, adhesive, or oils.
- Check surface flatness using a 10-ft straightedge—tolerance must be within 1/8″.
- Use a self-leveling underlayment if needed to correct uneven areas.
- Apply waterproofing membrane for wet areas such as bathrooms or shower walls.
Step 2: Layout Planning – Dry-Lay and Blend
- Mark layout lines for symmetry starting from the center of the space.
- Dry-lay multiple tiles to preview Beige Diamond’s cappuccino tone variation and polish clarity.
- Blend tiles from several boxes to achieve a harmonious overall tone.
- Use **1/16″–1/8″ grout joints** for a seamless look with straight edges.
Step 3: Mortar Application – Use White Thin-Set
Recommended Products:
- Mapei Ultraflex LFT White
- Laticrete 254 Platinum White
- Ardex X77 White
Instructions:
- Use a 1/2″ square-notched trowel to spread adhesive evenly across the surface.
- Back-butter each tile to ensure 100% coverage and avoid hollow spots.
- Apply mortar in small sections and place tiles promptly before skin-over occurs.
Step 4: Cutting & Fitting – Clean and Accurate
- Use a wet saw with a continuous-rim diamond blade for smooth, chip-free cuts.
- Polish any visible cut edges using a marble polishing pad.
- Dry-fit all custom cuts to verify spacing and alignment.
Step 5: Setting Tiles – Level and Align
- Set tiles with consistent pressure and use a leveling system to avoid lippage.
- Use spacers to maintain uniform grout lines.
- Tap lightly with a rubber mallet to ensure flat alignment.
- Wipe off excess thin-set immediately to avoid haze on polished surfaces.
- Allow 24 hours of curing time before grouting.
Step 6: Grouting & Sealing – Protect the Shine
- Pre-seal with a penetrating sealer before grouting to prevent staining.
- Use non-sanded grout to avoid scratching the polished marble surface.
- Apply grout with a rubber float and clean joints diagonally for full coverage.
- Buff surface with a dry cloth after 20–30 minutes to remove haze.
- Apply a second coat of sealer after grout cures (typically 72 hours).
Maintenance Tips – Long-Term Beauty
- Clean regularly using pH-neutral stone-safe cleaners.
- Immediately wipe up spills to avoid etching and staining.
- Re-seal every 6–12 months depending on use and traffic levels.
- Use floor mats and protective pads to prevent wear in high-traffic areas.
Shipping & Packaging
Each 12″ x 24″ Beige Diamond Polished Marble Tile is packaged with edge protection and cushioning materials. Store flat in a dry environment and inspect all pieces before installation.
Important Note
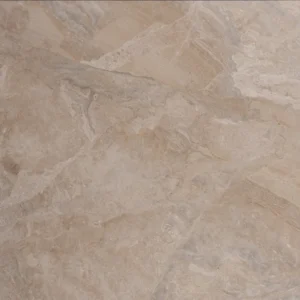
Beige Diamond is a natural stone with variations in tone and veining. Always dry-lay and blend tiles before installation. Stonemarket USA is not liable for installation errors or natural stone inconsistencies.