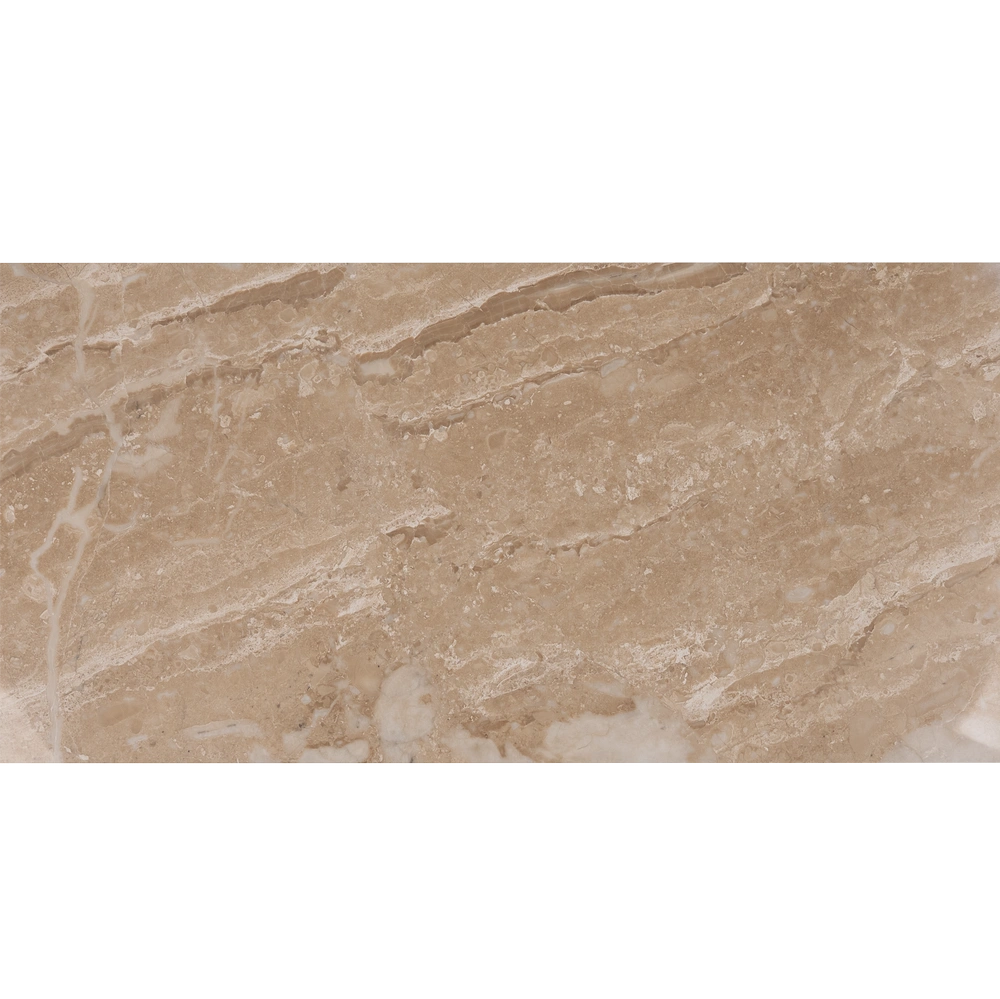
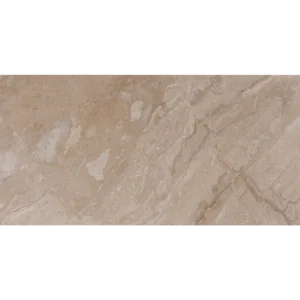
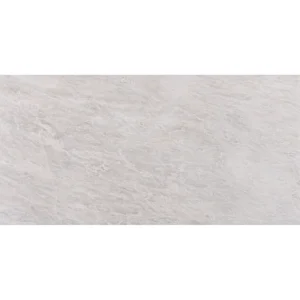
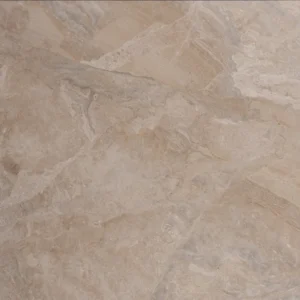
Royal Beige Tile 12″x24″ Honed – Soft Sophistication
Elegant Marble Finish for Serene Interiors
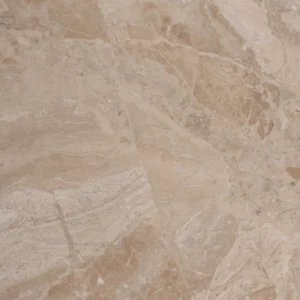
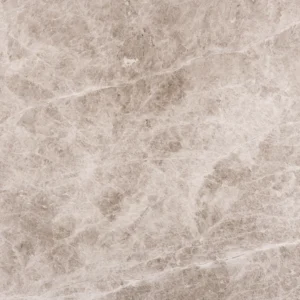
Upgrade your space with the timeless appeal of Royal Beige Tile 12″x24″ Honed. This natural marble tile showcases a warm beige tone with subtle variation, delivering a calm and refined look to any interior.
Thanks to its honed finish, the surface is smooth and matte, reducing glare while highlighting the marble’s natural texture. As a result, it’s an excellent choice for both residential and commercial applications.
Moreover, the straight-edge design ensures clean lines and seamless transitions between tiles. Whether you’re designing a modern bathroom, a minimalist kitchen, or a peaceful hallway, this tile adapts effortlessly.
Key Features
- Material: Natural Royal Beige Marble
- Finish: Honed – smooth matte texture
- Color: Warm beige with subtle tone variation
- Tile Size: 12″ x 24″ (30.5 x 61 cm)
- Thickness: approx. 0.45″ (1.1 cm)
- Edge: Straight edge for clean installation
- Use: Indoor walls and floors – ideal for bathrooms, kitchens, and living areas
Why Choose This Tile?
Combining beauty and functionality, this tile offers a harmonious look that suits a wide range of styles. Furthermore, its durability and ease of maintenance make it a smart long-term investment for stylish interiors.
Installation Guide – Step by Step
Step 1: Surface Preparation – Build a Strong Base
- Clean the substrate thoroughly; remove all dust, oil, and debris.
- Ensure the surface is level and solid—Royal Beige in large formats can telegraph even minor imperfections.
- Use a self-leveling underlayment if needed to correct dips or high spots.
- In wet areas (bathrooms, showers), apply a waterproofing membrane to protect against moisture intrusion.
Step 2: Layout Planning – Balance and Visual Flow
- Find the center of your area and snap layout lines for symmetry and alignment.
- Dry-lay several tiles to inspect for color tone, veining, and subtle finish differences.
- Blend tiles from multiple boxes to evenly distribute Royal Beige’s natural variation.
- Use spacers to maintain **1/16″ to 1/8″ grout lines**, ideal for straight-edge honed marble.
Step 3: Adhesive Application – For Secure Bonding
Recommended White, Marble-Safe Thin-Set:
- Mapei Ultraflex LFT White
- Laticrete 254 Platinum White
- Ardex X77 White
Instructions:
- Spread thin-set using a 1/2″ square-notched trowel for full coverage.
- Back-butter each tile to ensure 100% contact and avoid hollow spots.
- Apply thin-set in small areas to prevent premature drying.
Step 4: Cutting & Fitting – Precision Matters
- Use a wet saw with a continuous-rim diamond blade for clean, chip-free cuts.
- Measure carefully; cut tiles to maintain layout symmetry and minimize sliver cuts.
- Smooth any visible cut edges with a marble file or sanding stone.
Step 5: Setting Tiles – Flat and Aligned
- Use a leveling system to prevent lippage, which is more visible with honed finishes.
- Place tiles in a staggered or stacked layout, as desired. Avoid 50% offsets to reduce lippage risk.
- Use spacers for uniform joint width and alignment.
- Gently tap tiles with a rubber mallet to set and level them.
- Clean thin-set from the tile surface immediately to avoid residue on the matte finish.
- Let the adhesive cure for 24 hours before grouting.
Step 6: Grouting & Sealing – Finish Clean
- Use non-sanded grout for joints ≤ 1/8″. For slightly wider joints, finely sanded grout is acceptable.
- Grout diagonally using a rubber float and press firmly into joints.
- Wipe off excess grout with a damp sponge, rinsing often. Avoid letting grout haze cure on the surface.
- After 72 hours of grout curing, apply a **penetrating marble-safe sealer** to protect the honed surface from stains and moisture.
Maintenance Tips – Protect the Honed Beauty
- Clean only with pH-neutral stone cleaners. Never use vinegar, lemon, bleach, or harsh chemicals.
- Quickly wipe up spills—honed marble is more absorbent than polished.
- Re-seal every 6–12 months depending on foot traffic and exposure.
- Use felt pads under furniture and rugs in high-traffic areas.
Shipping & Packaging
Each 12″ x 24″ Royal Beige Honed Marble Tile is cushioned and boxed for transit safety. Store tiles indoors and inspect thoroughly before installation.
Important Note
Royal Beige is a natural marble with tonal variation and soft veining. Installers should always lay out tiles before setting to ensure aesthetic flow. Stonemarket USA is not responsible for installation errors or site conditions.