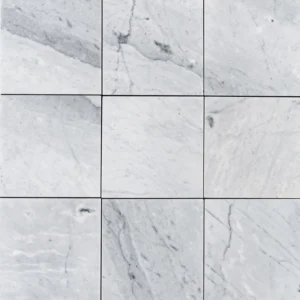
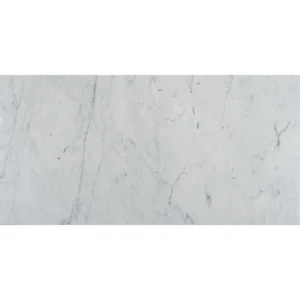
Carrara White Marble Tile 12″x12″ Polished – Classic White Marble with Straight Edge
Timeless Italian Marble in a Perfect Square Format
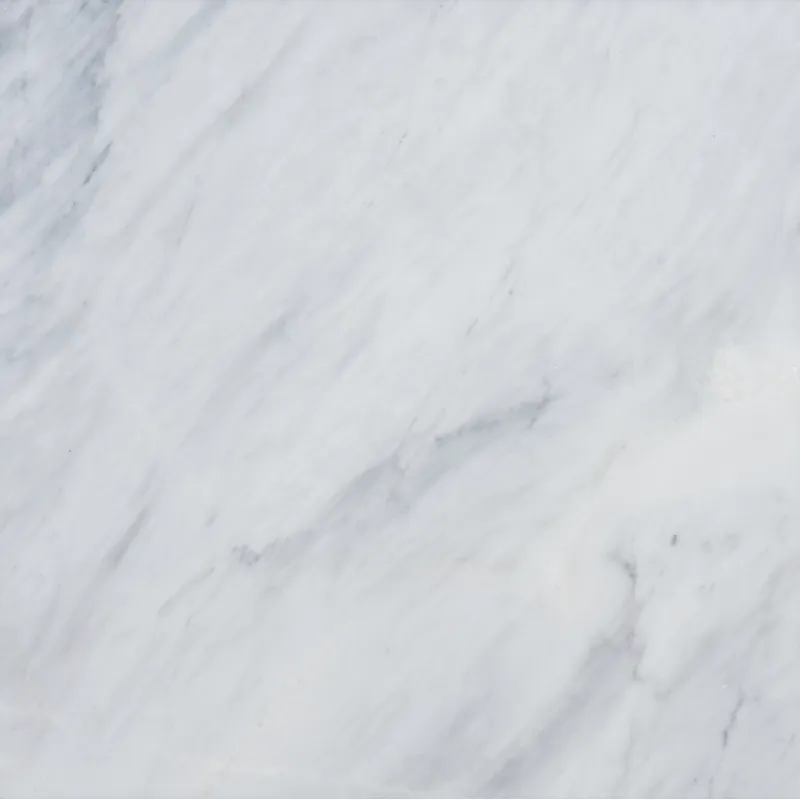
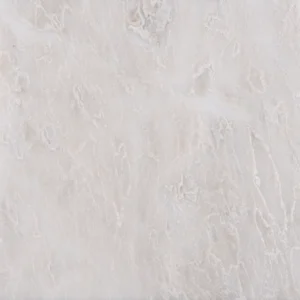
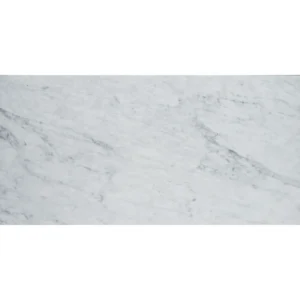
Enhance your interior spaces with the timeless beauty of Carrara White Marble Polished Tile. Known for its elegant white background and soft grey veining, Carrara marble has been a symbol of refined architecture and luxury design for centuries. The polished surface reflects light beautifully, creating a bright and sophisticated atmosphere in any room.
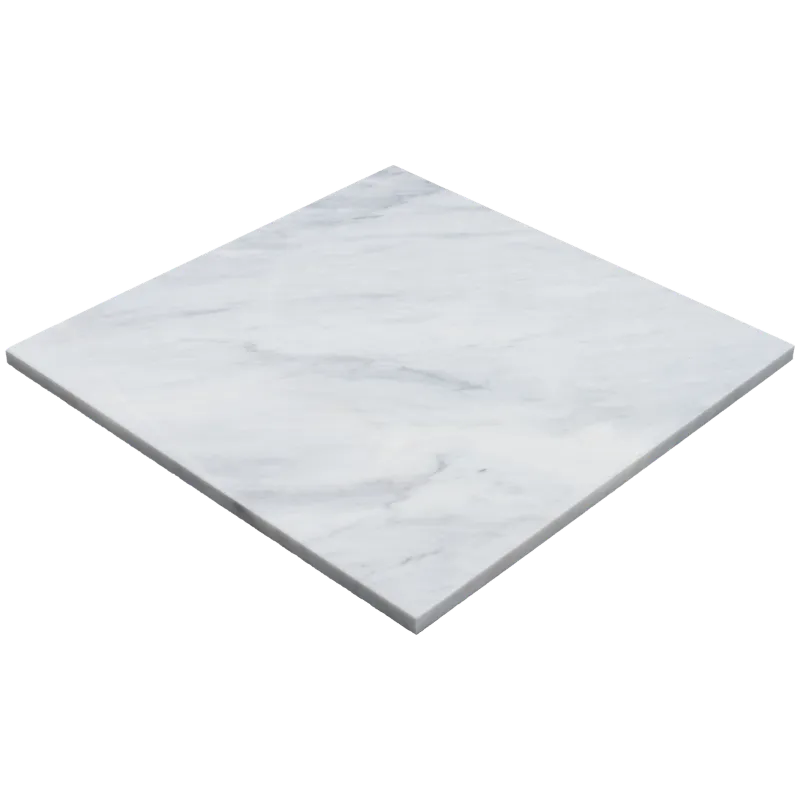
Crafted from premium natural marble, this tile features straight edges that allow for precise installation and clean grout lines. The versatile 12″x12″ format makes it suitable for both traditional and modern layouts, whether you’re designing a spa-like bathroom, a classic kitchen backsplash, or a stylish feature wall.
Thanks to its durability and natural elegance, Carrara marble remains one of the most popular materials used in residential and boutique commercial interiors.
Product Features – Carrara White Marble 12″x12″ Polished Tile
- Material: Natural Carrara White Marble
- Finish: Polished – enhances brightness and highlights natural veining
- Color: Classic white background with soft grey veining
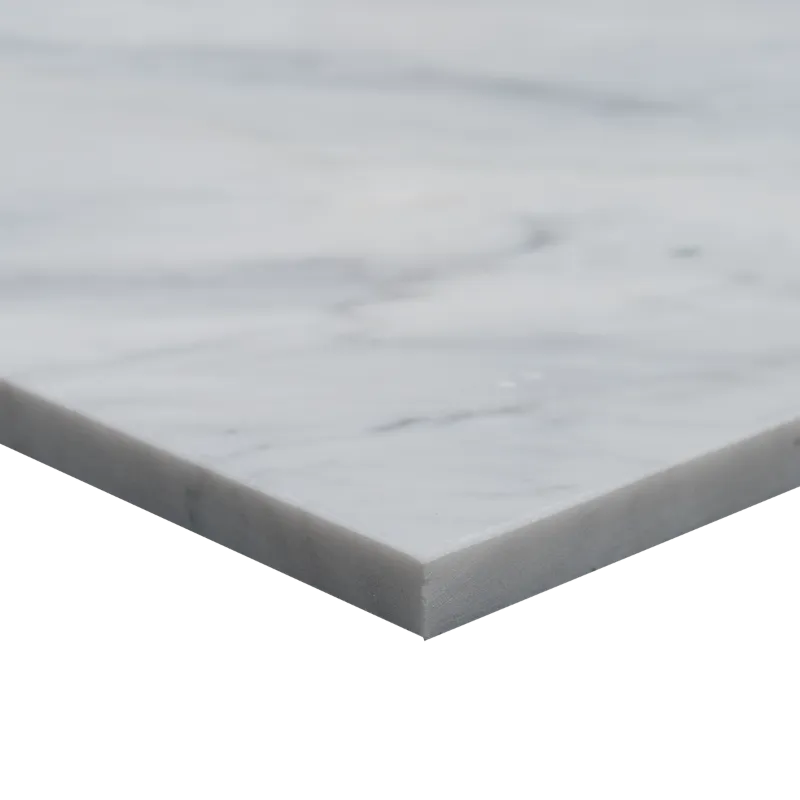
- Size: 12″x12″ (30.5 x 30.5 cm)
- Thickness: 0.47″ (1.2 cm)
- Edge Detail: Straight edge for clean grout joints
- Best Use: Indoor walls, bathrooms, backsplashes, and residential floors
Why Choose Carrara White Marble 12″x12″ Polished Tile?
Carrara marble is one of the most recognized natural stones in the world. Its subtle grey veining and clean white surface create a timeless look that works beautifully in both modern and traditional spaces.
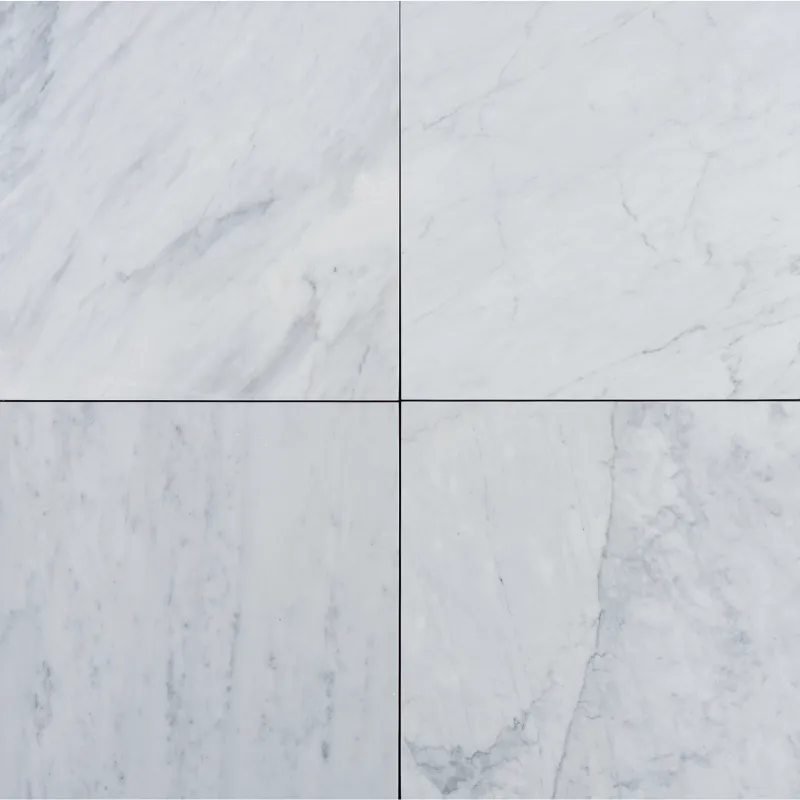
Because each tile is cut from natural marble, every piece features unique veining patterns, giving your installation an authentic and luxurious appearance. Whether used on a shower wall, kitchen backsplash, or entryway floor, Carrara marble adds lasting value and elegance to any project.
Installation & Care Tips
- Use a premium white thin-set mortar designed for natural stone
- Dry lay tiles before installation to balance natural veining variation
- Seal the marble before and after grouting to protect the surface
- Use non-sanded grout to prevent scratching polished marble
- Maintain with a pH-neutral stone cleaner
If this finish isn’t ideal for your project, you can explore other natural stone options in our marble tile collection.
Installation Guide – Step by Step
Step 1: Surface Preparation – Solid & Level Foundation
- Clean the substrate thoroughly to remove dust, oil, debris, and old adhesives.
- Check the surface using a long level to ensure it is flat and stable. Correct uneven areas using a self-leveling compound if necessary.
- For bathrooms, showers, or wet areas, apply a waterproofing membrane to protect the installation from moisture.
Step 2: Layout Planning – Balanced and Natural Appearance
- Mark center layout lines to establish a balanced installation pattern.
- Dry-lay several tiles before installation to blend natural color variation and veining. Carrara marble features soft grey veining that benefits from careful layout planning.
- Use 1/16″ to 1/8″ grout joints. Straight edges allow tight grout lines, so consistency is important for a clean finished look.
Step 3: Mortar Application – Use White Thin-Set
Recommended Adhesives:
- Laticrete 254 Platinum White
- Mapei Ultraflex LFT White
- Ardex X77 or X5 White
Instructions:
- Apply thin-set mortar using a 1/4″ or 3/8″ square-notched trowel.
- Back-butter each tile to ensure full coverage and proper adhesion.
- Work in manageable sections so the mortar remains fresh and workable.
Step 4: Cutting & Fitting – Clean Marble Cuts
- Use a wet saw with a continuous rim diamond blade designed for marble to prevent chipping.
- Dry-fit all cut pieces before setting.
- Smooth exposed edges using a diamond polishing pad or stone file for a clean finish.
Step 5: Tile Setting – Level and Even Installation
- Set tiles into the mortar and gently tap with a rubber mallet to achieve proper alignment.
- Use a tile leveling system to maintain a flat surface and minimize lippage.
- Ensure straight edges align evenly to maintain consistent grout spacing.
- Remove excess mortar immediately to prevent haze or dulling of the polished marble surface.
- Allow at least 24 hours for the mortar to cure before grouting.
Step 6: Grouting & Sealing – Protect the Natural Marble
- Pre-seal the marble with a penetrating stone sealer before grouting to reduce staining and grout haze.
- Use non-sanded grout to prevent scratching polished marble.
- Apply grout diagonally across joints to ensure proper filling.
- Clean excess grout with a damp sponge and buff dry with a soft cloth after 15–20 minutes.
- Once grout has cured (typically 72 hours), apply a second coat of sealer for long-term protection.
Maintenance Tips – Long-Lasting Beauty
- Clean regularly using pH-neutral stone cleaners.
- Avoid acidic products such as vinegar, lemon, or harsh chemicals that can etch polished marble.
- Wipe spills quickly, especially oil, wine, and citrus liquids.
- Re-seal the marble every 6–12 months depending on usage.
- Use rugs or protective pads under furniture to prevent scratching.
Shipping & Packaging
Each 12″ x 12″ Carrara Polished Marble Tile with straight edge is carefully packaged and protected to prevent damage during transportation. Inspect all tiles prior to installation and store them in a dry, climate-controlled environment.
Important Note
Carrara marble is a natural stone and may display variation in tone, veining, and movement. Always dry-lay tiles before installation to achieve the best visual balance. Stone Market USA is not responsible for installation errors, improper substrate preparation, or natural variation within the stone.