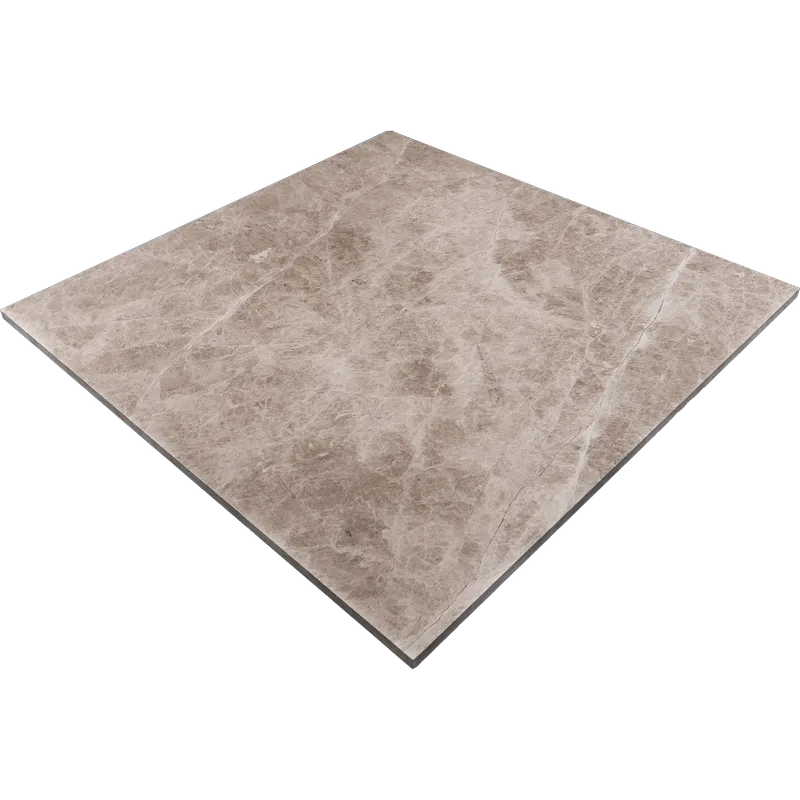
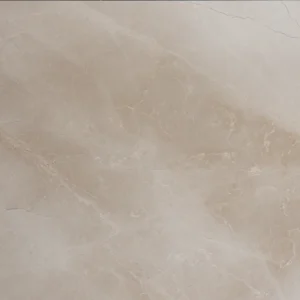
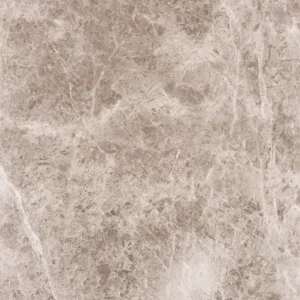
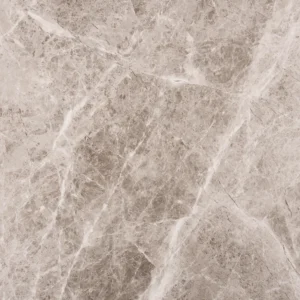
Silver Beige Diamond Tile 24″x24″ Honed – Beige Marble with Straight Edge
Understated Luxury in Every Inch
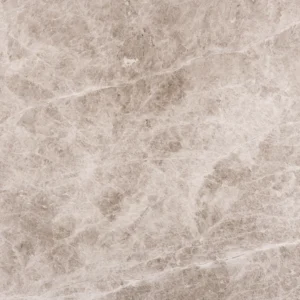
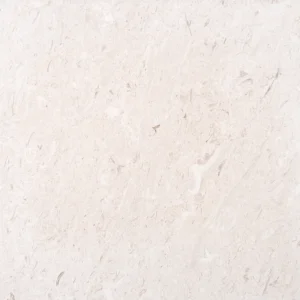
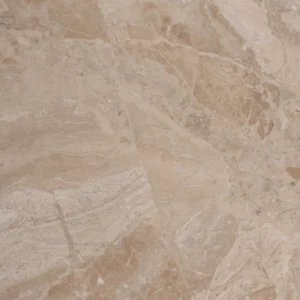
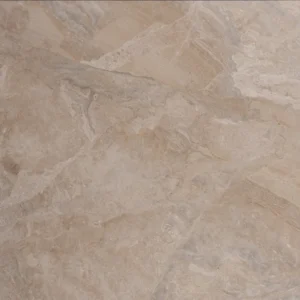
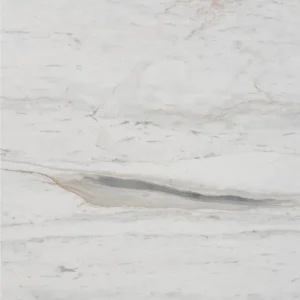
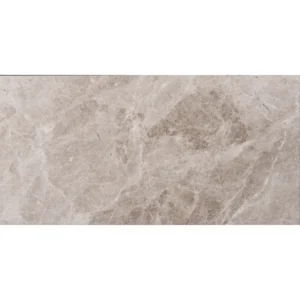
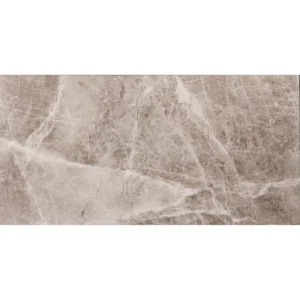
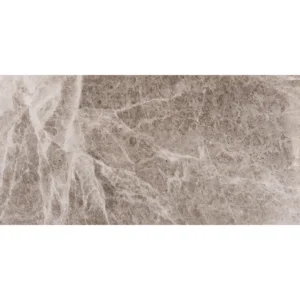
Step into elegance with the Silver Beige Diamond Tile 24″x24″ Honed. This captivating natural marble tile showcases warm cappuccino tones softly blended with subtle veining, delivering a calm yet sophisticated foundation for any interior. The honed finish brings a gentle matte texture that balances modern taste with timeless appeal—perfect for upscale homes or stylish commercial spaces.
Whether used to elevate bathroom walls, bring harmony to living room floors, or create an inviting entryway, the generous 24″x24″ format minimizes grout lines, offering a cleaner and more expansive visual flow. Its straight edge profile ensures seamless alignment, while the tile’s strength and classic tone make it a favorite among designers seeking subtle luxury.
Key Features
- Material: Natural Beige Diamond Marble
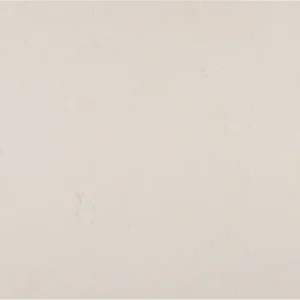
- Color: Warm cappuccino with soft natural veining
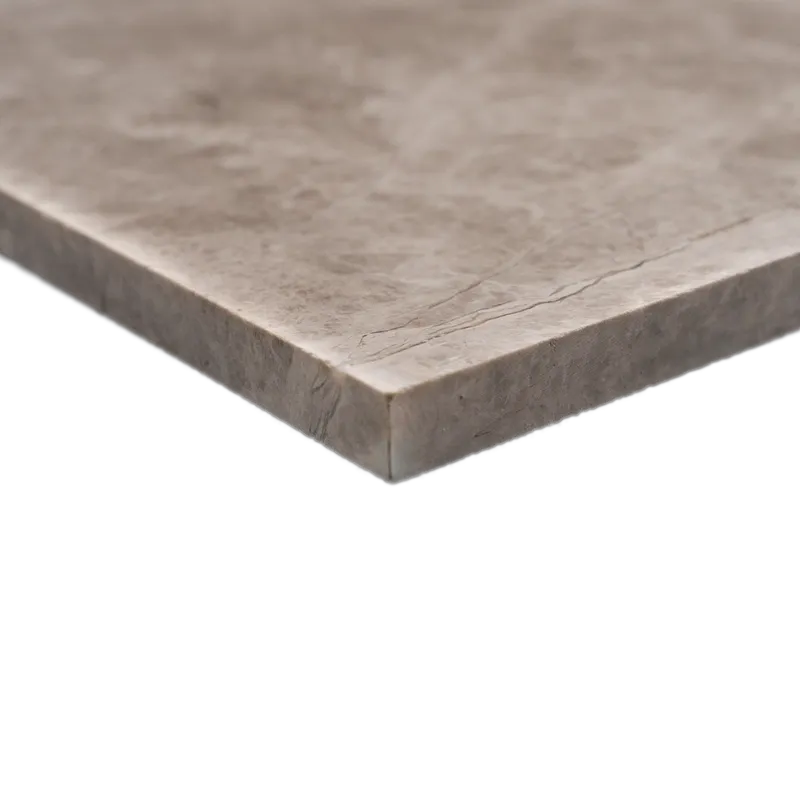
- Finish: Honed – matte texture for a refined, organic feel
- Size: 24″ x 24″ (61 cm x 61 cm)
- Thickness: 1/2″ (1.2 cm)
- Edge Detail: Straight edge for clean installation lines
- Packaging: Sold per box – 72 boxes cover 288 sq.ft. in total
Why Choose This Cappuccino Marble Tile?
- Balanced Elegance: Neutral yet rich tones pair easily with light or dark palettes
- Versatile Design: Complements contemporary, transitional, and classic interiors
- Low-Maintenance: Honed surface resists etching and is easy to clean
- Premium Look: Ideal for high-end residential and commercial designs
Perfect For
- Bathroom walls and floors for a spa-inspired atmosphere
- Open-concept living spaces needing warmth and texture
- Luxurious foyers and hallways with inviting aesthetics
- Feature walls that deserve a subtle, natural statement
Installation Guide for Silver Beige Diamond Polished Marble Tile 24″x24″
Ensure a smooth and long-lasting installation of your Silver Beige Diamond Polished Marble Tile 24″x24″ by following this step-by-step guide. Moreover, using proper techniques and materials will preserve the beauty and integrity of your tile for years to come.
Step 1: Surface Preparation
- Clean the installation area thoroughly to remove dust, dirt, and debris.
- Ensure the subfloor or wall surface is level, smooth, and dry before proceeding.
- Repair any cracks or uneven areas to provide a stable base for the tiles.
Step 2: Layout Planning
- Dry-lay the tiles to determine the optimal layout and minimize cuts.
- Mark reference lines to ensure proper alignment and symmetry.
- Start tiling from the center of the space and work outward for a balanced look.
Step 3: Adhesive Application
- Use a high-quality white thin-set mortar for best adhesion.
- Apply the adhesive evenly with a notched trowel, holding the trowel at a 45-degree angle.
- Cover small areas at a time to prevent the adhesive from drying before tile placement.
Step 4: Tile Installation
- Press each tile firmly into the adhesive, using slight twisting motions to ensure full contact.
- Use tile spacers to maintain consistent joint widths between tiles.
- Check frequently with a level to ensure tiles are even and aligned.
Step 5: Grouting
- Allow the adhesive to cure according to the manufacturer’s instructions (typically 24 hours).
- Remove tile spacers and clean any excess adhesive from the joints.
- Use a non-sanded grout to avoid scratching the polished surface.
- Apply the grout with a rubber float, working diagonally across the joints to fill them completely.
- Wipe away excess grout with a damp sponge before it dries.
Step 6: Sealing
- After the grout has fully cured (usually 48-72 hours), apply a premium penetrating stone sealer to protect against moisture and stains.
- Follow the sealer manufacturer’s instructions carefully for best results.
Step 7: Cleaning & Maintenance
- Use a pH-neutral, stone-safe cleaner for regular cleaning.
- Avoid acidic or abrasive cleaners that may damage the polished finish.
- Wipe up spills promptly to prevent staining.
Need Assistance? Contact our team for expert advice and additional tips on maintaining your Silver Beige Diamond Polished Marble Tile 24″x24″.