Myra Beige Tile 12″x24″ Honed – Refined Limestone in a Sleek Format
Soft Simplicity with Enduring Style
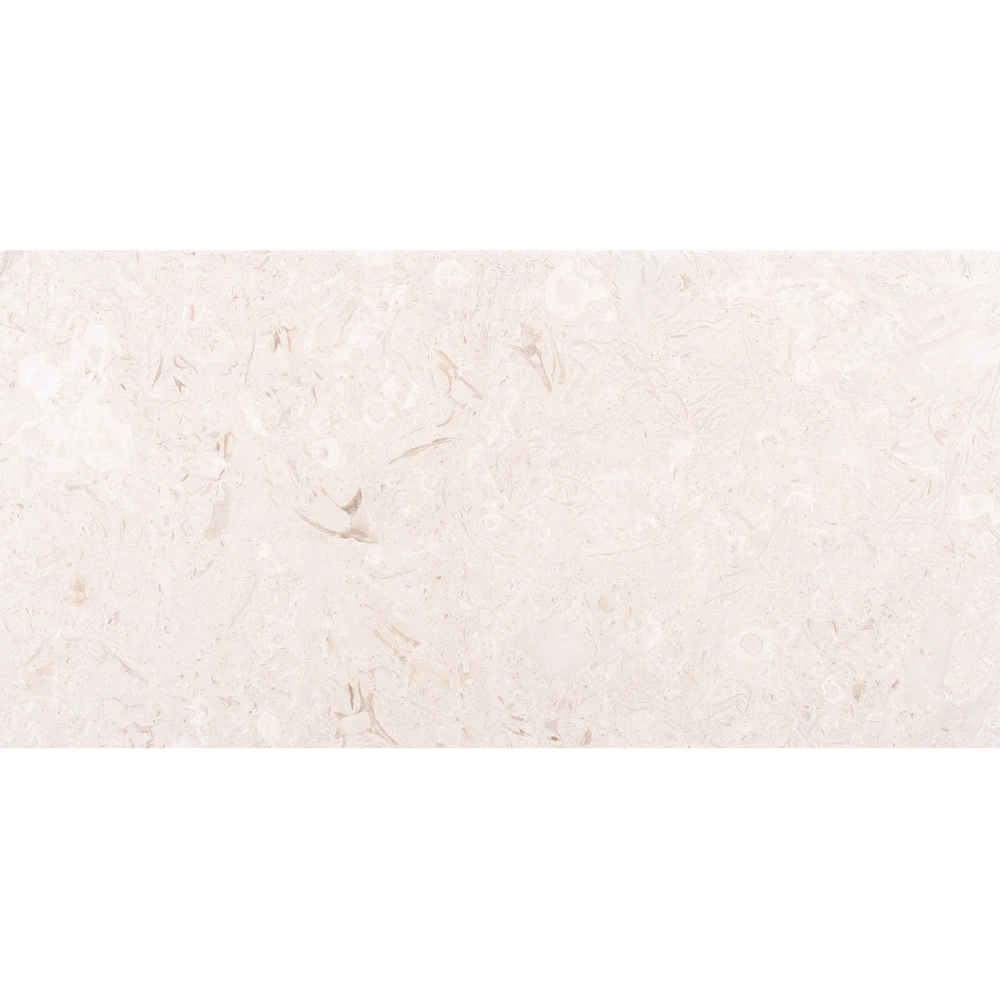
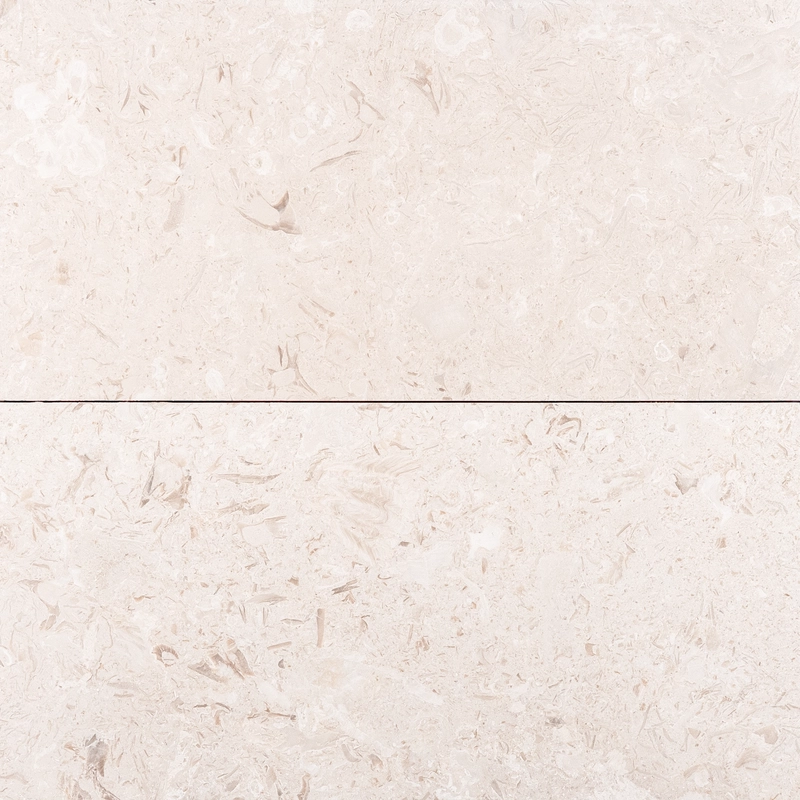
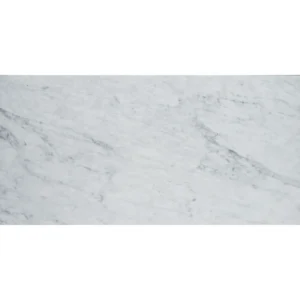
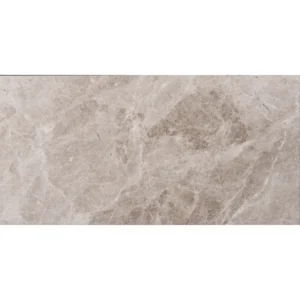
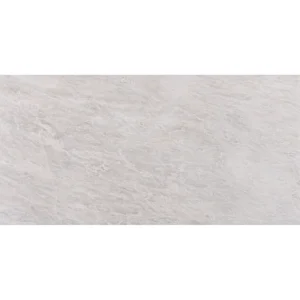
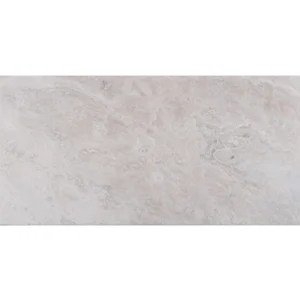
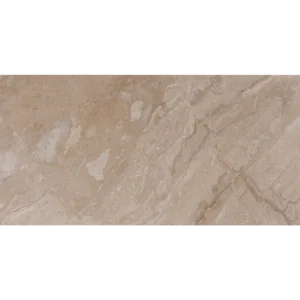
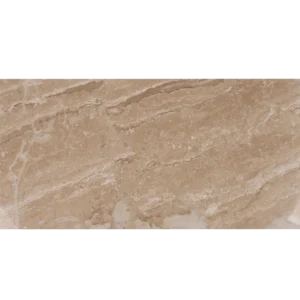
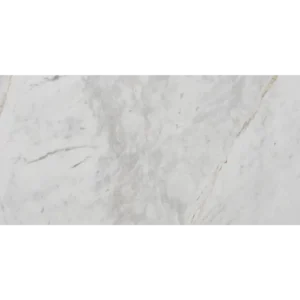
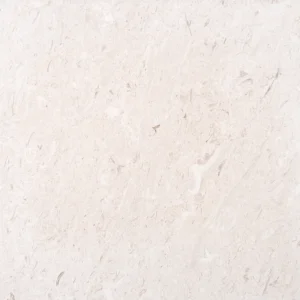
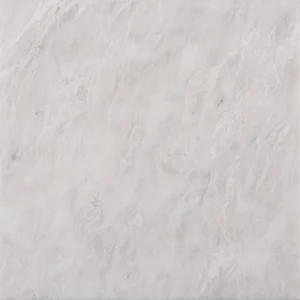
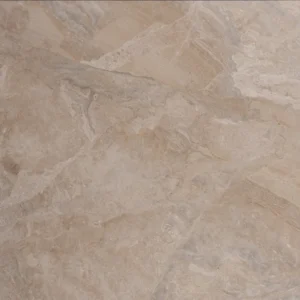
Give your space a grounded, natural elegance with the Myra Beige Honed Tile. Crafted from authentic Turkish limestone, this tile offers a soft beige color that complements any design scheme. The 12″x24″ size provides versatility for vertical and horizontal layouts, while its honed finish delivers a smooth, matte surface with a natural stone feel—ideal for creating serene, spa-like atmospheres.
Its rectangular shape adds visual length, making it a great option for smaller areas or transitional spaces. Whether you’re designing a residential bathroom or a commercial lounge, this tile provides subtle sophistication and timeless warmth.
Product Features – 12″x24″ Myra Beige Honed Limestone Tile
- Material: Premium Myra Beige Limestone
- Finish: Honed – for a soft, matte texture
- Color: Neutral beige with organic tonal shifts
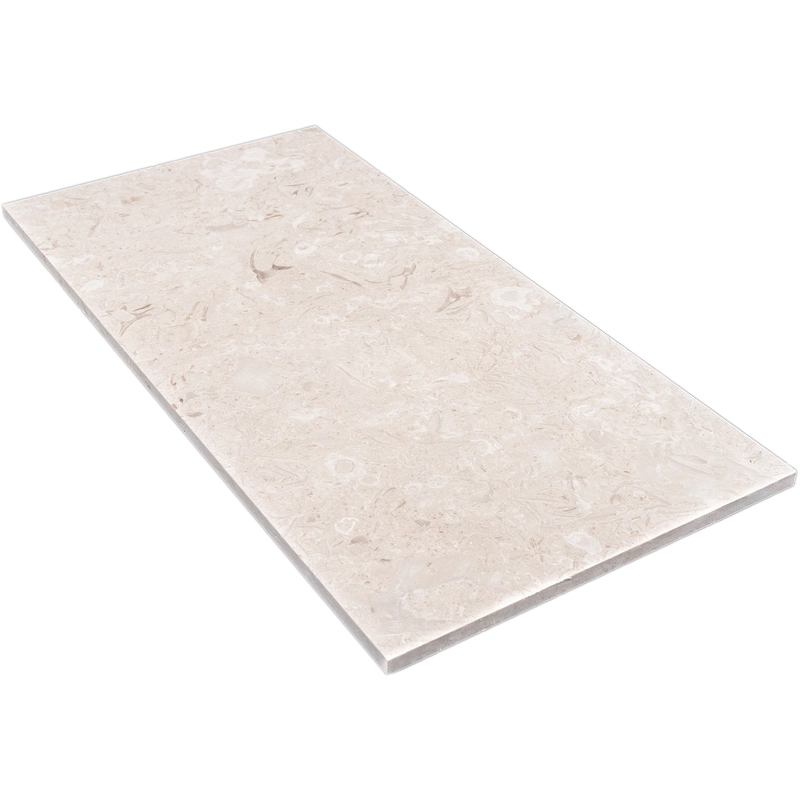
- Size: 12″x24″ (30.5×61 cm)
- Thickness: 0.47″ (1.2 cm)
- Edge Detail: Precision-cut straight edge
- Applications: Interior walls, bathrooms, kitchens, and light-duty floors
Why Choose 12″x24″ Myra Beige?
This tile is perfect for clean, modern designs or warm traditional spaces. Its understated tone adapts easily to various materials like wood, glass, or brushed metal. With fewer grout lines and easy maintenance, it balances aesthetics and practicality effortlessly.
Installation Guide – Step by Step
Step 1: Surface Preparation – Strong and Smooth
- Inspect the substrate for levelness and soundness. Surface must be clean, dry, and debris-free.
- Correct any dips or peaks using a self-leveling compound—rectangular tiles require very flat substrates to avoid lippage.
- In wet areas, apply a waterproof membrane to protect the stone and underlying structure.
Step 2: Layout Planning – Ensure Symmetry
- Mark your center lines and dry-lay tiles to find the best starting point and to balance cut tiles at edges.
- Blend tiles from multiple boxes to balance the natural variation in Myra Beige limestone’s warm beige tones.
- Maintain consistent grout spacing of **1/16″ to 1/8″**, especially with straight edges, to preserve alignment and clean lines.
Step 3: Mortar Application – Use White Thin-Set
Recommended Thin-Set:
- Mapei Ultraflex LFT White
- Laticrete 254 Platinum White
- Ardex X77 or X5 White
Instructions:
- Use a 1/2″ square-notched trowel to spread thin-set evenly.
- Back-butter each tile to ensure full bonding and eliminate air pockets beneath the stone.
- Apply mortar in small sections and avoid walking on freshly set areas.
Step 4: Cutting & Fitting – Accurate and Clean
- Use a wet saw with a diamond blade rated for limestone for smooth, chip-free cuts.
- Test-fit each cut tile before installing to ensure proper alignment.
- Smooth exposed cuts with a marble file if needed.
Step 5: Tile Setting – Flat and Aligned
- Start setting from your layout lines, placing tiles carefully into mortar and adjusting for height and spacing.
- Use a leveling system to prevent lippage and maintain flush surfaces.
- Clean off any excess mortar from the surface and grout joints before it sets.
- Allow at least 24 hours of curing time before grouting.
Step 6: Grouting & Sealing – Finish and Protect
- Pre-seal the stone using a penetrating sealer to prevent grout staining.
- Use unsanded or fine-sanded grout for narrow joints; choose a shade that complements the limestone’s color range.
- Apply grout diagonally with a rubber float and wipe promptly with a damp sponge.
- After grout cures, apply a final coat of sealer for long-lasting protection.
Maintenance Tips – Long-Term Care
- Clean with a pH-neutral, stone-safe cleaner—never use acidic or bleach-based products.
- Re-seal the surface every 6 to 12 months, depending on traffic and exposure.
- Use rugs or felt pads to protect against scratches from furniture or shoes.
- Wipe up spills immediately to prevent absorption or staining.
Shipping & Packaging
Each 12″ x 24″ Myra Beige Limestone Tile is cushioned and boxed with care. Store in a dry, climate-controlled area and inspect thoroughly before installation.
Important Note
As a natural stone, Myra Beige limestone may include tonal variation and fossil markings. Dry-lay and plan your layout prior to installation. Stonemarket USA assumes no responsibility for installation errors or site-related issues.