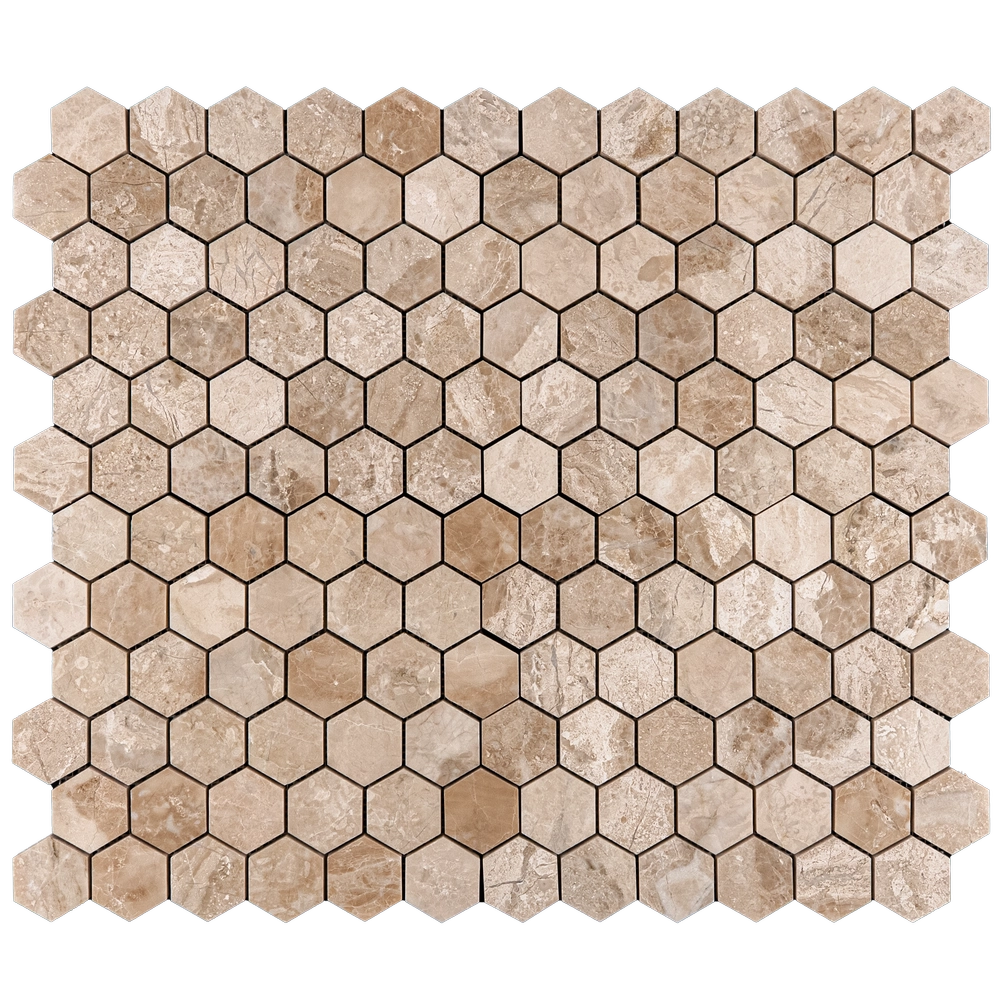
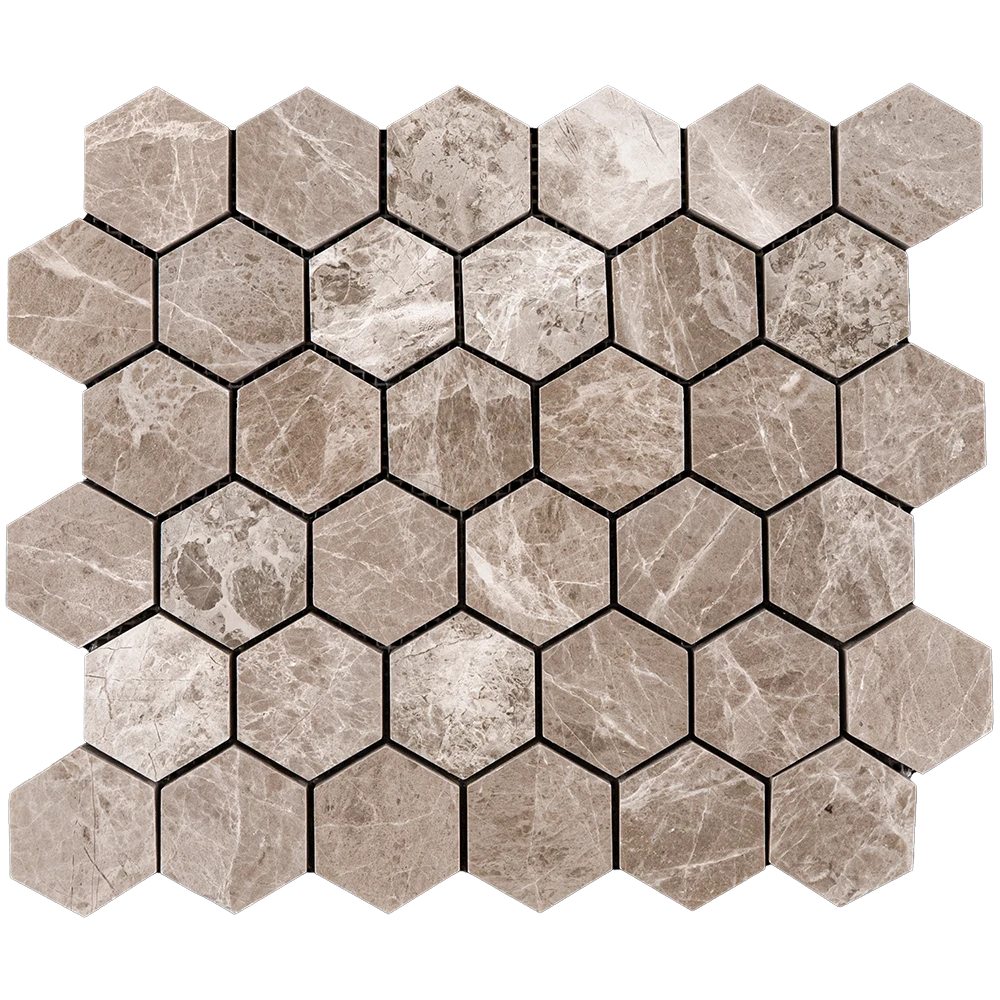
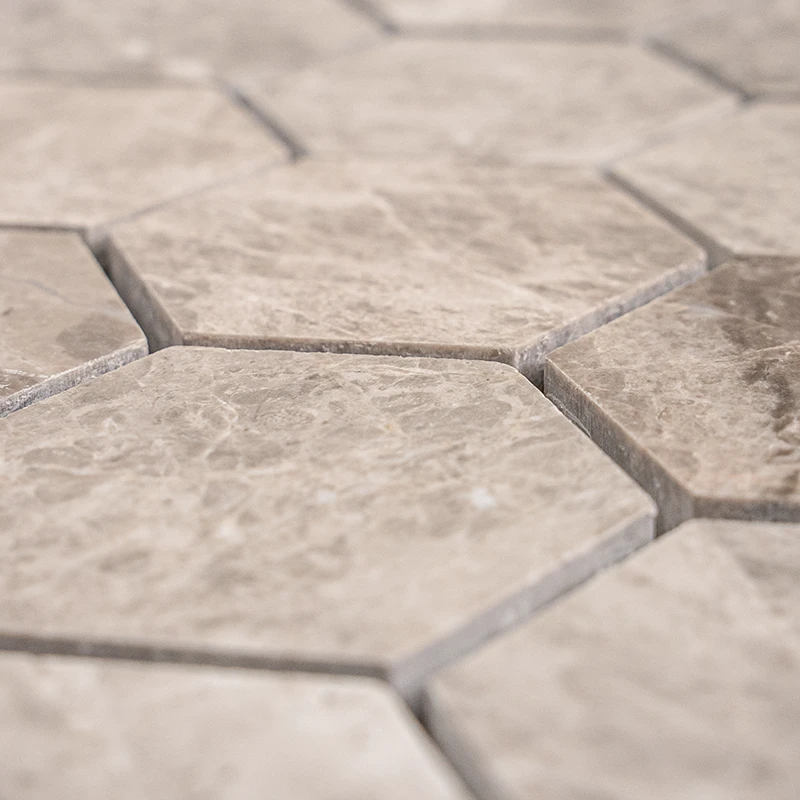
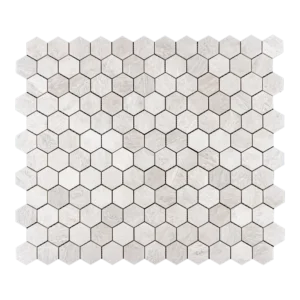
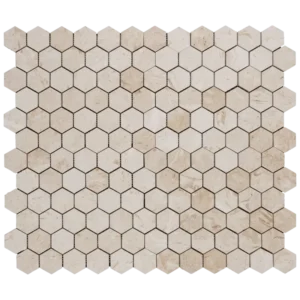
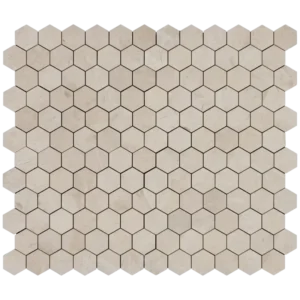
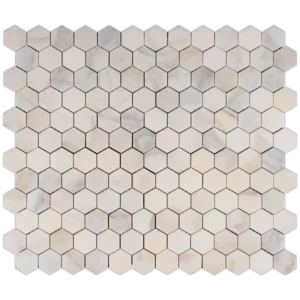
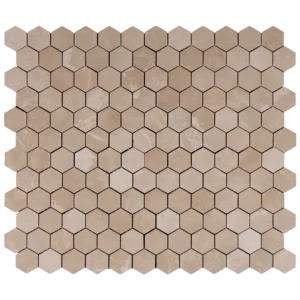
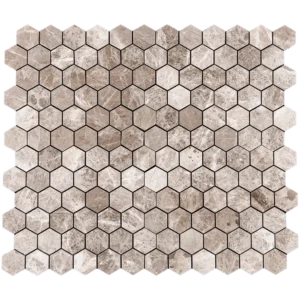
Loading... (Warehouse Local Time)
Mon–Fri: 9:00 AM – 6:00 PM |

Royal Beige Marble Mosaic Tile – 2 inch Honeycomb Polished

The Royal Beige 2 Inch Honeycomb Polished Marble Mosaic Tile features natural beige marble in a honeycomb design. A polished finish adds elegance, making it ideal for backsplashes, bathrooms, and accent walls.

$12.99 / Piece

Item Code: MM089-24164 Category

720 Pieces in stock

Est. Coverage: 0.87 sq. ft. per piece | 4.35 sq. ft. per box | 314 sq. ft. per crate | Request Info
Note on Samples:
Sample pieces are small cut sizes, approximately 3" x 3" to 8" x 8", and intended for color and finish reference only.
If you need a full-size sample, please contact us.

Request Custom Pricing for Large Orders

Planning a large project? Orders over 500 sq. ft., full crates, or commercial applications may qualify for exclusive volume pricing. Reach out today and let us provide a custom quote tailored to your needs.

Request Volume Quote
  • Volume pricing available for qualified bulk orders.
  • We offer custom sizes, finishes, and crate-based shipments.

Size & Shape Options

The Royal Beige 2 Inch Honeycomb Polished Marble Mosaic Tile adds timeless charm to any interior space. Its warm beige tones and natural veining bring elegance while the polished surface reflects light beautifully, creating an inviting atmosphere.

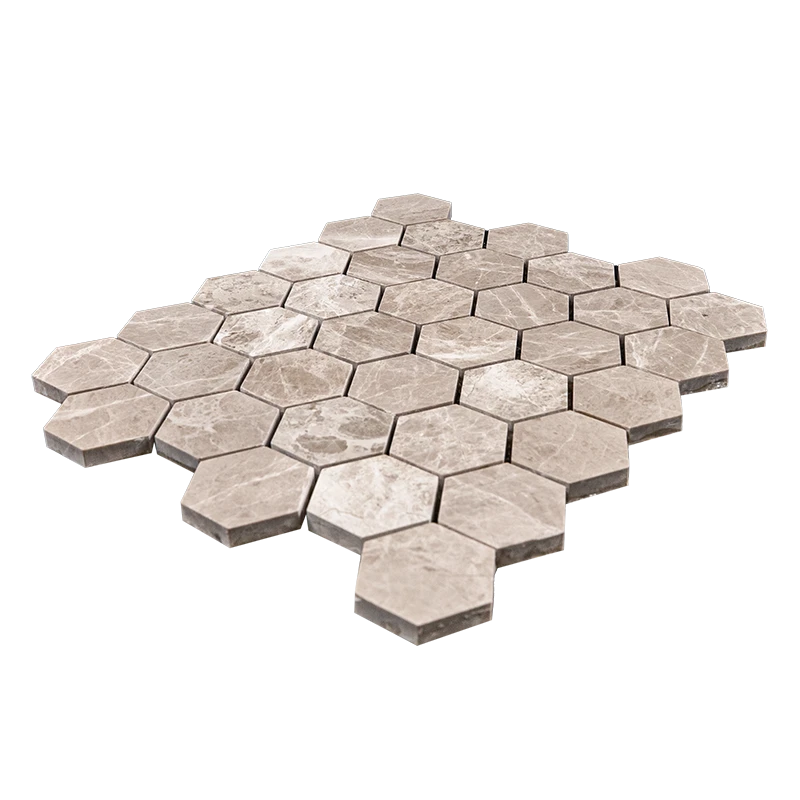
Because of its geometric honeycomb pattern, this mosaic provides both modern appeal and classic character. It works well in kitchens, bathrooms, and living spaces, offering a versatile design that blends with different styles. In addition, the 2-inch format ensures seamless coverage on walls, backsplashes, or floors.

  • Material: Premium Royal Beige marble
  • Finish: Polished for a smooth, reflective surface
  • Shape: 2-inch honeycomb mosaic pieces
  • Applications: Kitchens, bathrooms, accent walls, and shower floors
  • Design: Combines classic marble with a modern geometric look

Durable and stylish, these Royal Beige Honeycomb Mosaic Tiles fit both residential and commercial projects. Their polished finish highlights the richness of beige marble while also brightening up interiors. As a result, they remain an excellent choice for designers and homeowners who want beauty with lasting strength.

Weight4.81 lbs
Dimensions12 × 10.4 × 0.40 in
Chip Size (Inches)

Collection

Royal Beige Collection

Color

Design

Honeycomb, Waterjet Decos

Finish

Material

Size (inches)

Thickness

Usage Area

Backsplash, Commercial Interior Walls, Outdoor Walls, Residential Interior Floors, Residential Interior Walls, Shower Floors, Shower Walls

Installation Guide – Royal Beige 2″ Honeycomb Polished Marble Mosaic Tile

Material Notes

  • Natural Royal Beige marble with a polished finish.
  • 2″ hex (“honeycomb”) chips, mesh-mounted on ~12″x12″ sheets.
  • Suitable for walls, backsplashes, shower surrounds, and light-traffic residential floors (confirm slip needs in wet areas).

Step 1: Surface Preparation

  • Substrate must be clean, dry, sound, and flat (≤1/8″ in 10′). Patch or skim-coat as needed.
  • Approved substrates: cement backer board, properly cured concrete, or mortar bed meeting ANSI standards.
  • Wet areas: install an ANSI A118.10 waterproofing membrane per manufacturer instructions.

Step 2: Dry Layout & Planning

  • Blend sheets from multiple cartons to distribute natural shade/vein variation.
  • Snap level reference lines; plan balanced perimeter cuts and around fixtures.
  • Trim mesh edges so sheets interlock and the hex pattern continues seamlessly; stagger sheet seams to avoid a visible grid.

Step 3: Adhesive (White Thin-Set) Application

Use:

  • White, polymer-modified thin-set (ANSI A118.4/A118.15) rated for natural stone. Avoid mastics/premixed adhesives, especially in wet zones.

Trowel & Technique:

  • 3/16″ V-notch (or 1/4″ × 3/16″ V-notch) on flat substrates.
  • Key in with the flat side, comb in one direction, then lightly flatten ridges to prevent telegraphing through the mosaics.
  • Work in small areas (10–15 minutes open time) to avoid skinning.

Step 4: Setting the Sheets

  • Set along layout lines, interlocking edges so hex joints align uniformly.
  • Embed with a rubber grout float or beating block to achieve full contact and a flat plane.
  • Lift and reset if lippage occurs; back-butter individual chips where needed.
  • Immediately clean squeeze-through thin-set from joints and faces with a damp sponge.

Step 5: Cutting & Detailing

  • Use a wet saw with a continuous-rim diamond blade suitable for marble; tape the cut line to minimize chip-out.
  • For tiny trims, use mosaic nippers sparingly; dress exposed cuts with a rubbing stone.
  • Finish exposed edges with stone trim, metal profiles, or matching moldings.

Step 6: Grouting (Polished Marble)

  • Allow thin-set to cure (typically 24 hours).
  • Use unsanded grout for joints ≤1/8″ to prevent scratching the polished surface.
  • On light beige marble, consider a marble-safe grout release or pre-seal to reduce pigment uptake.
  • Pack joints diagonally with a rubber float; clean with minimal water to avoid washout or shading.

Step 7: Sealing

  • After grout cures (≈72 hours), apply a penetrating, breathable sealer approved for marble and grout.
  • Re-seal periodically based on exposure (e.g., every 1–2 years in wet or high-use areas).

Maintenance

  • Use pH-neutral, non-abrasive stone cleaners only; avoid acids, bleach, vinegar, or abrasive pads.
  • In showers, wipe/squeegee after use to limit mineral deposits; use marble-safe scale removers if needed.

Movement Joints

  • Honor structural joints and provide soft joints per TCNA EJ171 at perimeters, changes of plane, and large expanses.
  • Use 100% silicone (stone-safe) at inside corners and where tile meets dissimilar materials.

Important Notes & Disclaimer

  • Always use white thin-set under light Royal Beige marble to prevent shadowing/picture framing.
  • Natural stone varies in tone and veining; dry-lay and blend sheets before setting. Expect slight size/thickness tolerances common to mosaics.
  • Stonemarket USA is not responsible for substrate issues or improper installation. Professional installation is recommended.

Category
Category
Material
Material
Color
Color
Size
Size
Finish
Finish
Design
Design
Thickness
Thickness
Application
Usage Area
Request a Quote
Tell us briefly about your project, sq ft, and timing.