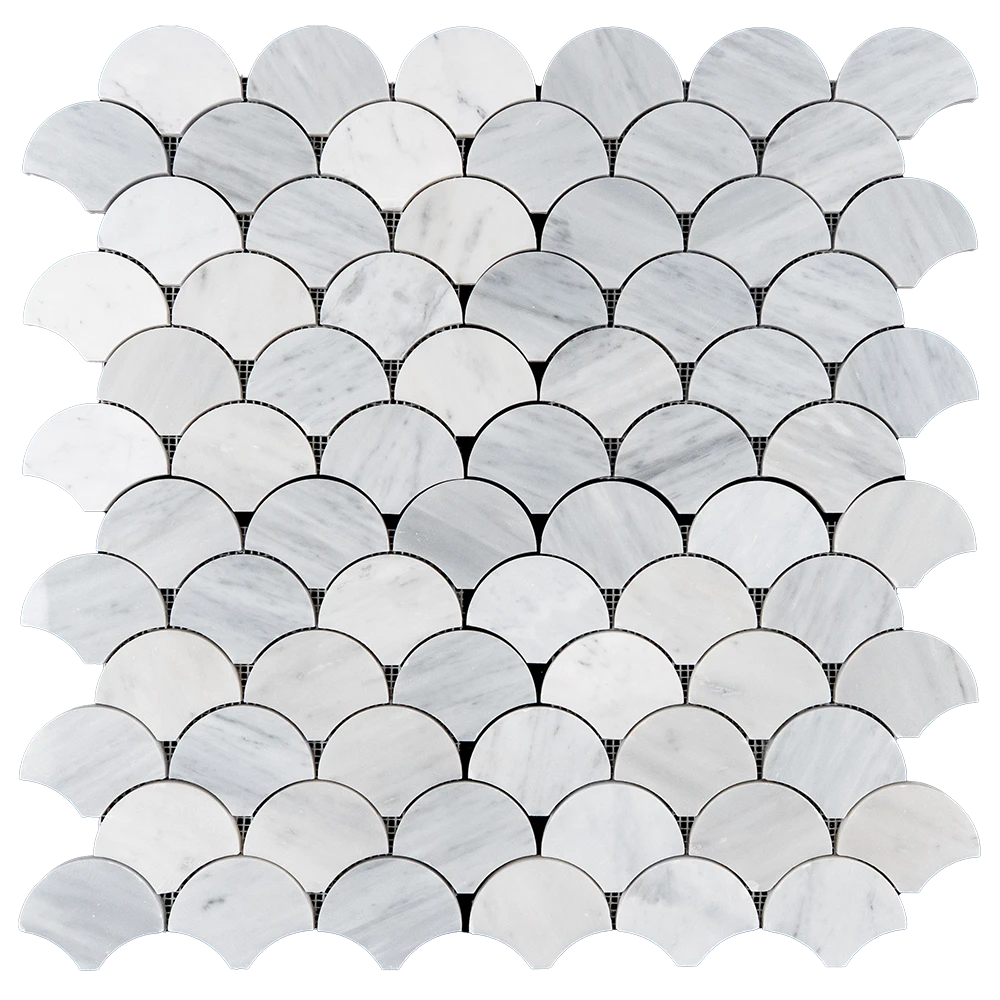
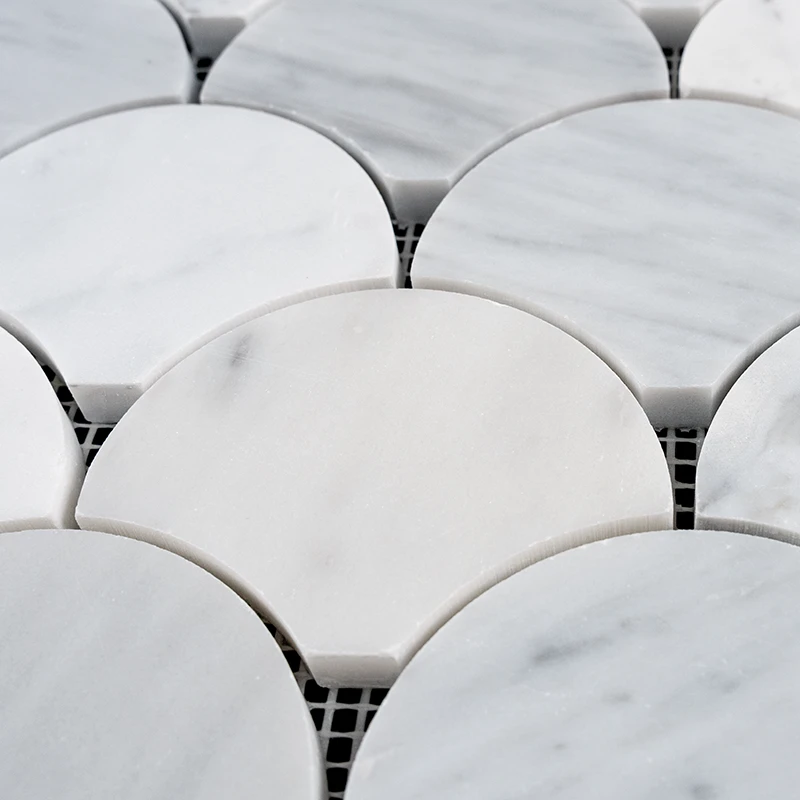
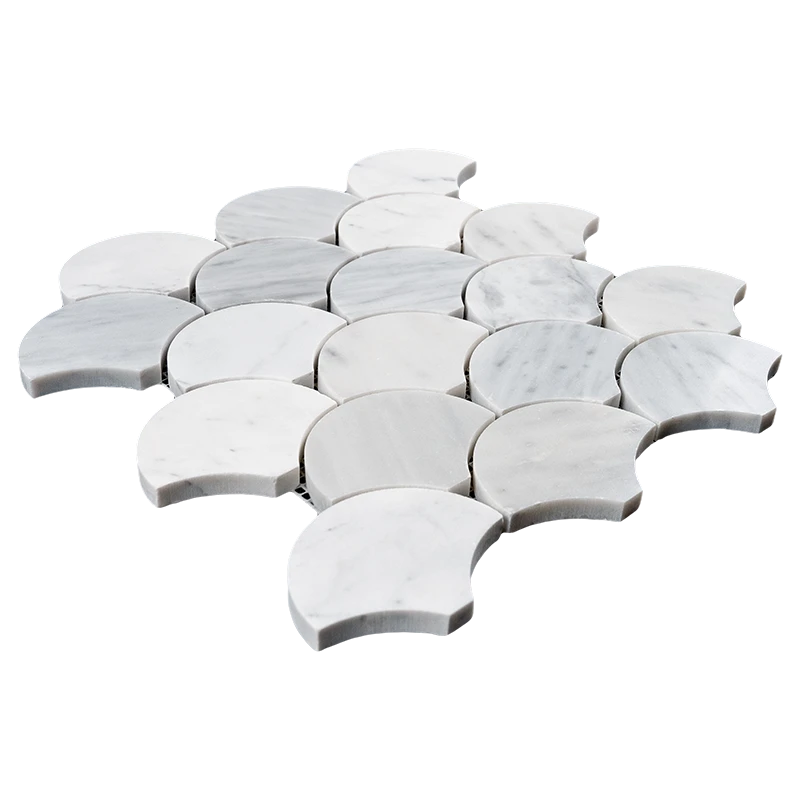
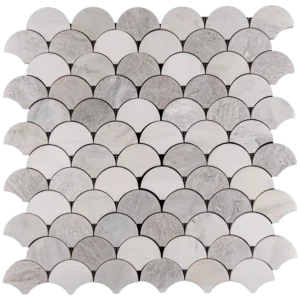
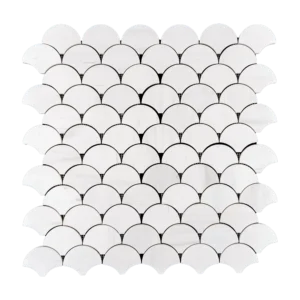
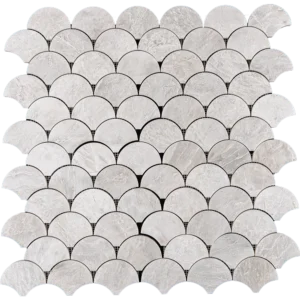
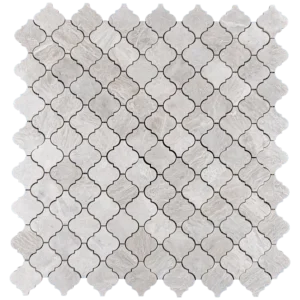
Fish Scale Carrara White Marble Mosaic Tile – Polished Finish (10.4″ x 27.8″)
Achieve Elegant Curves with Professional Installation
Ensure a flawless finish and lasting performance by following this expert installation guide for your Fish Scale Carrara White Marble Mosaic Tile. Each step is designed to protect the polished surface, support proper placement, and enhance the flowing fish scale pattern.
Step 1: Surface Preparation – Start with a Clean and Level Base
- Make sure the surface is clean, dry, and free of debris, grease, or soap scum
- Check that the substrate is solid and level with no cracks or movement
- Apply a waterproof membrane in wet areas like bathrooms and backsplashes
- Remove any baseboards, outlet covers, or trim that may obstruct the layout
- Use a self-leveling compound for uneven surfaces
Step 2: Layout Planning – Center the Flowing Pattern
- Find the center of each wall and snap chalk lines to create a reference grid
- Dry-lay the mosaic sheets to preview the layout and spacing
- Adjust to avoid narrow cuts at the perimeter
- Use 1.5–3mm spacers to maintain uniform grout joints
- Align the sheets carefully to keep the curved pattern consistent
Step 3: Adhesive Application – Use High-Quality Thin-Set
Recommended Thin-Set Mortars:
Application Instructions:
- Mix only the amount of mortar you can apply within 30 minutes
- Spread mortar with the flat side of a 1/4″ notched trowel
- Comb the surface with the notched side at a 45° angle
- Back-butter each sheet to strengthen the bond
- Work in small sections to avoid drying before placement
Step 4: Cutting & Fitting – Follow the Curves with Precision
- Use a wet saw with a diamond blade for clean curved cuts
- Mark cut lines with a pencil or wax marker
- Smooth edges using a rubbing stone to protect the finish
- Use tile nippers for smaller adjustments around fixtures
- Dry-fit all pieces before applying mortar
Step 5: Setting the Tiles – Follow the Fish Scale Pattern
- Start from the center and work outward for symmetrical balance
- Press each sheet into mortar with a gentle twisting motion
- Avoid sliding sheets to keep alignment and adhesion
- Use spacers to preserve even grout lines
- Tap gently with a rubber mallet for flush installation
- Clean off excess mortar with a damp sponge
- Allow 24 hours to cure before moving to grout
Step 6: Grouting & Sealing – Protect the Polished Marble
- Remove all spacers before applying grout
- Use unsanded grout to prevent scratching the polished surface
- Apply grout diagonally using a rubber float
- Wipe off excess grout immediately
- Clean the haze with a damp sponge after 15–20 minutes
- Allow grout to fully cure for 72 hours
- Apply a penetrating marble sealer to protect from stains and moisture
Maintenance Tips – Preserve the Natural Elegance
- Clean with pH-neutral stone cleaners regularly
- Avoid abrasive pads and acidic cleaning agents
- Reapply sealer periodically for ongoing protection
- Use soft pads under furniture to prevent surface scratches
Important Notice
Stonemarket USA is not responsible for improper installations. We highly recommend professional installation and the use of premium materials to ensure the best results.
Need Help?
Contact our expert support team or get connected with a licensed tile installer in your area.
Contact: [Your Contact Info]
Ready to Elevate Your Design?
Click here to order your Fish Scale Carrara White Marble Mosaic Tile and add timeless movement and style to your next project.