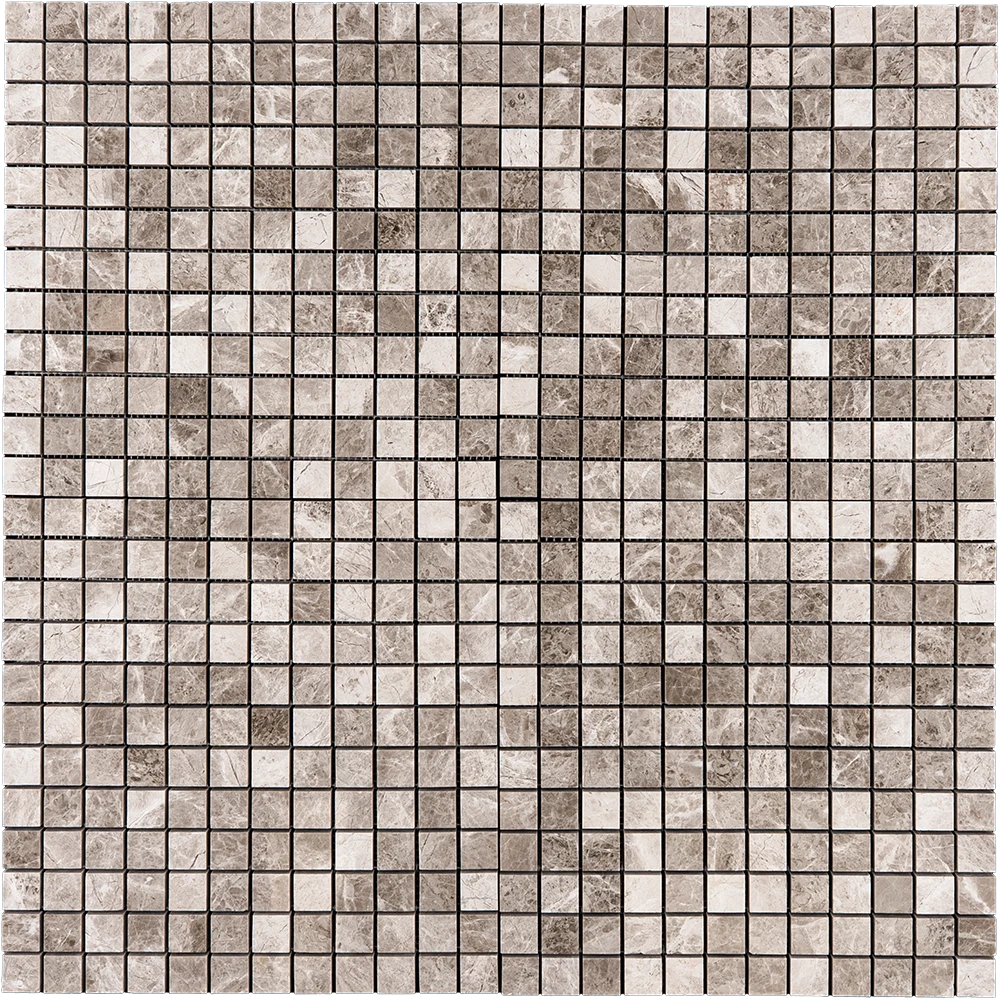
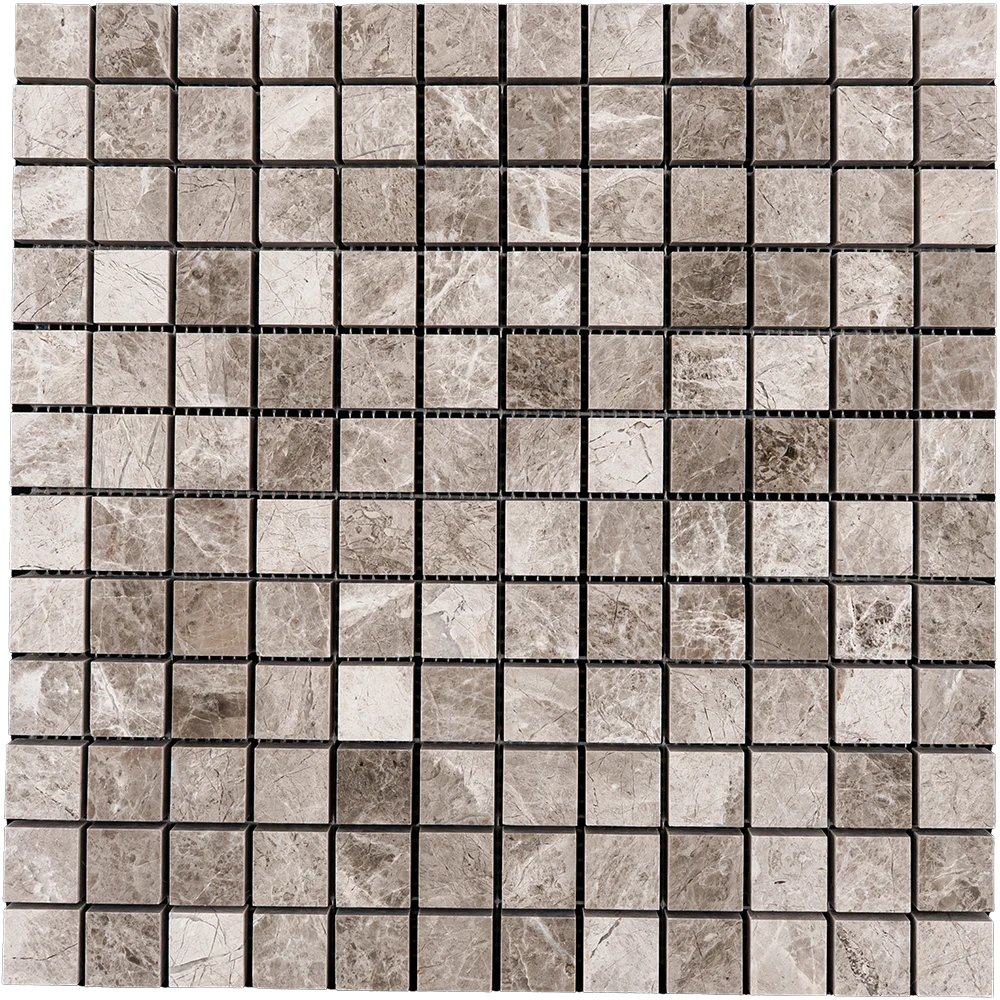
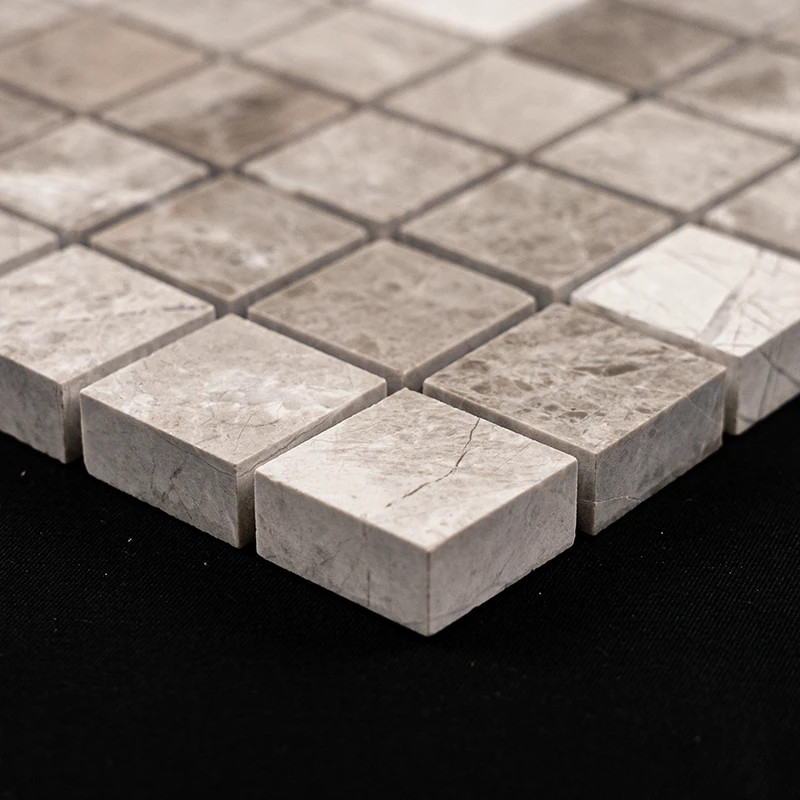
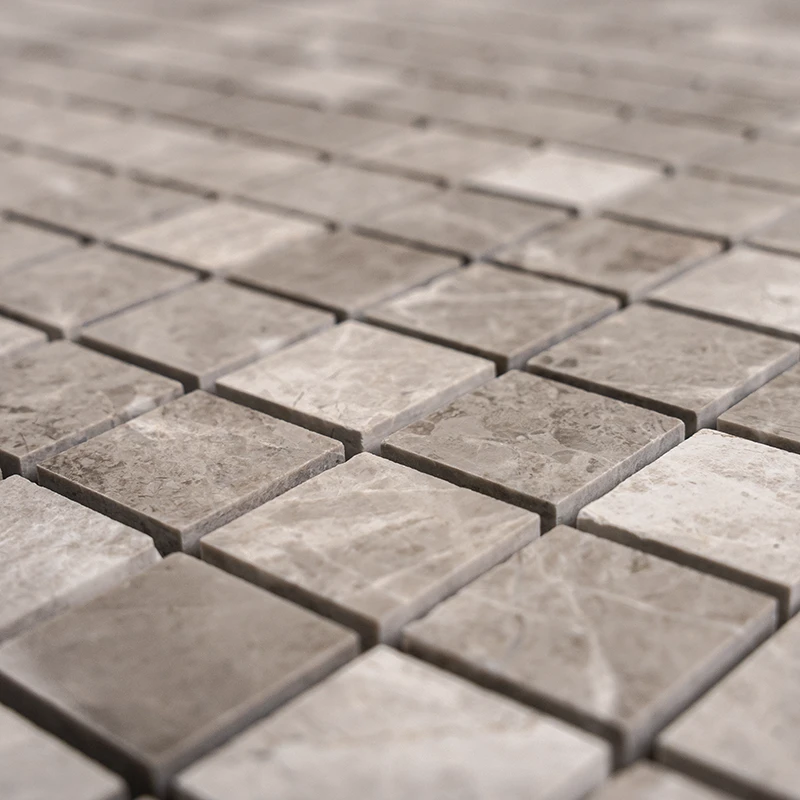
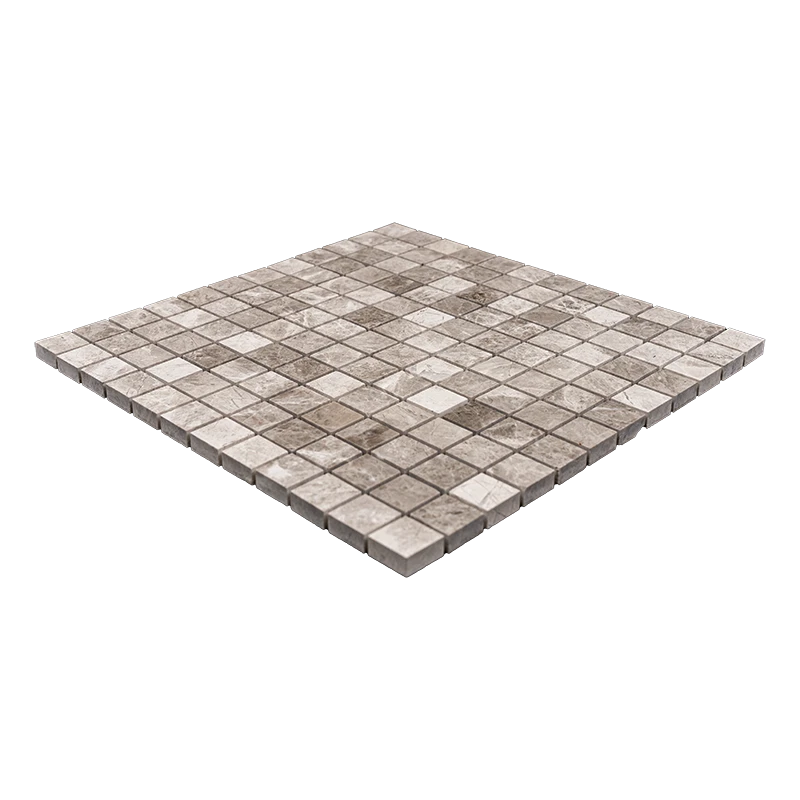
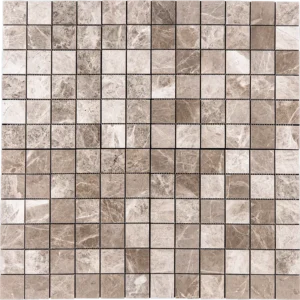
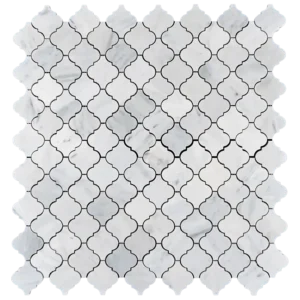
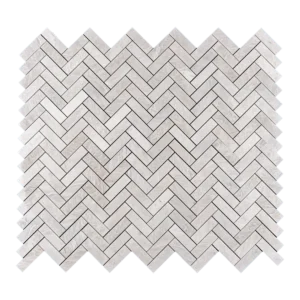
Maximize the Performance of Your Silver Beige Diamond Polished Marble Mosaic Tile 12×12
Achieve a flawless and long-lasting installation by following these essential steps for preparing, installing, and finishing your Silver Beige Diamond Polished Marble Mosaic Tile 12×12. Proper installation ensures durability while enhancing the stone’s natural beauty.
Step 1: Surface Preparation
A well-prepared surface is critical for a successful tile installation. Ensure the substrate is:
- Clean, dry, and free from wax, grease, soap scum, and debris.
- Structurally sound and level, with no cracks or loose sections.
- Properly waterproofed, especially in moisture-prone areas.
- Cleared of any moldings or obstructions that may interfere with tile placement.
- If necessary, apply a self-leveling compound to create an even surface before installation.
Step 2: Layout Planning
- Measure the installation area and mark the center points of all four walls.
- Snap chalk lines between opposite walls to establish a precise grid for tile alignment.
- Dry-lay a row of tiles along the center lines in both directions to ensure even distribution and a balanced pattern.
- Adjust the center line if edge cuts are too small.
- Use tile spacers to maintain uniform grout joints.
Step 3: Selecting & Applying Adhesive
Choosing the right adhesive is crucial for a strong bond. We recommend using a high-quality white thin-set mortar, such as:
Application:
- Mix only the amount of mortar that can be used within 30 minutes.
- Apply a 1/4-inch adhesive layer using the flat side of a notched trowel.
- Comb the adhesive with the notched side of the trowel at a 45-degree angle to create even ridges.
- Work in small sections (2’ x 3’) to prevent the mortar from drying before tile placement.
- For moisture-sensitive stones, use a setting material recommended by the manufacturer.
Step 4: Cutting & Fitting Tiles
- Mark tiles accurately using a pencil or marker.
- Use a tile cutter for straight cuts and a wet saw with a diamond blade for precise edges.
- Smooth rough edges with a rubbing stone.
- For curved cuts, use a tile nipper to chip away excess material gradually.
- Dry-fit all tiles before applying mortar to ensure a snug fit.
Step 5: Setting the Tiles
- Start laying tiles from the center of the room, working outward within each grid.
- Place tiles with a slight twisting motion to secure a firm bond.
- Avoid sliding tiles into position to prevent mortar displacement.
- Use spacers to maintain consistent grout joints.
- Tap each tile gently with a rubber mallet to ensure even placement.
- Wipe off excess mortar with a damp sponge.
- Allow the adhesive to cure for at least 24 hours before proceeding with grouting.
Step 6: Grouting & Finishing
- Remove tile spacers before applying grout.
- Use a high-quality, non-sanded grout for polished marble mosaics.
- Spread the grout diagonally across the tiles using a rubber float, ensuring joints are completely filled.
- Remove excess grout immediately using the float’s edge.
- Wait 15–20 minutes, then wipe off the grout haze with a damp sponge.
- Allow grout to cure for 72 hours before exposing the surface to heavy use.
- Apply a penetrating sealer after the grout has fully cured to protect the stone from stains and moisture.
Maintenance Tips
- Use pH-neutral stone cleaners to maintain the natural look of polished marble tiles.
- Avoid acidic or harsh cleaning agents that may damage the surface.
- Reseal the stone regularly to maintain its durability and appearance.
- Place felt pads under furniture to prevent scratches.
Important Notice:
Stonemarket USA is not responsible for improper installations. For best results, we strongly recommend hiring a professional tile installer and using premium-grade materials.
For any questions, contact Stonemarket USA Customer Support at [your contact information].
By following these expert installation guidelines, you’ll enjoy the timeless beauty and durability of your Silver Beige Diamond Polished Marble Mosaic Tile 12×12 for years to come.