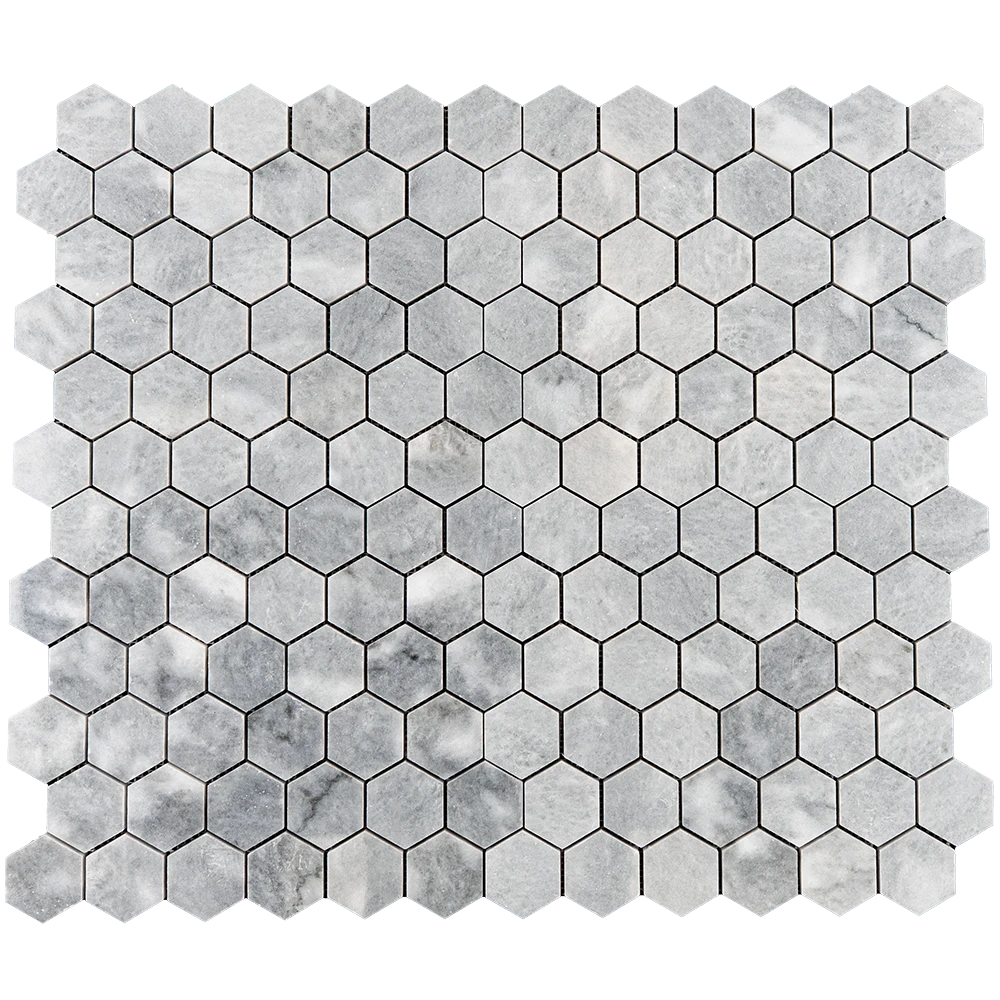
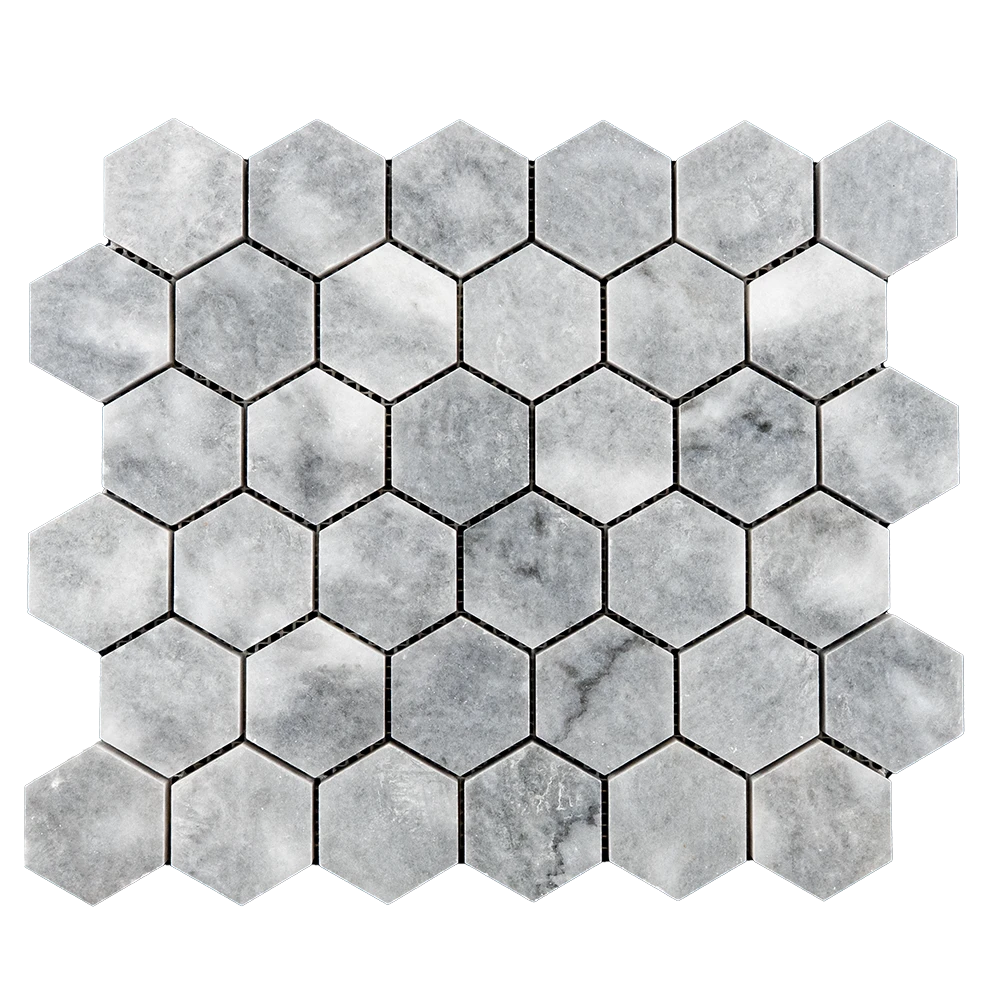
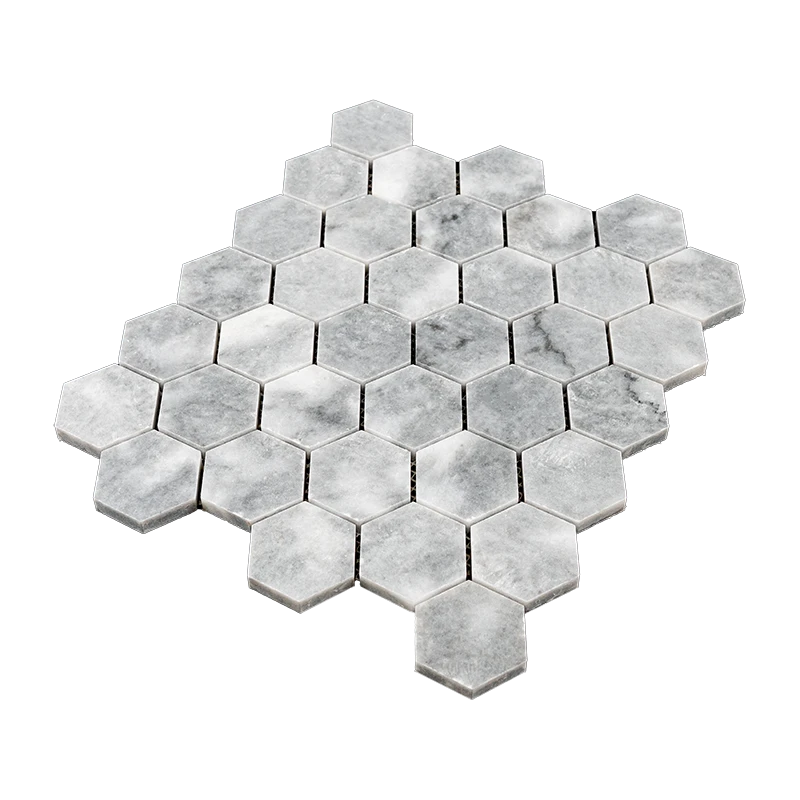
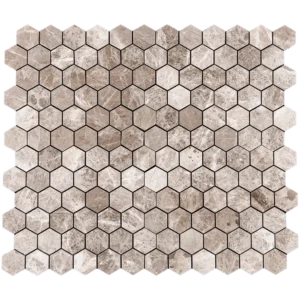
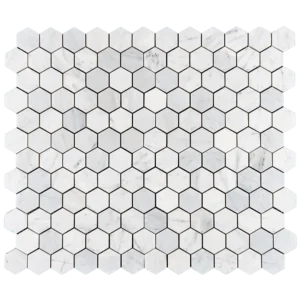
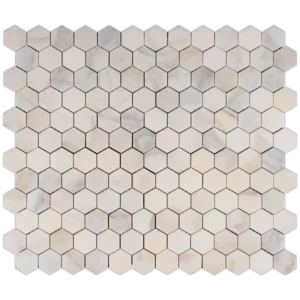
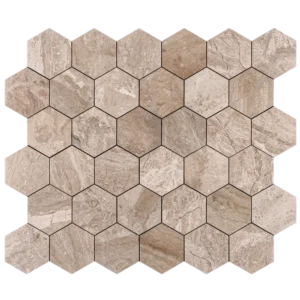
2″ Hexagon Bardiglio Grey Marble Mosaic Tile – Polished Finish
Structured Geometry Meets Soft Grey Elegance
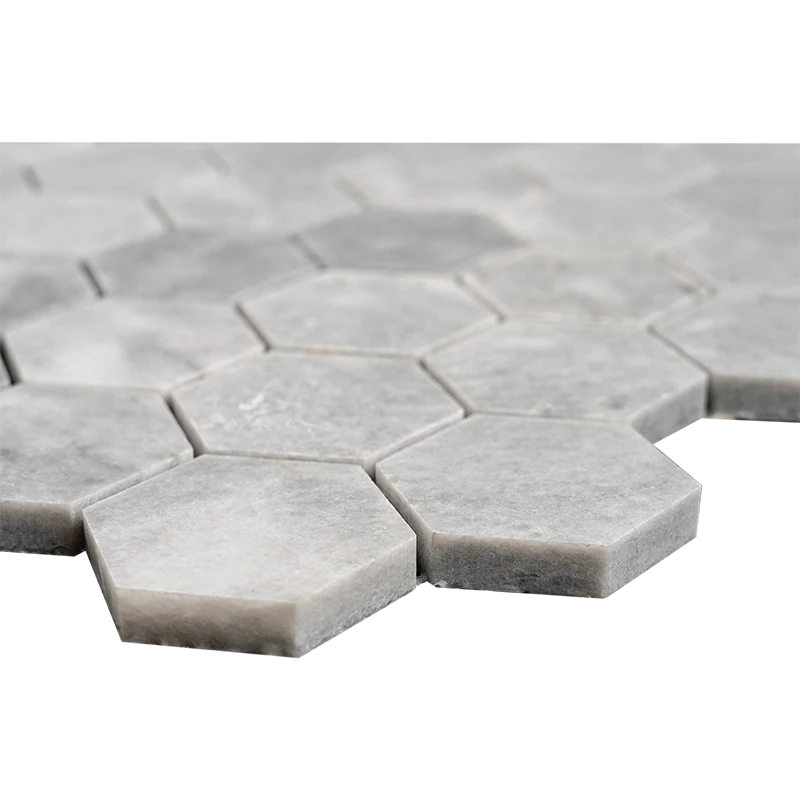
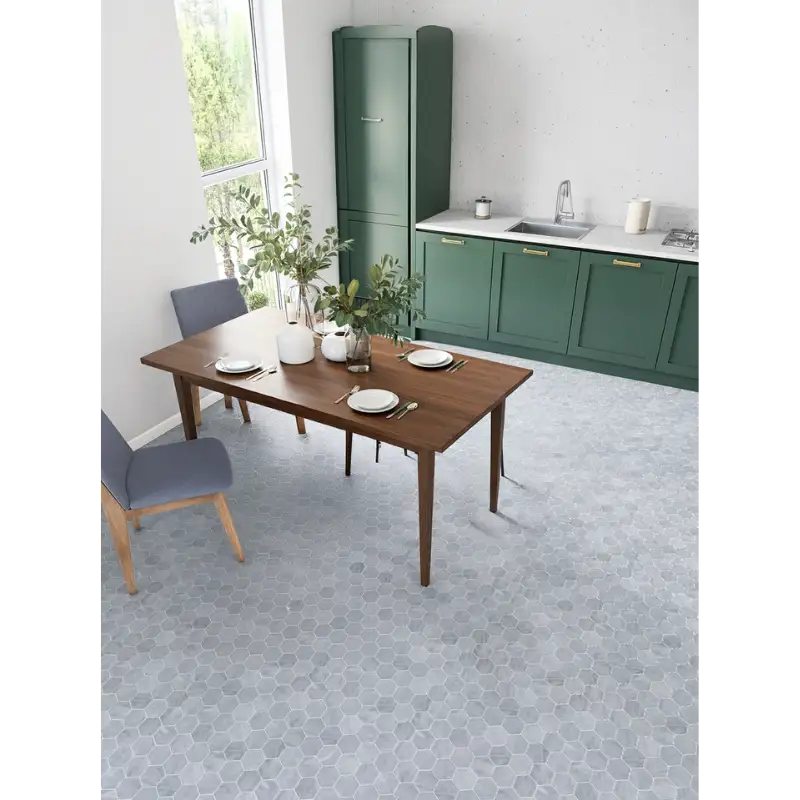
Upgrade your interiors with the Honeycomb Bardiglio Grey Marble Mosaic Tile. This tile offers a polished surface and bold honeycomb shape. It’s a stylish, clean solution for both modern and traditional spaces.
Key Features:
- Material: Bardiglio marble with cloudy grey tones
- Color: Medium grey with white veining
- Finish: Polished for a smooth and shiny look
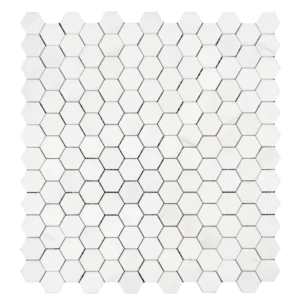
- Shape: Honeycomb hexagon
- Sheet Size: 10.4″ x 12″ (26.5 x 30.5 cm)
- Tile Size: Each tile is 2″
- Mounting: Mesh-backed for easy installation
Where to Use:
- Kitchen backsplashes
- Bathroom floors
- Shower walls
- Accent walls and borders
Additionally, the geometric pattern adds dimension and elegance to any surface.
Why Bardiglio?
This marble is appreciated for its soft grey color and fine veining. It pairs well with both minimalist and luxurious interiors. Moreover, the polished surface helps reflect light and creates a more open feel.
Care Guidelines:
- Clean using pH-neutral stone-safe products
- Avoid harsh or acidic cleaners
- Reseal periodically for best protection
Packaging and Shipping:
- Carefully packed to avoid breakage
- Mesh-backing keeps tiles aligned
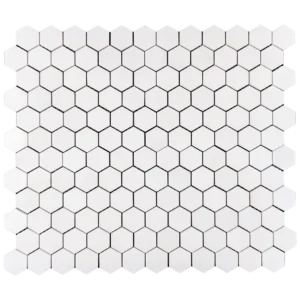
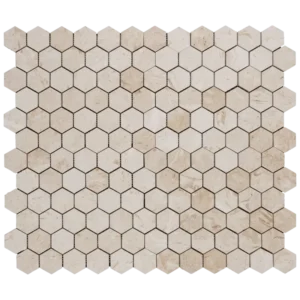
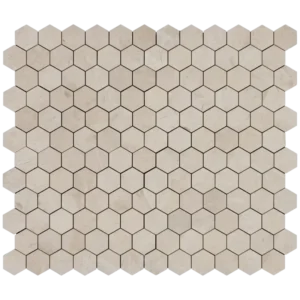
Looking for more design options? Explore mosaic tiles to discover other patterns and finishes.
Installation Guide – Step by Step
Step 1: Surface Preparation – Start with a Clean Foundation
- Clean and dry the surface; eliminate dust, oil, and residue
- Ensure the substrate is level, solid, and crack-free
- Apply waterproofing membrane for wet areas such as showers
- Remove trims or outlet covers that obstruct sheet layout
- Use a leveling compound where needed
Step 2: Layout Planning – Maintain Balance
- Find the center of the wall or surface for layout symmetry
- Dry-lay the sheets to preview veining consistency and flow
- Adjust placement to avoid awkward cuts at the edges
- Use 1.5–3 mm spacers between sheets for uniform grout spacing
Step 3: Adhesive Application – Choose a Reliable Thin-Set
Recommended Brands:
Instructions:
- Mix small batches usable within 30 minutes
- Apply with the flat side of a 1/4″ notched trowel
- Comb mortar at a 45° angle for optimal coverage
- Back-butter sheets for stronger adhesion
- Work in sections to avoid premature drying
Step 4: Cutting & Fitting – Stay Accurate
- Use a wet saw with a fine diamond blade
- Mark cuts with precision using a pencil
- Smooth edges using a stone file or rubbing block
- Dry-fit before securing tiles permanently
Step 5: Setting Tiles – Keep the Pattern Consistent
- Start from the center and work outward
- Press mesh-backed sheets firmly into thin-set
- Use spacers to maintain spacing
- Level with a rubber mallet as needed
- Clean excess thin-set with a damp sponge
- Allow 24 hours to cure before grouting
Step 6: Grouting & Sealing – Finish with Care
- Use non-sanded grout to protect polished marble
- Apply diagonally with a rubber float
- Wipe grout residue immediately
- Buff haze after 15–20 minutes
- Let cure for 72 hours
- Seal with a penetrating marble-safe sealer
Maintenance Tips – Keep It Looking New
- Use only pH-neutral cleaners
- Avoid harsh and acidic substances
- Reseal as needed based on use and exposure
- Use felt pads under nearby furniture
Shipping & Packaging:
Each mosaic sheet is individually protected to minimize breakage. In addition, mesh backing provides alignment support during application.
Important Note
Stonemarket USA is not responsible for improper installation. We strongly recommend hiring professionals and using premium adhesives and sealers for best results.