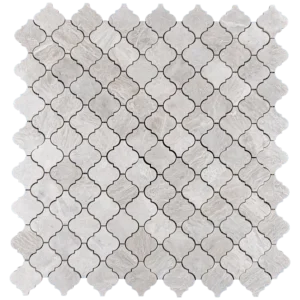
Arabesque Polished Marble Mosaic – Timeless Elegance for Your Walls
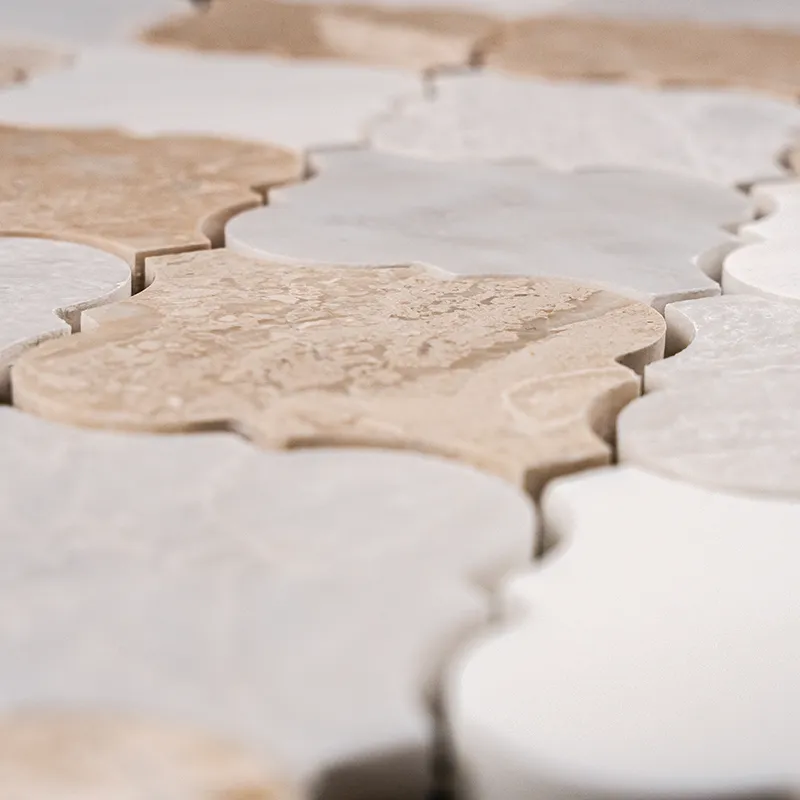
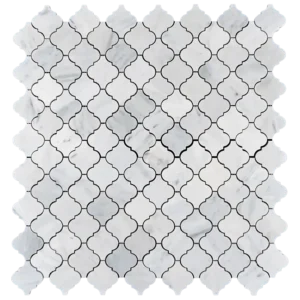
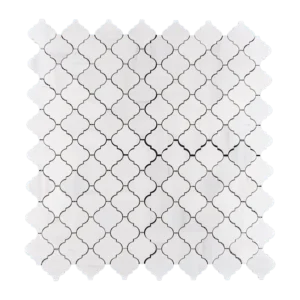
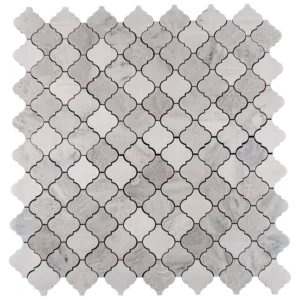
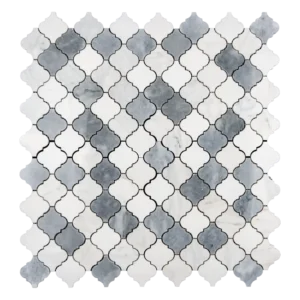
Elevate your space with our luxurious Arabesque Polished Marble Mosaic Tile. This mosaic features a refined blend of Dolomite, Iceberg, and Royal Beige marbles, offering soft white, beige, and light gray tones that bring sophistication to any room. The polished finish enhances the natural veining, adding depth and shine to your design.
Classic Beauty with a Modern Touch
The elegant arabesque shape adds character and style, making it an ideal choice for kitchen backsplashes, bathroom feature walls, or accent areas. Its mesh-backed sheets ensure easy installation, while the polished surface is easy to clean and maintain.
Product Highlights
- Material: Natural Stone – Dolomite, Iceberg, and Royal Beige
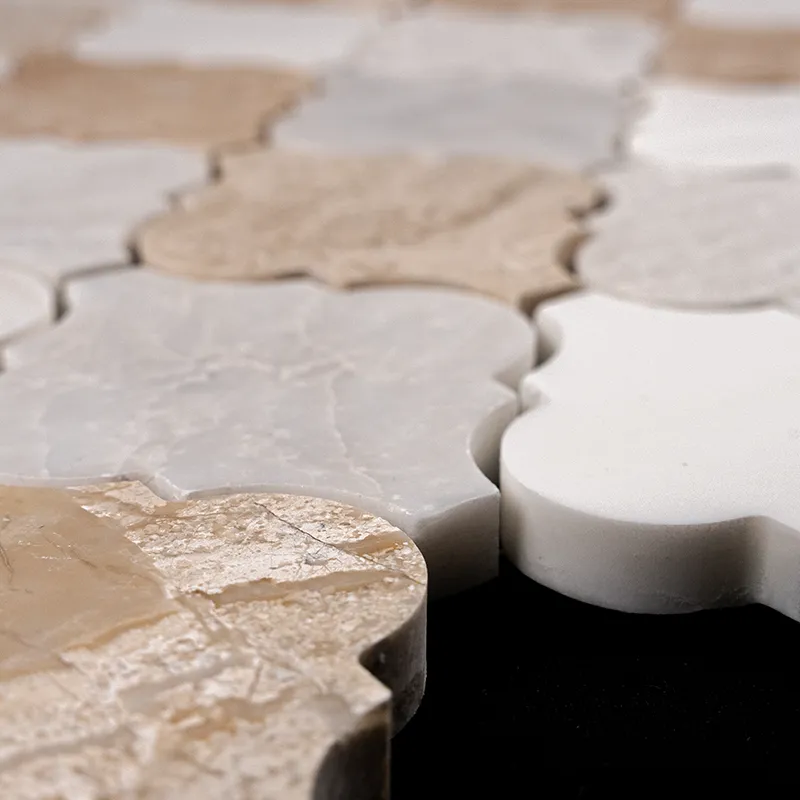
- Finish: Polished for a glossy, reflective look
- Color Palette: Soft white, beige, and gray tones
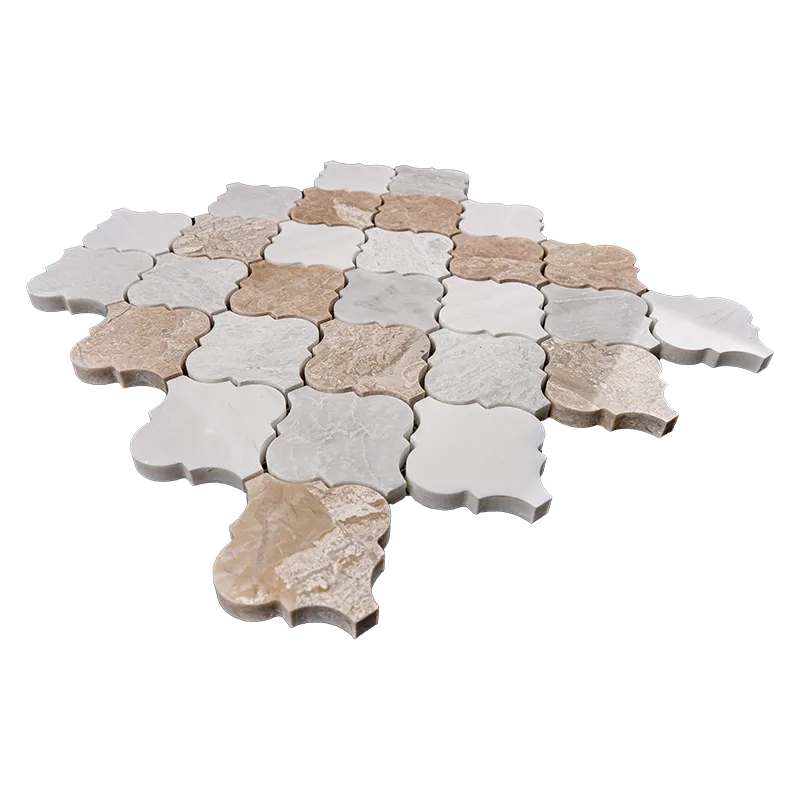
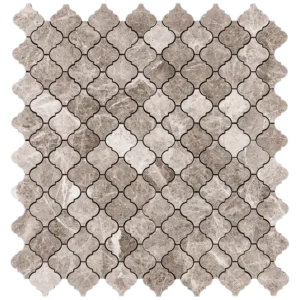
- Shape: Arabesque design for added elegance
- Sheet Size: 12″ x 12.4″ (30.5 x 31.5 cm)
- Thickness: 3/8″ (1 cm)
- Coverage per Box: Approximately 5.15 sq. ft.
- Usage: Indoor wall applications, including wet and dry areas
- Product Identifier (GTIN): 1234567890123
Benefits You’ll Love
- Hand-selected natural marble ensures premium quality and durability.
- Polished finish enhances the stone’s natural veining and depth.
- Mesh backing allows for seamless installation and precise alignment.
- Versatile design complements both classic and modern interiors.
Recommended Uses
- Kitchen backsplashes – Add a sophisticated touch to cooking areas.
- Bathroom feature walls – Create a serene, spa-like atmosphere.
- Fireplace surrounds – Enhance your living space with natural elegance.
- Shower niches and floors – Durable for wet areas and easy to maintain.
- Accent strips – Bring depth and texture to any wall design.
Short Description: Add elegance to your interiors with our Arabesque Polished Marble Mosaic Tile. Featuring Dolomite, Iceberg, and Royal Beige marbles in soft, luxurious tones, this polished tile is perfect for backsplashes, bathrooms, and accent walls.
Order Yours Today! Transform your home with the timeless beauty and sophistication of this high-quality mosaic. Our team is ready to help with expert advice and fast delivery.
Installation Guide – Arabesque Polished Marble Mosaic Tile
Step 1: Surface Preparation – Start with a Clean Base
- Ensure the installation surface is clean, dry, and free of dust, grease, and debris.
- Verify that the substrate is stable, level, and free of cracks.
- For wet areas like showers, apply a waterproofing membrane to protect the surface.
- Remove any baseboards, fixtures, or outlet covers that might interfere with the installation.
- Use a leveling compound if necessary to create a smooth, even surface.
Step 2: Layout Planning – Visualize the Pattern
- Locate the center of the wall or surface to ensure symmetry during installation.
- Dry-lay the Arabesque Polished Marble Mosaic Tile sheets to preview the natural veining and color distribution across Dolomite, Iceberg, and Royal Beige marbles.
- Adjust the sheet placement to achieve the most visually balanced look and avoid small cuts at the edges.
- Use 1.5–3 mm spacers between sheets for consistent grout lines.
- Make sure the arabesque pattern aligns seamlessly between sheets.
Step 3: Adhesive Application – Choose the Right Thin-Set
Recommended Thin-Set Brands:
Instructions:
- Mix only small batches of thin-set that can be applied within 30 minutes to avoid premature drying.
- Use the flat side of a 1/4″ notched trowel to spread a thin, even layer.
- Comb the adhesive at a 45° angle with the notched side to ensure full coverage.
- Back-butter each sheet lightly to improve bonding and reduce the risk of voids.
- Work in small sections to maintain adhesion and prevent the adhesive from setting too quickly.
Special Note for Dolomite, Iceberg & Royal Beige Marbles:
- Due to the natural characteristics of these stones, handle the sheets carefully during installation to avoid chipping delicate veining.
- Apply a pre-sealer before installation to reduce the risk of staining during grouting, especially for the softer Iceberg and Royal Beige sections.
- Be mindful of natural color variations to achieve a balanced design layout.
Step 4: Cutting & Fitting – Maintain Precision
- Use a wet saw with a high-quality diamond blade for clean, precise cuts.
- Mark cut lines with a pencil or wax marker to ensure accuracy.
- Gently smooth any sharp edges with a rubbing stone or fine sandpaper.
- Dry-fit all pieces before final installation to verify proper alignment and pattern flow.
Step 5: Setting the Tiles – Maintain Pattern Flow
- Begin tiling from the center and work outward to ensure a balanced look.
- Press each mesh-backed sheet gently into the thin-set using a slight twisting motion.
- Avoid shifting the sheets after placement to preserve pattern alignment.
- Use spacers between sheets to maintain uniform grout lines.
- Tap lightly with a rubber mallet if needed to level the tiles.
- Wipe away excess thin-set with a damp sponge immediately to prevent surface residue.
- Allow the adhesive to cure for at least 24 hours before grouting.
Step 6: Grouting & Sealing – Finalize the Installation
- Remove all spacers and prepare unsanded grout to avoid scratching the polished marble surface.
- Apply grout diagonally using a rubber float to fill joints evenly.
- Wipe off excess grout with a damp sponge while working to prevent haze.
- After 15–20 minutes, buff the surface with a soft cloth or sponge to remove any remaining grout film.
- Allow grout to cure for at least 72 hours before applying a penetrating sealer to protect the marble from staining.
- Use a pH-neutral, stone-safe cleaner to preserve the polished finish and avoid etching.
Important Note
Professional installation is highly recommended. Always use high-quality thin-set adhesives, unsanded grout, and sealers to ensure a beautiful and lasting result. Stonemarket USA is not responsible for improper installation.