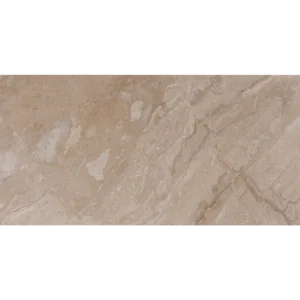
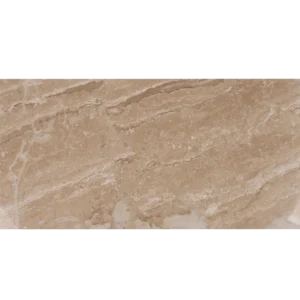
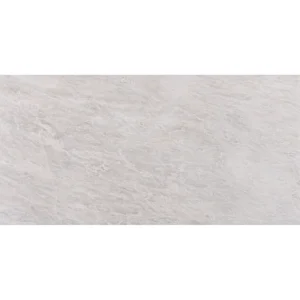
Royal Beige Marble Tile – 24″x24″ Polished Finish
Warm Elegance for Sophisticated Interiors
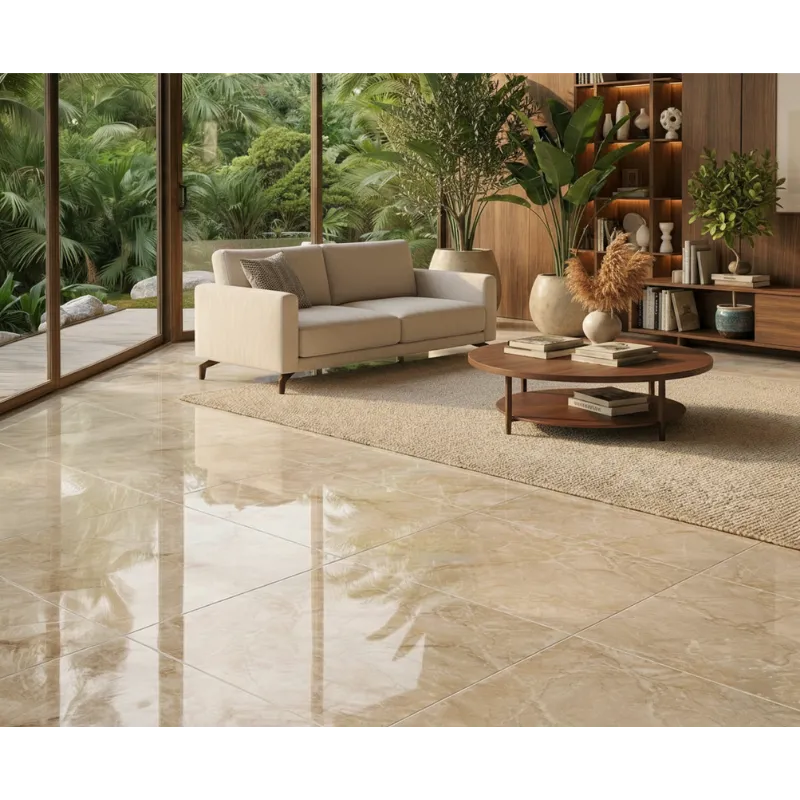
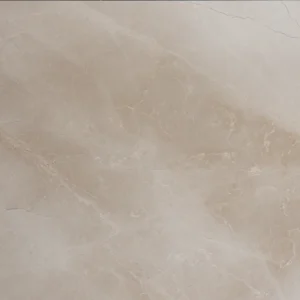
Upgrade your space with the timeless charm of Royal Beige Marble Tile 24″x24″. Its soft beige tones and polished surface bring warmth and brightness, making any room feel more open and elegant. Thanks to its large format, it reduces grout lines and creates a smooth, continuous look.
This tile is made from high-quality marble and features subtle natural veining for a unique finish. Additionally, the polished surface reflects light gently, enhancing both modern and classic interiors. Because of its durability, it’s perfect for floors and walls in living rooms, kitchens, bathrooms, and commercial spaces alike.
Product Features
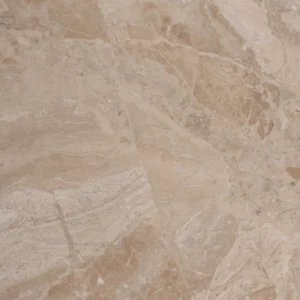
- Material: Natural Royal Beige Marble
- Finish: Polished – smooth, glossy surface
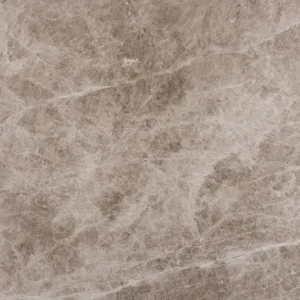
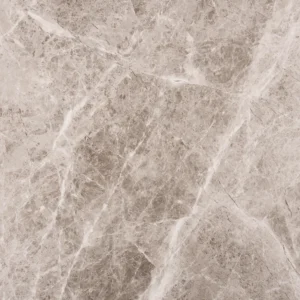
- Color: Warm beige with soft veining
- Tile Size: 24″x24″ (61×61 cm)
- Thickness: 0.43″ (1.1 cm)
- Edge: Straight edge for a clean layout
- Application: Indoor floors and walls
Why Choose This Tile?
Combining elegant design with practical benefits, this polished marble tile adds timeless beauty to any space. Its smooth surface is easy to clean and maintain. Moreover, its neutral color works well with a variety of interior styles—from modern to traditional.
Installation Guide – Step by Step
Step 1: Surface Preparation – Establish a Strong Base
- Ensure the substrate is clean, dry, and structurally sound. Remove all dust, oil, and debris before starting.
- Use a long level to check for uneven areas. A flat surface is crucial for large-format polished marble to avoid lippage.
- Apply a waterproofing membrane in moisture-prone areas such as showers, bathrooms, or kitchen backsplashes.
- Use a self-leveling compound to correct surface imperfections before installation begins.
Step 2: Layout Planning – Maximize Visual Impact
- Measure and snap chalk lines to find the center of your installation area.
- Dry-lay tiles to preview the natural variation in Royal Beige tones and veining.
- Mix tiles from different boxes to balance color variation across the floor or wall.
- Use minimal grout spacing (typically 1/16″) for a seamless, high-end appearance.
Step 3: Adhesive Application – Choose the Right Bond
Recommended Thin-Set Mortar:
- Mapei Ultraflex LFT White
- Laticrete 4-XLT or 254 Platinum White
- Ardex X77 White
Instructions:
- Use a white, marble-safe mortar to prevent staining and ensure consistent color beneath the tile.
- Apply with a 1/2″ square-notched trowel for full coverage on large-format stone.
- Back-butter each tile to eliminate hollow spots and improve adhesion.
- Work in manageable sections to keep thin-set fresh and effective.
Step 4: Cutting & Fitting – Maintain Clean Lines
- Use a wet saw with a continuous rim diamond blade for precise, chip-free cuts.
- Mark cuts clearly and double-check fit before setting tiles.
- Smooth any exposed edges using a stone file or polishing pad.
Step 5: Setting Tiles – Focus on Level and Alignment
- Start from the center and work outward or begin at the most visible wall edge.
- Use tile spacers and a leveling system to maintain consistent joints and eliminate lippage.
- Tap tiles gently with a rubber mallet to align and level them.
- Wipe away excess adhesive immediately to prevent haze on polished surfaces.
- Allow 24 hours for adhesive to cure before grouting.
Step 6: Grouting & Sealing – Finish with Protection
- Use non-sanded grout to avoid scratching the polished marble surface.
- Apply grout with a rubber float, pressing diagonally into joints.
- Clean grout residue with a damp sponge and buff with a dry cloth after 15–20 minutes.
- Allow grout to cure for 72 hours, then apply a penetrating sealer formulated for polished marble.
Maintenance Tips – Preserve the Shine
- Use pH-neutral cleaners only. Avoid acidic substances like vinegar, lemon, or bleach.
- Wipe up spills immediately to prevent staining or etching.
- Re-seal annually or as needed, depending on traffic and moisture exposure.
- Use rugs or pads in high-traffic areas to minimize abrasion.
Shipping & Packaging
Each 24″ x 24″ Royal Beige Marble Tile is carefully cushioned and boxed to minimize breakage. Store in a dry, covered area before installation.
Important Note
Royal Beige marble is a natural product, and each tile may feature unique veining and tonal variation. Always inspect tiles before installation and consult a professional installer for best results. Stonemarket USA is not responsible for installation errors or improper material handling.