Botticino Marble 3″x12″ Polished Beige Tile – Classic Elegance in Natural Stone
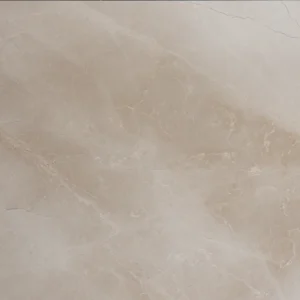
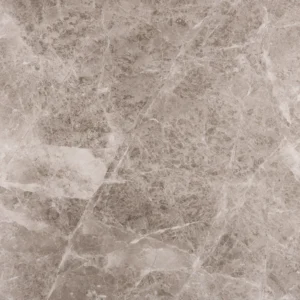
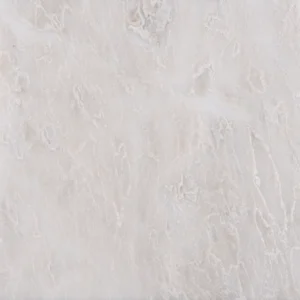
The Botticino Marble 3″x12″ Polished Beige Tile adds a refined and timeless touch to any interior project. With its warm beige tones and soft veining, this marble tile is an ideal choice for those who want to bring both sophistication and durability into their design.
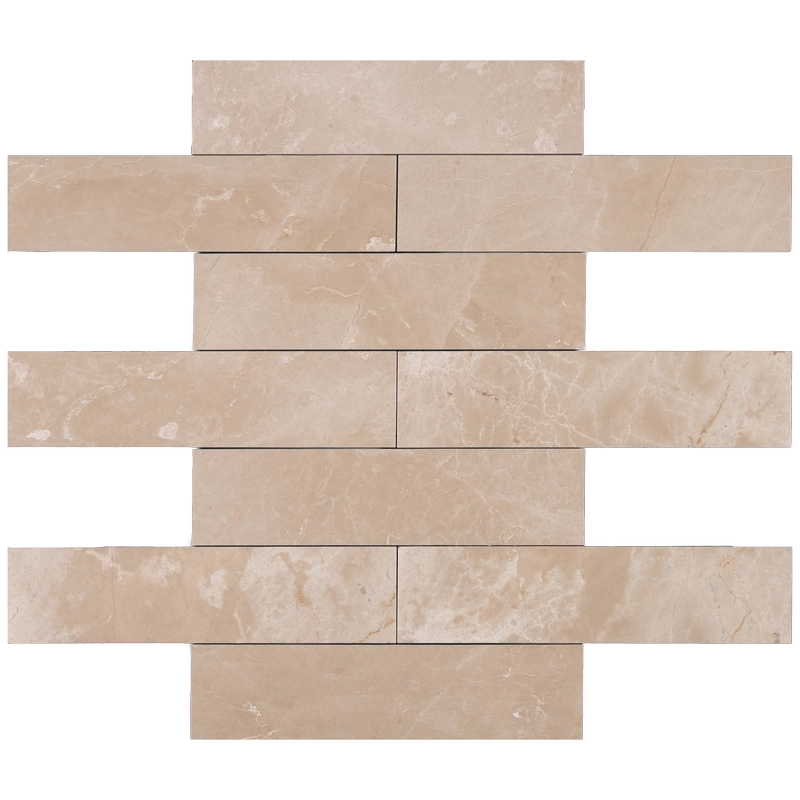
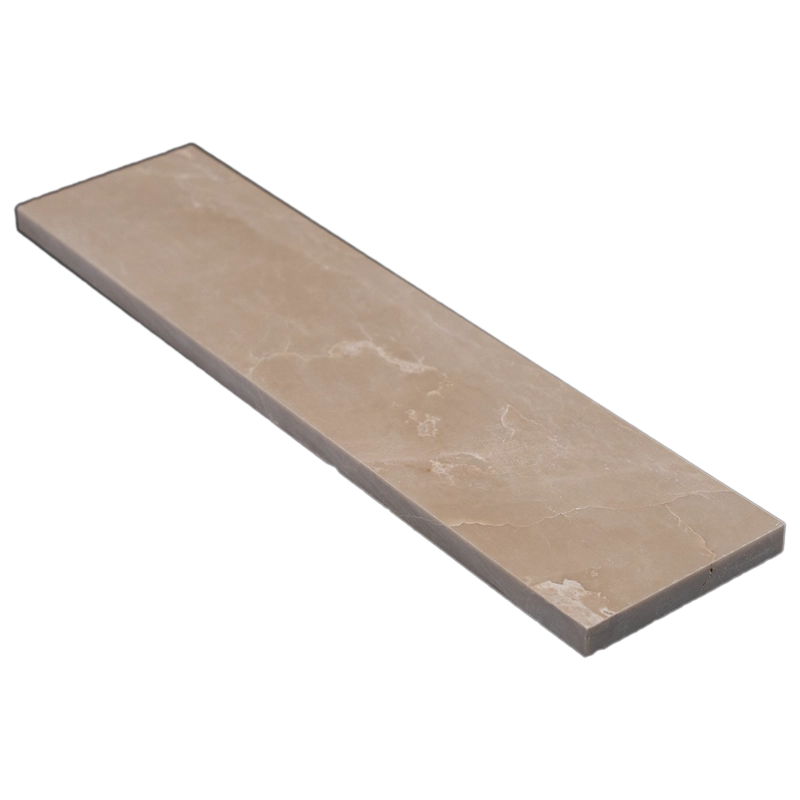
Each tile features a polished surface that enhances the stone’s natural beauty and creates a smooth, light-reflective finish. The 3″x12″ format provides flexibility, making it suitable for both modern layouts and classic designs. Whether used in kitchens, bathrooms, or elegant wall features, this marble tile elevates the space with understated luxury.
Key Features
- Material: Natural Botticino Marble
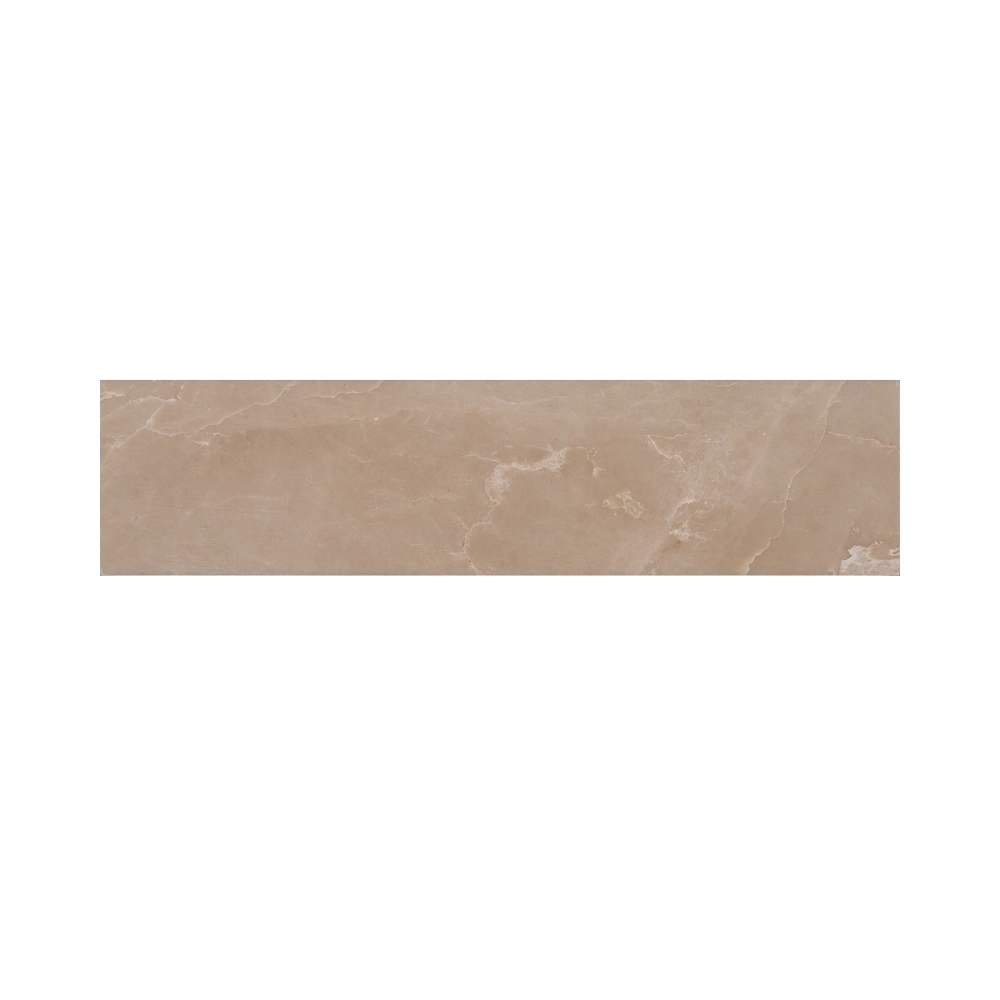
- Color: Warm beige with subtle veining
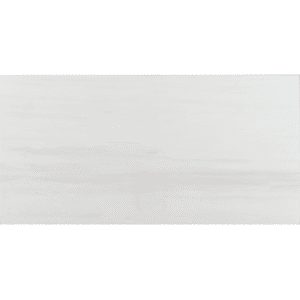
- Finish: Polished for a reflective, glossy surface
- Size: 3″x12″ (7.5×30.5 cm)
- Edge: Straight edge for clean installation
- Applications: Walls, backsplashes, bathrooms, accent areas
Why Choose Botticino Marble?
This tile is valued for its timeless elegance and durable performance. Its polished surface not only enhances brightness but also adds a luxurious character to interiors. Furthermore, the 3″x12″ size allows for versatile installation options such as stacked, brick, or herringbone patterns, giving designers and homeowners the freedom to personalize their projects.
Need a backup option for your install timeline? Check our full tile inventory for alternatives.
Installation Guide – Step by Step
Step 1: Surface Preparation – Stable & Clean Foundation
- Ensure substrate is clean, dry, and free of oil, dust, or debris.
- Verify levelness and flatness with a short straightedge for small-format tile work.
- Use appropriate waterproofing membrane for areas exposed to moisture (e.g., kitchen backsplash, shower walls).
Step 2: Layout Planning – Precision in Placement
- Mark reference lines and dry-lay several tiles to preview natural tone and finish.
- Blend tiles from different boxes to ensure visual consistency in veining and color.
- Choose layout style: stacked, offset, herringbone, or vertical depending on design intent.
- Maintain **1/16″ grout joints** for a modern, refined look with polished straight edges.
Step 3: Mortar Application – Use White Thin-Set
Recommended Mortars:
- Mapei Ultraflex 1 or LFT White
- Laticrete 254 Platinum White
- Ardex X77 White
Instructions:
- Apply thin-set mortar with a 1/4″ V-notched trowel for small-format tiles.
- Back-butter tiles to ensure proper bonding and coverage.
- Set tiles immediately before the mortar skins over.
Step 4: Cutting & Fitting – Clean & Accurate
- Use a wet saw with a continuous-rim diamond blade to minimize chipping.
- Polish any exposed edges for a smooth, professional appearance.
- Dry-fit cut tiles prior to final placement to ensure proper alignment.
Step 5: Setting Tiles – Sharp Detail & Flatness
- Press each tile firmly into place and check for alignment with a level.
- Use spacers or tile wedges to maintain consistent joint spacing.
- Clean excess mortar immediately with a damp sponge to avoid staining polished surface.
- Allow adhesive to cure for 24 hours before grouting.
Step 6: Grouting & Sealing – Protect the Finish
- Pre-seal polished marble with a penetrating sealer to prevent grout haze or staining.
- Use non-sanded grout to avoid scratching the polished surface.
- Apply grout diagonally with a rubber float and remove excess promptly.
- Buff the surface after 20–30 minutes to remove any haze.
- Re-seal the tile and grout lines after curing (typically 72 hours).
Maintenance Tips – Shine & Longevity
- Use pH-neutral stone cleaners for regular maintenance.
- Avoid acidic or abrasive products that may etch polished marble.
- Wipe spills quickly, especially oils or citrus-based substances.
- Re-seal polished marble every 6–12 months depending on use and exposure.
Shipping & Packaging
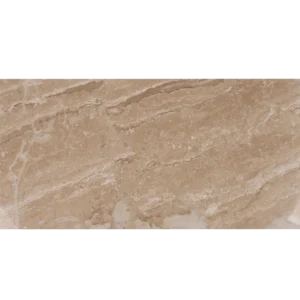
Each Beige Diamond 3″ x 12″ Polished Marble Tile is securely packaged with foam cushioning and edge protection. Inspect tiles prior to installation for color consistency and finish integrity.
Important Note
Natural variation is part of the beauty of Beige Diamond marble. Dry-lay tiles to ensure consistent tone and flow. Stonemarket USA is not responsible for installation errors or natural material variation.