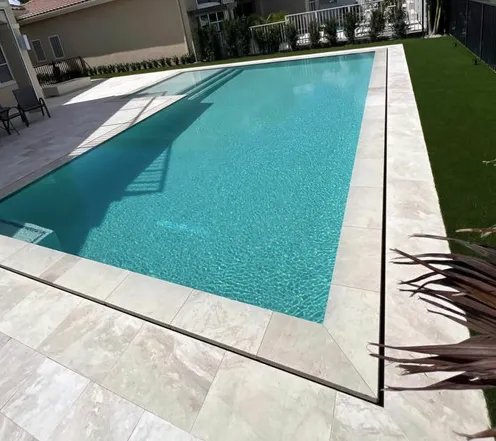
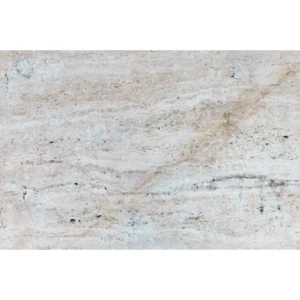
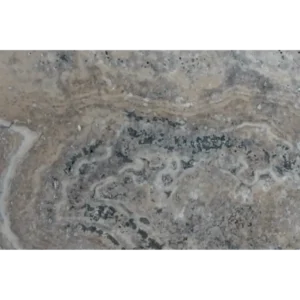
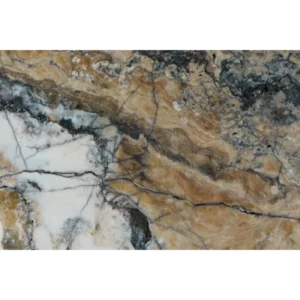
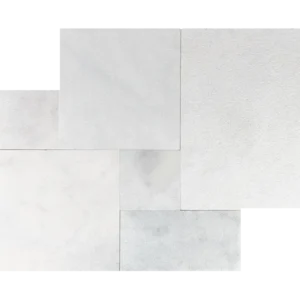
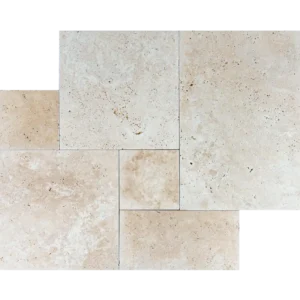
Installation Guide – Royal Beige 16″x24″ Leather Finish Marble Paver
Important Advisory
This guide covers the paver installation phase only. Base preparation, drainage,
and bedding layers must be completed by qualified professionals prior to installation.
Step 1: Dry Layout & Pattern Planning
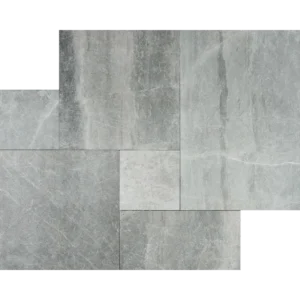
- Dry-lay the pavers on the prepared surface to evaluate natural color and veining variations.
- Plan a running bond, ashlar, or modular pattern to balance tones and minimize visible joints.
- Use chalk lines or a laser level to establish accurate reference lines for alignment.
Step 2: Paver Placement
- Carefully set each 16″x24″ paver onto the prepared bedding layer.
- Maintain uniform joint spacing between 1/8″–1/4″.
- Lightly tap each paver with a rubber mallet to ensure full contact and a level surface.
Step 3: Cutting & Edge Finishing
- Use a wet saw with a diamond blade specifically rated for marble.
- Support large-format pavers securely during cutting to prevent cracking or edge chipping.
- Finish exposed cut edges with a fine rubbing stone to maintain the leathered texture.
Step 4: Joint Treatment
- Fill joints using polymeric sand or a marble-compatible joint filler.
- Gently compact the surface and remove excess material.
- If polymeric sand is used, lightly mist the joints to activate binding agents per manufacturer guidelines.
Step 5: Sealing & Maintenance
- Once installation is fully cured, apply a breathable penetrating sealer designed for exterior marble.
- Reapply sealer every 1–2 years, depending on exposure and traffic.
- Clean with pH-neutral, non-abrasive stone cleaners only; avoid acidic or harsh chemicals.
Disclaimer
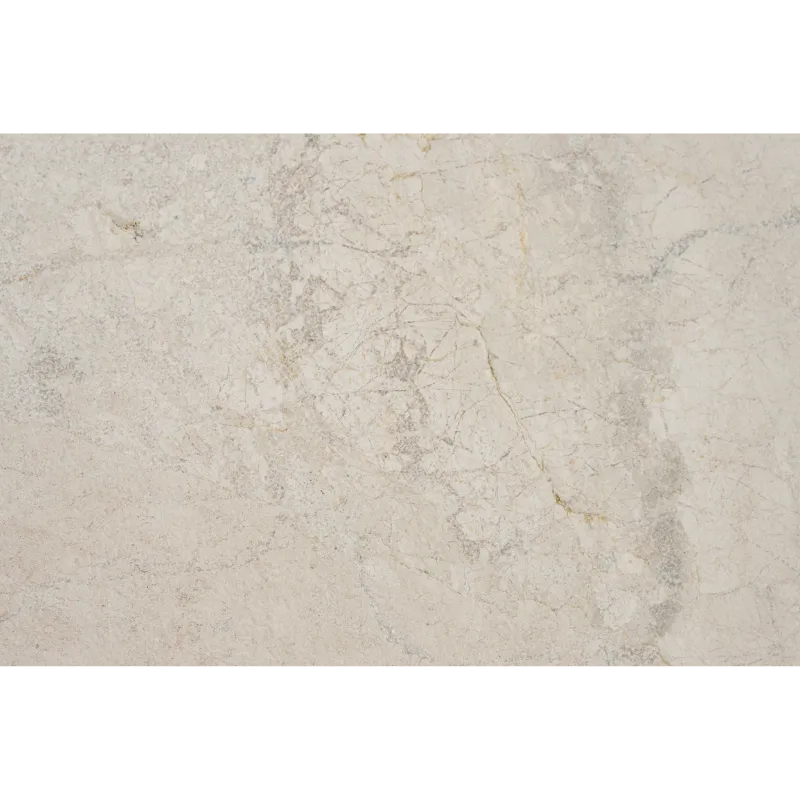
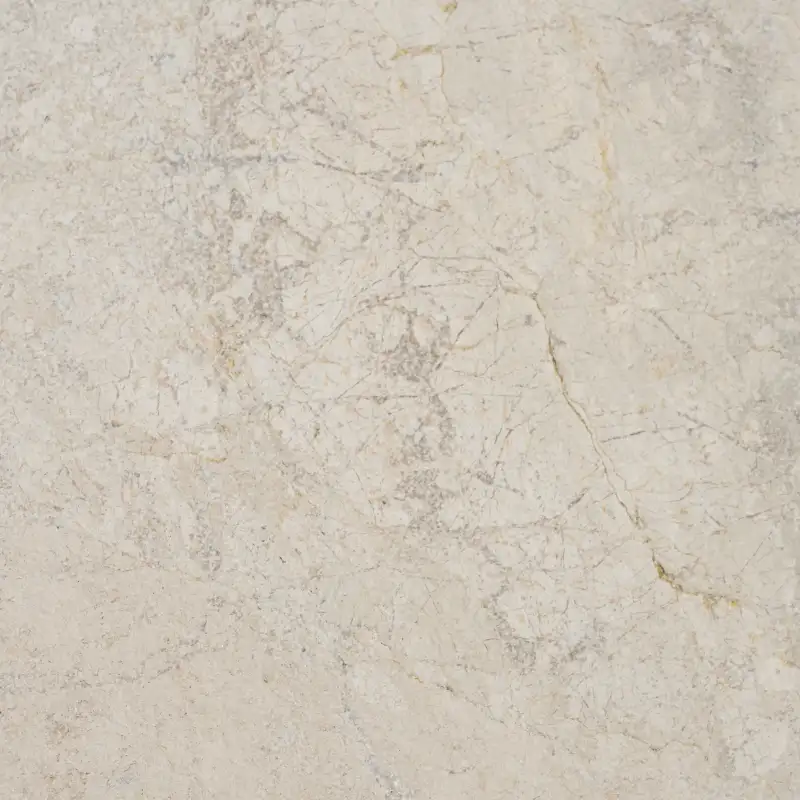
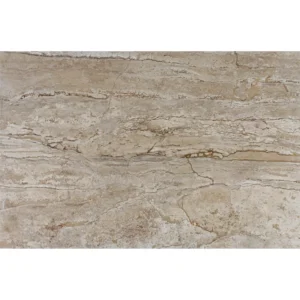
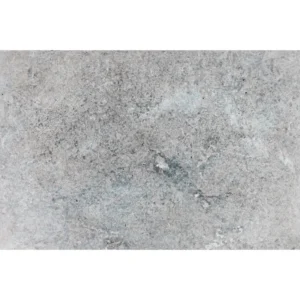
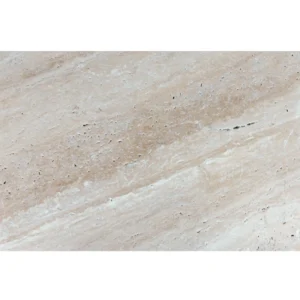
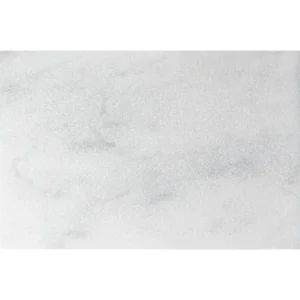
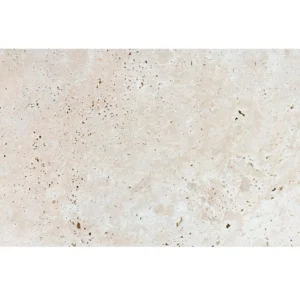
Natural marble exhibits inherent variations in color and texture, which are part of its character
and not considered defects. Always dry-lay and inspect materials before final installation.
Professional installation is strongly recommended to ensure long-term durability and appearance.