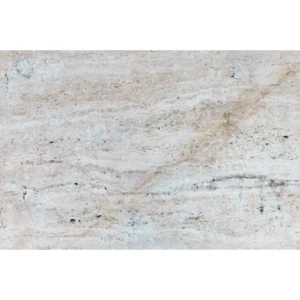
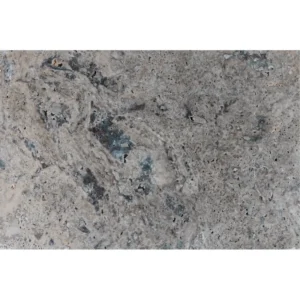
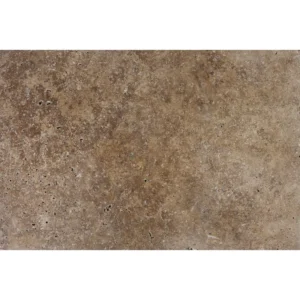
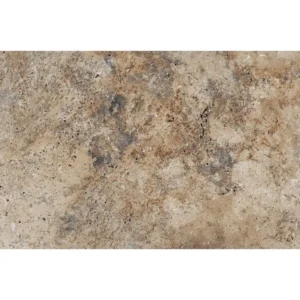
Royal Beige 16″x24″ Leathered Marble Paver – Refined Outdoor Elegance
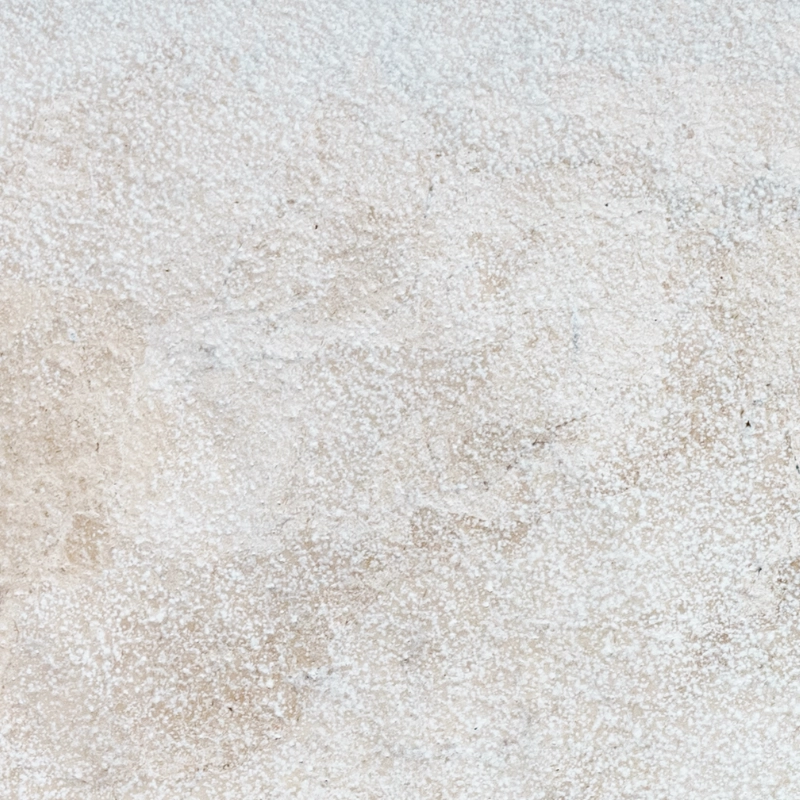
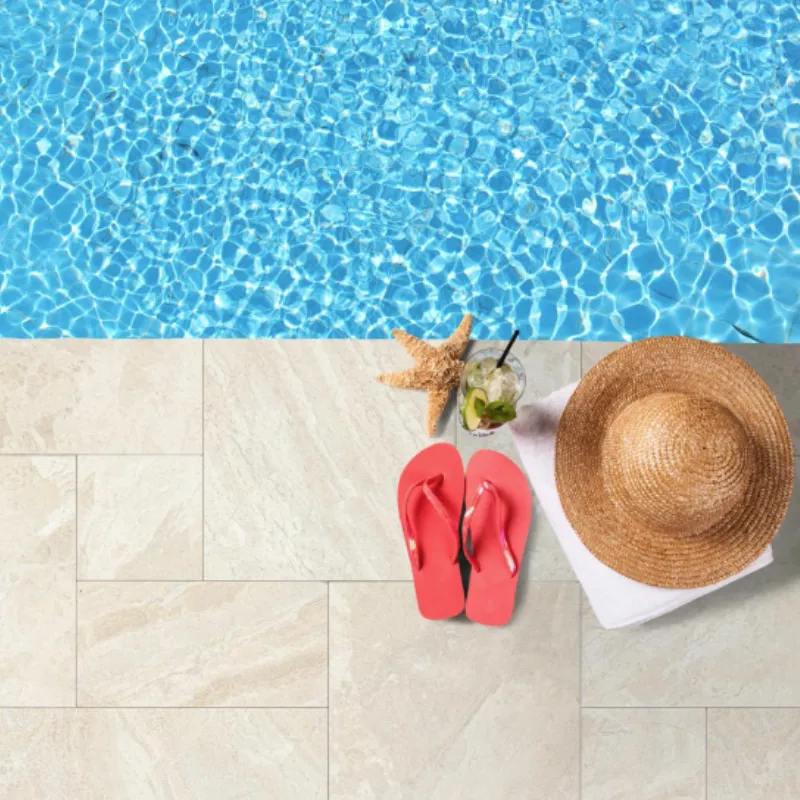
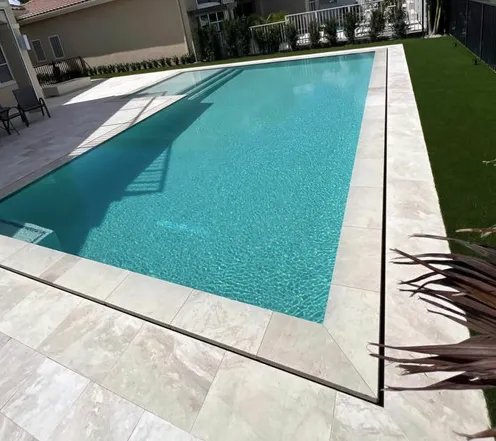
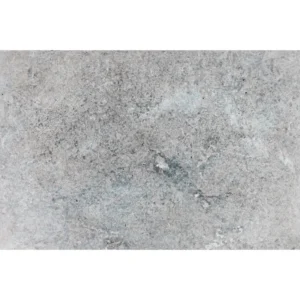
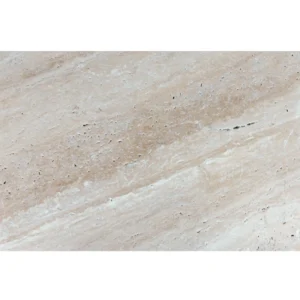
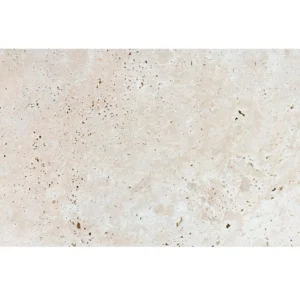
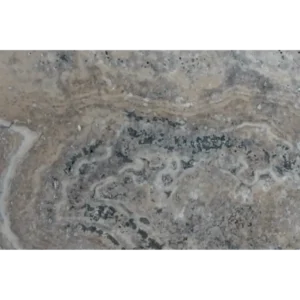
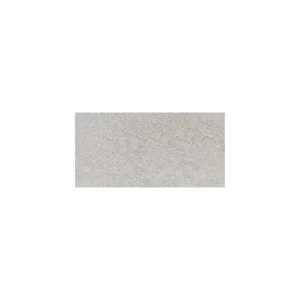
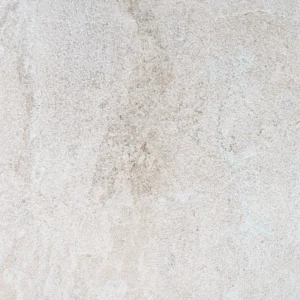
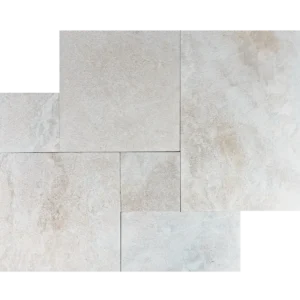
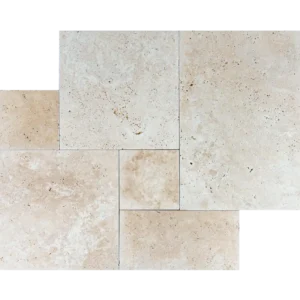
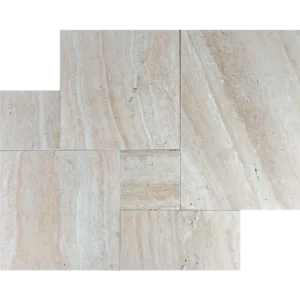
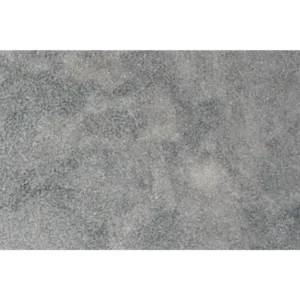
The Royal Beige 16″x24″ Leathered Marble Paver offers warm beige tones and a subtle leathered texture. Its surface adds gentle variation and natural slip resistance. Therefore, it works well on patios, pool decks, and walkways. Moreover, the 16″x24″ format reduces grout lines and speeds installation.
Crafted from premium marble, this paver withstands outdoor conditions while retaining its refined look. The leathered finish softens glare and provides a tactile, natural feel. As a result, your spaces look elegant yet remain safe underfoot.
- Material: Premium natural marble
- Color: Warm beige with soft tonal movement
- Finish: Leathered for texture and slip resistance
- Size: 16″x24″ (nominal)
- Edge: Straight, leathered edge
- Applications: Patios, pool surrounds, courtyards, and walkways
Combine these pavers with greenery or modern accents for a bespoke look. Ultimately, the Royal Beige leathered marble paver merges style and performance to elevate any outdoor project.
Installation Guide – Royal Beige 16″x24″ Leather Finish Marble Paver
Important Advisory
This guide covers only the paver covering phase. Base and bedding preparation must be completed by qualified professionals prior to installation.
Step 1: Dry Layout & Pattern Planning
- Dry-lay pavers on the prepared surface to assess natural color and veining variations.
- Arrange in a running bond, ashlar, or modular pattern to minimize visible joints and balance tones.
- Snap chalk lines or use a laser level to mark reference lines for precise alignment.
Step 2: Paver Placement
- Set each 16″x24″ paver gently onto the prepared bedding layer.
- Maintain consistent joint spacing of 1/8″–1/4″.
- Tap each paver lightly with a rubber mallet to ensure full seating and level surface.
Step 3: Cutting & Edge Finishing
- Use a wet saw fitted with a diamond blade rated for marble to make clean, precise cuts.
- Support large-format pavers securely during cutting to prevent edge chipping.
- Smooth any exposed cut edges with a fine rubbing block to preserve the leathered texture.
Step 4: Joint Treatment
- Fill joints with polymeric sand or a marble-compatible joint filler.
- Compact the surface gently and sweep away all excess filler.
- If using polymeric sand, mist lightly to activate binding agents according to manufacturer instructions.
Step 5: Sealing & Maintenance
- After installation is fully dry, apply a penetrating, breathable sealer formulated for exterior marble.
- Re-seal every 1–2 years depending on exposure and foot traffic.
- Clean only with pH-neutral, non-abrasive stone cleaners; avoid acidic products.
Disclaimer
Natural marble exhibits tonal and textural variation—this is inherent and not a defect. Always dry-lay and inspect materials before final installation. Professional installation is strongly recommended to ensure long-term performance and appearance.


