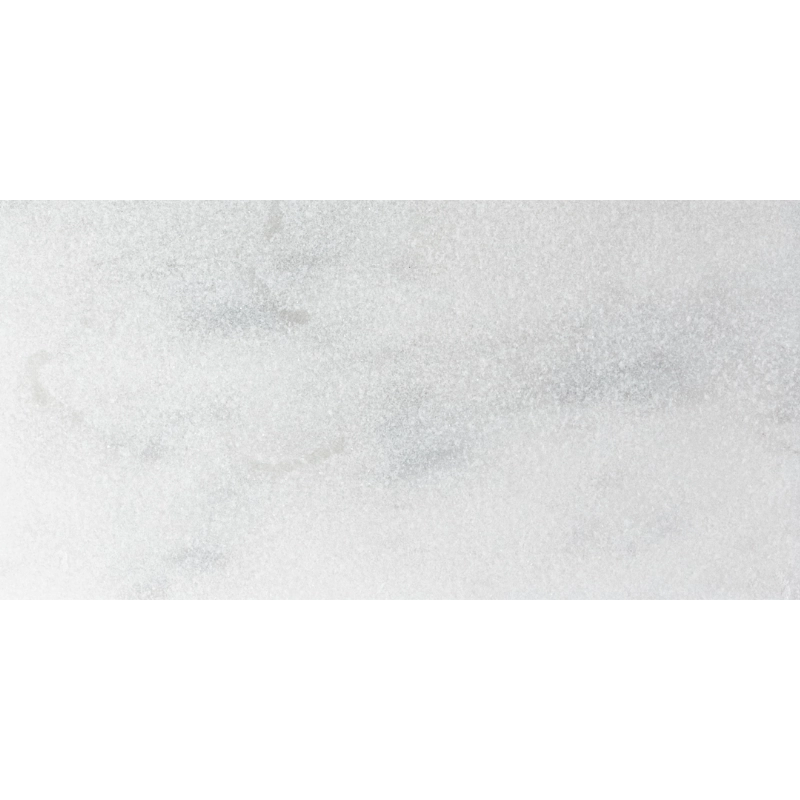
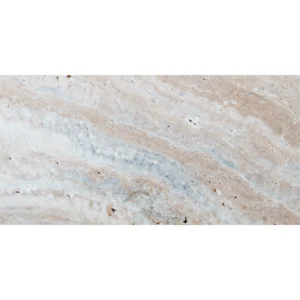
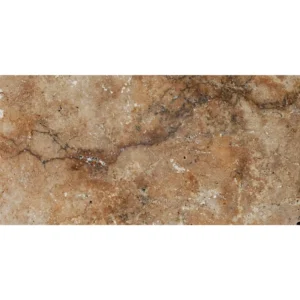
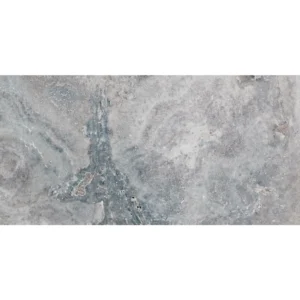
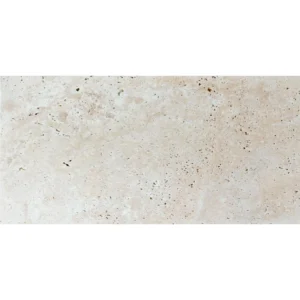
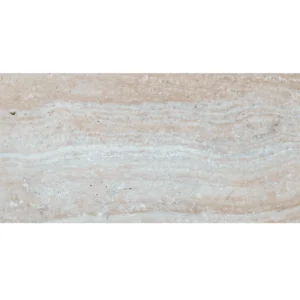
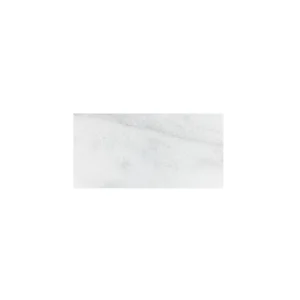
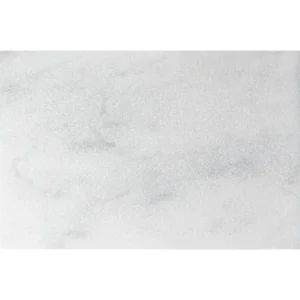
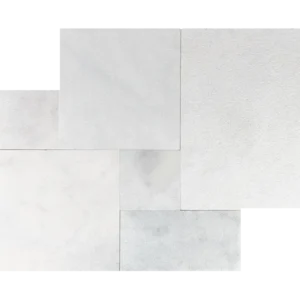
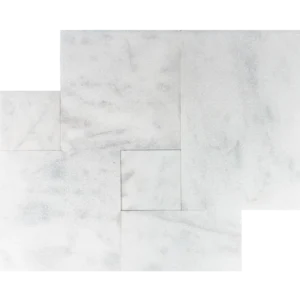
Avalon White 12×24 Leather Finish Marble Paver brings a modern yet timeless touch to outdoor living spaces. With its soft leathered texture and bright white marble surface, this paver combines elegance and durability in one design-forward solution.
Measuring 12″x24″, its larger format offers seamless installation across patios, walkways, garden paths, and pool decks. The leather finish provides a subtle texture that improves slip resistance while maintaining the stone’s natural sophistication.
- Stone Type: Marble
- Color: Avalon White
- Finish: Leathered (Textured)
- Dimensions: 12″x24″
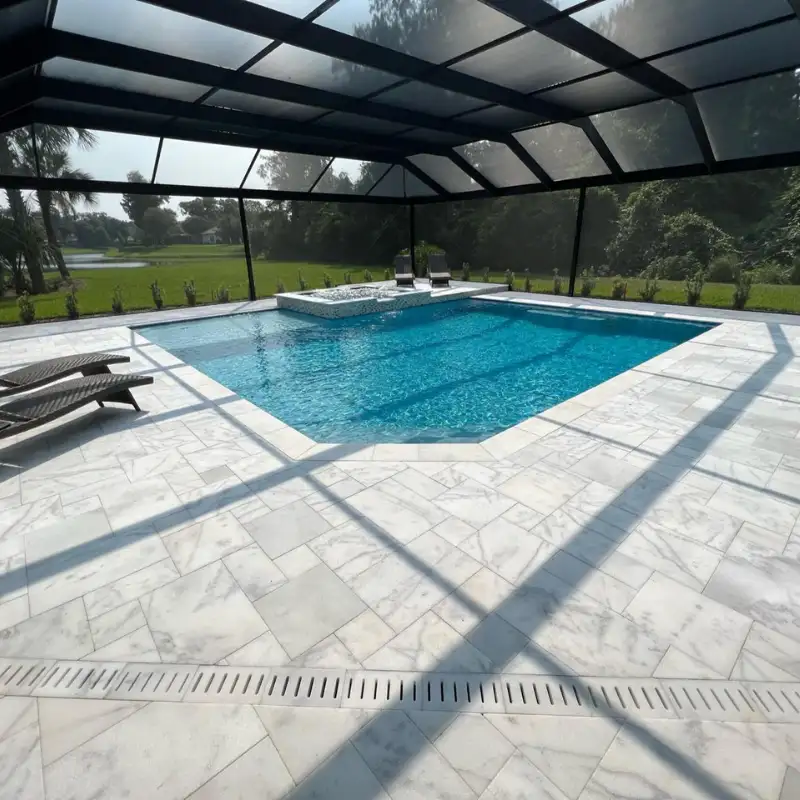
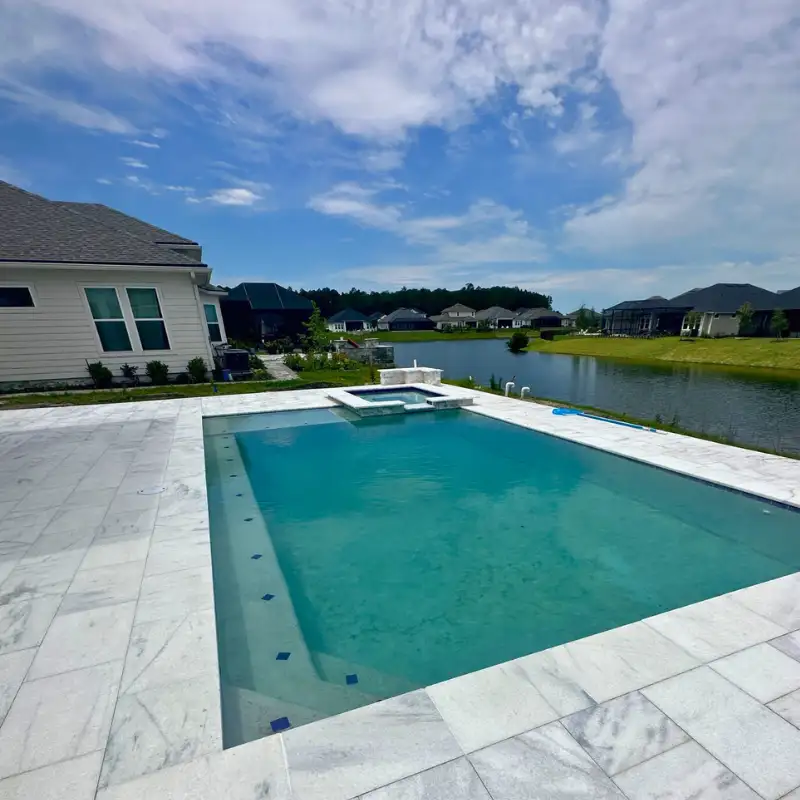
- Usage: Ideal for pool decks, patios, courtyards, and pathways
- Surface Benefits: Non-slip, comfortable underfoot, and low maintenance
Whether you’re designing a luxury patio or upgrading a garden walkway, Avalon White 12×24 Leather Finish Marble Paver delivers enduring beauty with functional appeal.
Installation Guide – Avalon White 12″x24″ Leather Finish Marble Paver
Material Overview
- Natural white marble paver with a leather (brushed) finish, offering a slightly textured, slip-resistant surface ideal for exterior areas.
- Large-format size (12″x24″) suitable for patios, terraces, walkways, and pool decks.
- Not intended for vehicular traffic without reinforced base system.
Step 1: Sub-Base Preparation (Dry-Set Method)
- Excavate the area to a minimum depth of 6″–8″.
- Fill with 4″–6″ of compacted crushed gravel or road base (compacted in layers).
- Add 1″ of bedding sand or fine screenings and screed to level.
Step 2: Laying the Pavers
- Lay the pavers with a consistent joint width (1/8″–1/4″) using spacers if necessary.
- Use a running bond or ashlar pattern to reduce alignment stress due to size.
- Tap each tile into place using a rubber mallet, ensuring full contact with the bedding layer.
- Check level frequently across both directions to avoid pooling or uneven surfaces.
Step 3: Cutting & Edge Treatment
- Use a wet saw with a marble-rated diamond blade to cut pieces to fit.
- Smooth cut edges if exposed, using a stone rubbing block or hand polisher.
Step 4: Joint Stabilization
- Sweep polymeric sand into joints to lock the system in place.
- Compact the entire surface with a rubber-padded plate compactor to eliminate any voids.
- Apply light misting to activate polymeric binding agents (if applicable).
Optional: Wet-Set Method (Concrete Slab)
- Install over a reinforced concrete slab using white marble thin-set mortar.
- Back-butter each tile for complete coverage and avoid hollow spots.
- Clean excess mortar from joints and surface before it hardens.
Sealing & Maintenance
- Apply a penetrating sealer specifically formulated for marble and exterior use.
- Re-seal every 1–2 years, depending on environmental exposure.
- Clean regularly using a pH-neutral cleaner. Avoid acidic or abrasive substances.
Disclaimer
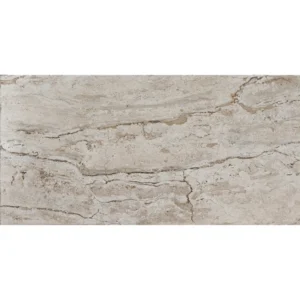
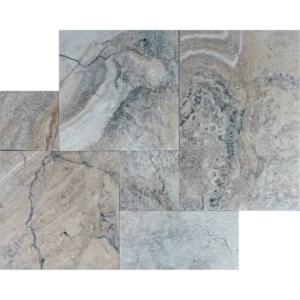
Marble is a natural material and may exhibit tonal and veining variations. This is not a defect but a feature of authenticity. Always ensure proper base compaction and perform a small mock-up before full-scale installation. For best results, professional installation is recommended.