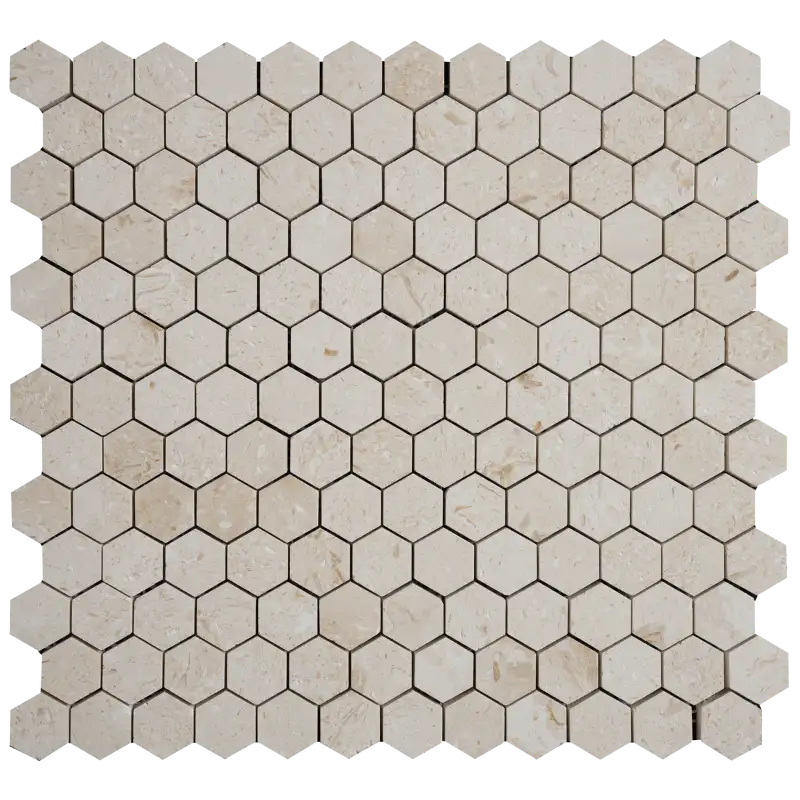

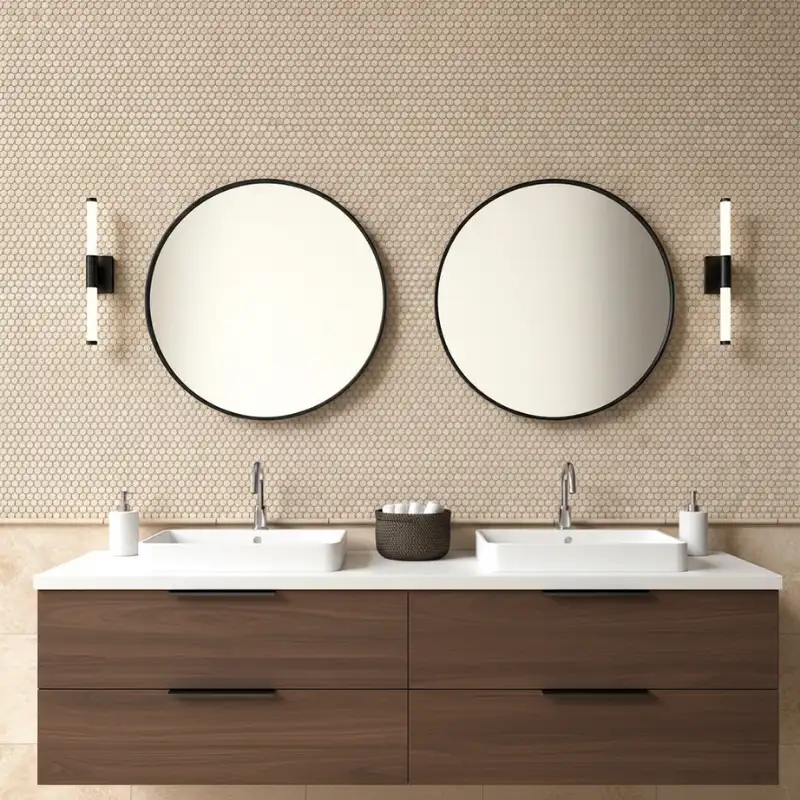
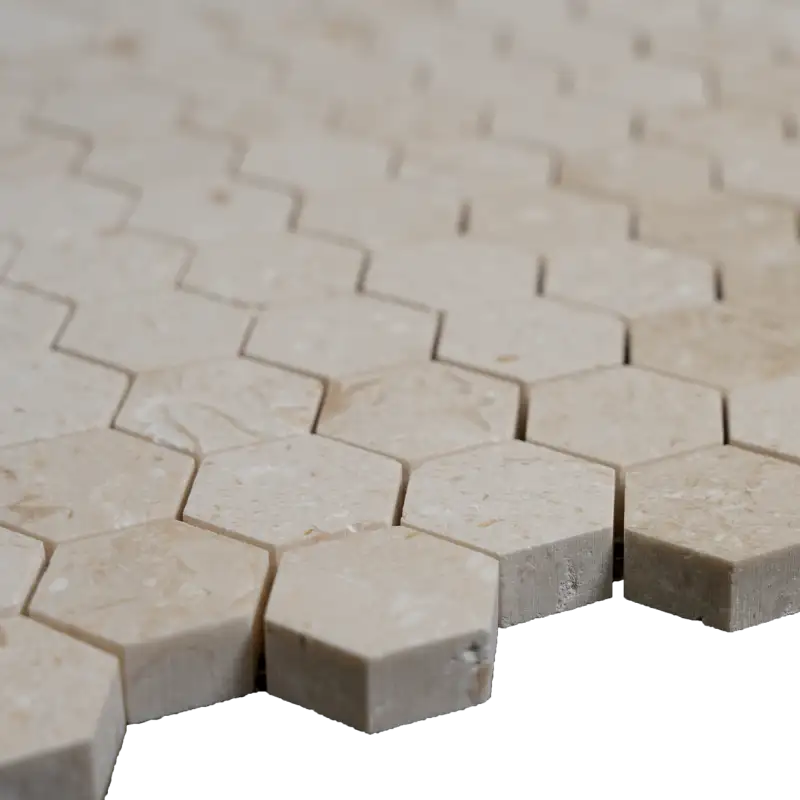
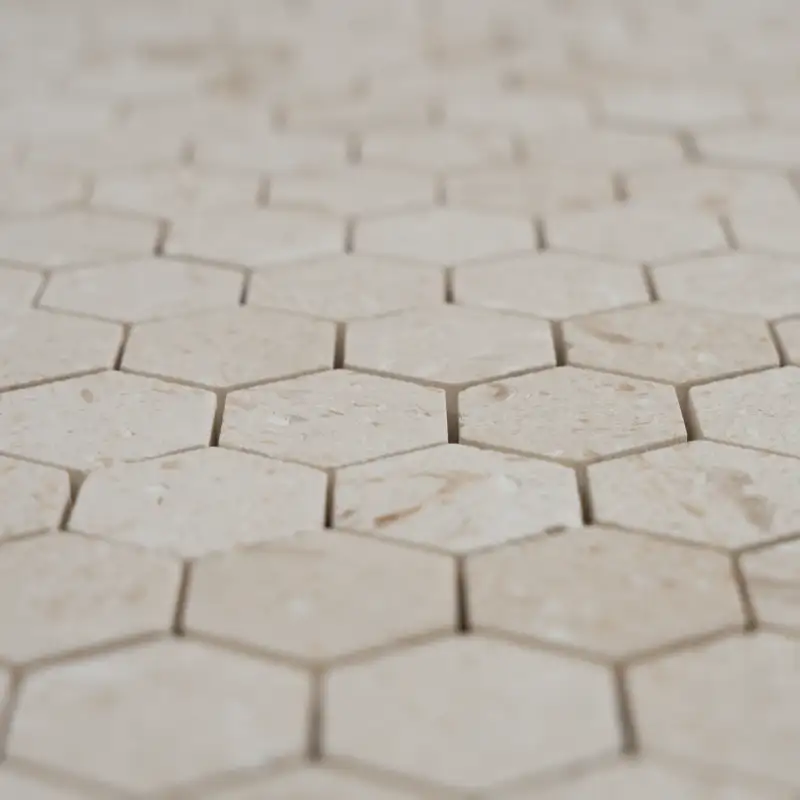
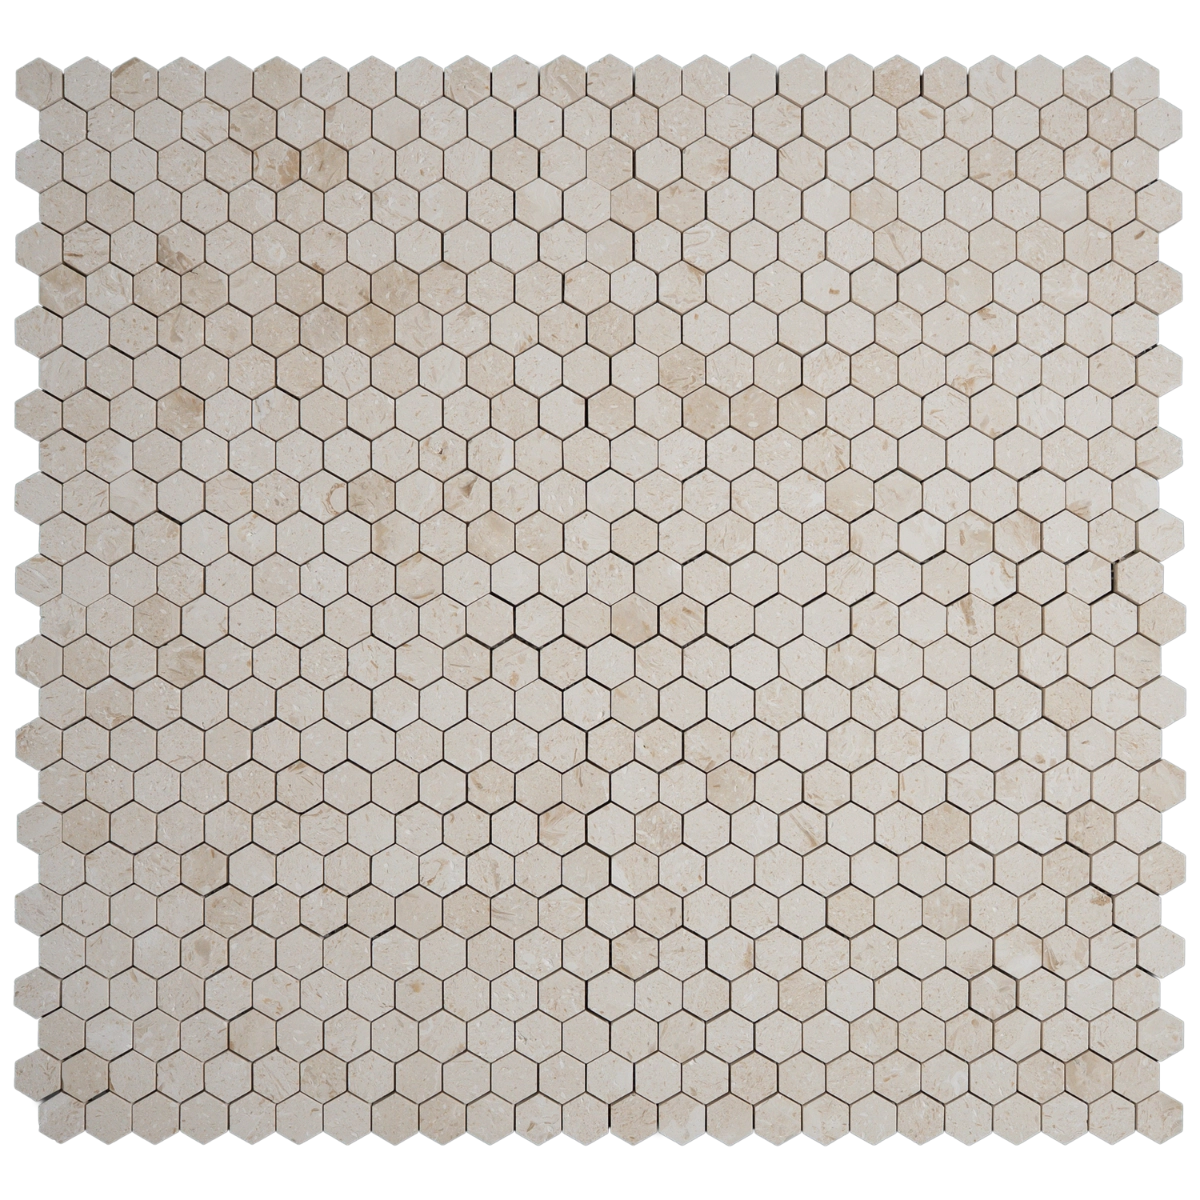
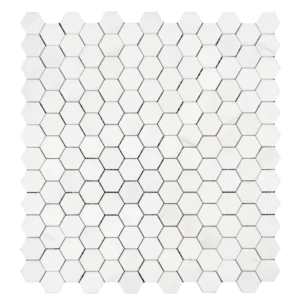

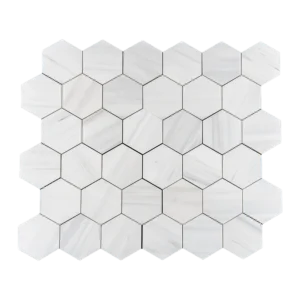
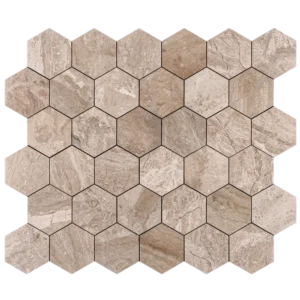
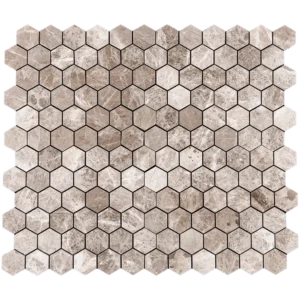
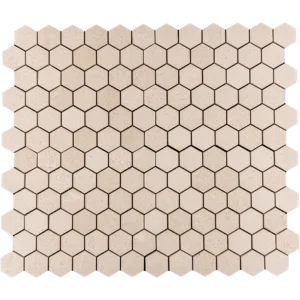
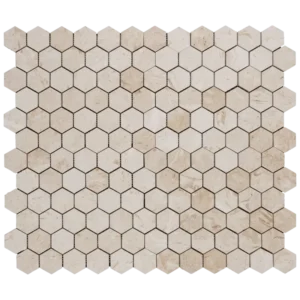
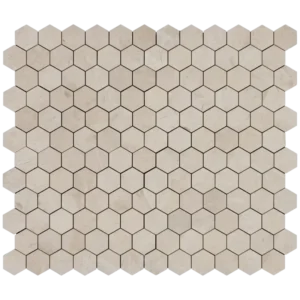
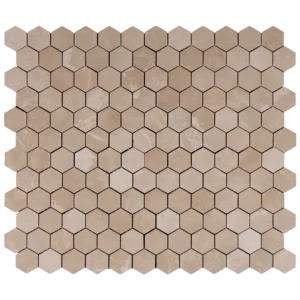
Myra Beige Limestone Mosaic Tile – 1″ Hexagon Honed
Myra Beige 1″ Hexagon Mosaic – Soft Geometry with a Natural Honed Finish
Bring warmth and understated elegance into your space with the Myra Beige Hexagon Mosaic Tile.
Crafted from natural limestone, this 1″ hexagon mosaic features a honed surface that highlights the stone’s soft beige tones and subtle natural variation.
The smaller hexagon format creates a refined, continuous pattern that feels both modern and timeless.
Ideal for kitchen backsplashes, bathroom walls, and shower surrounds, Myra Beige offers a balanced aesthetic that works beautifully in both contemporary and classic interiors.
Its mesh-mounted backing allows for precise alignment and smooth installation, even across larger wall surfaces.
Product Highlights – Myra Beige 1″ Honed Hexagon
- Material: Natural limestone
- Color: Warm beige with gentle natural variation
- Shape: Hexagon (honeycomb pattern)
- Finish: Honed – smooth, matte surface
- Sheet Size: 11.8″ x 12.5″ (approx.)
- Thickness: Approx. 3/8″
- Chip Size: 1″ individual hexagons
- Installation: Mesh-mounted for easy and accurate installation
- Application: Interior walls – backsplashes, bathrooms, shower walls
- SKU: 200182
Why Choose Myra Beige 1″ Hexagon Limestone Mosaic?
Myra Beige stands out for its soft, natural look and versatile color palette.
The honed finish reduces glare and enhances the stone’s organic character, making it ideal for spaces that call for warmth rather than shine.
The 1″ hexagon layout adds subtle visual texture without overwhelming the design, allowing the mosaic to complement a wide range of materials and finishes.
Recommended Applications
- Kitchen backsplashes
- Bathroom walls and shower surrounds
- Vanity backsplashes and feature panels
- Accent walls in residential or light commercial interiors
Care & Maintenance
- Clean with a pH-neutral, stone-safe cleaner.
- Avoid acidic or abrasive products that may damage the limestone surface.
- Seal before and after installation to protect against moisture and staining.
- Reapply sealer periodically based on usage and exposure.
Shipping & Packaging
- Sold by the square foot
- Mesh-mounted sheets for secure packaging and transport
- Carefully packed to ensure safe delivery
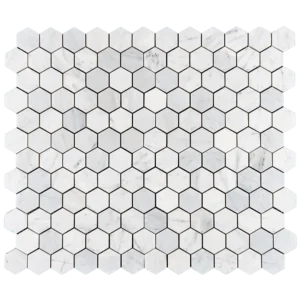
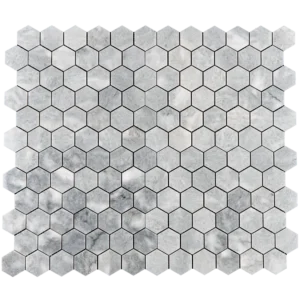
Explore more natural stone mosaics in our
mosaic tiles collection.
This mosaic is part of our curated
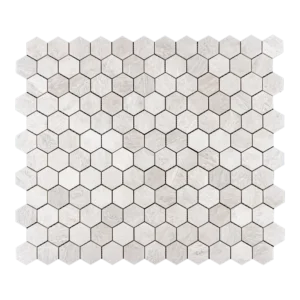
Myra Beige Limestone Collection
, featuring a cohesive range of tiles, mosaics, and stone surfaces designed to work seamlessly together.
Explore the full collection to create a unified look across backsplashes, bathrooms, and feature walls using the same warm Myra Beige limestone tone.
Looking for more options in the same material? Explore our full Limestone Mosaic collection to discover a wide range of natural limestone mosaic tiles for bathrooms, kitchen backsplashes, shower walls, and decorative accents. Limestone mosaics offer soft natural tones and timeless texture that work beautifully in both classic and modern interiors.