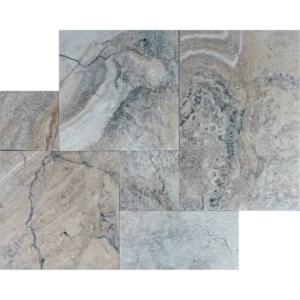
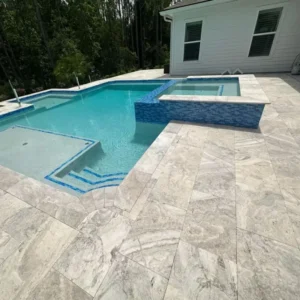
Crema Bella LF 16″x24″ Leather Finished Marble Paver – Timeless Outdoor Elegance
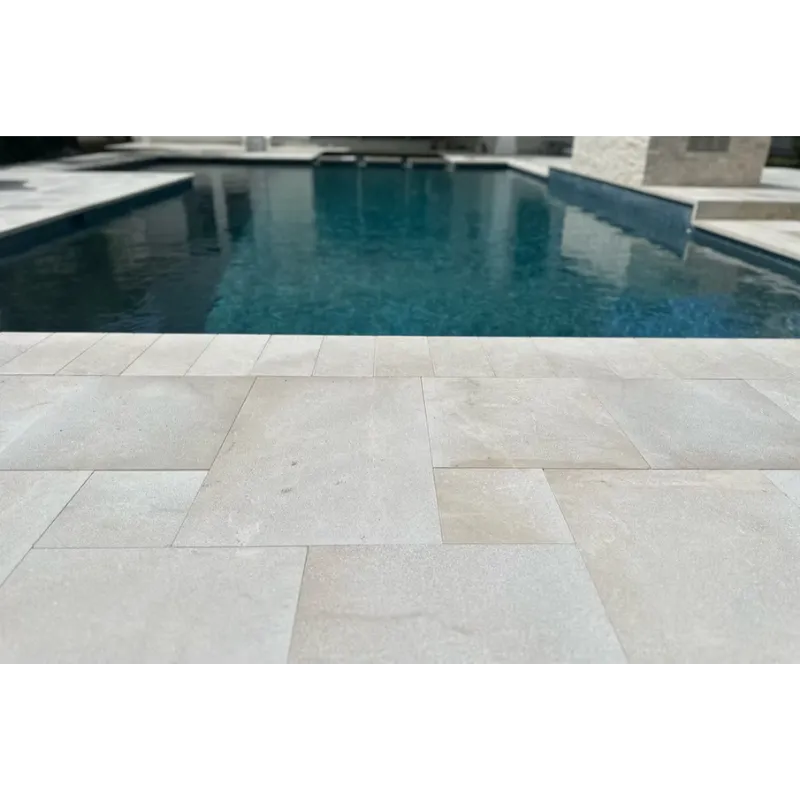
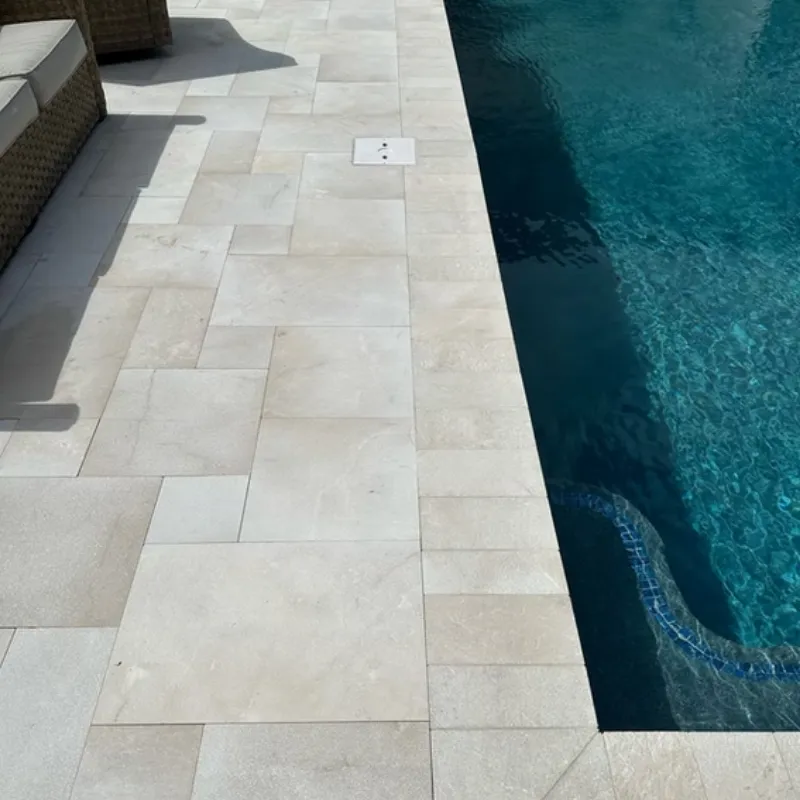
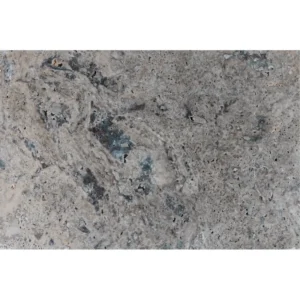
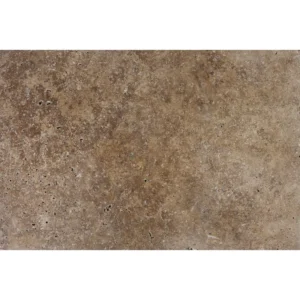
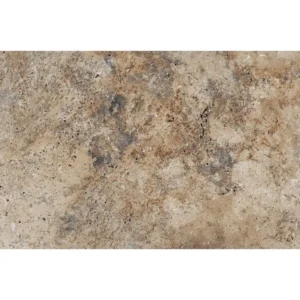
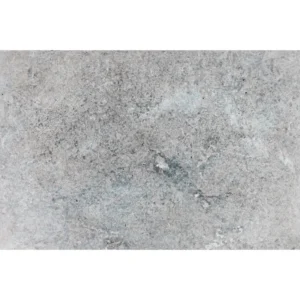
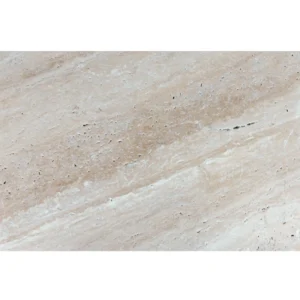
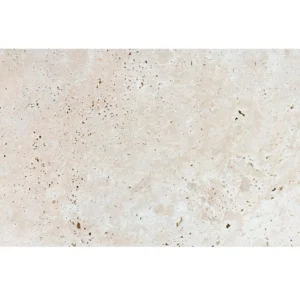
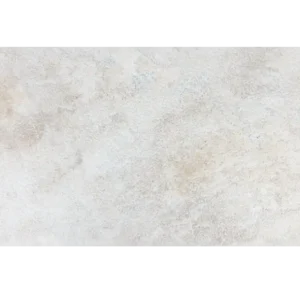
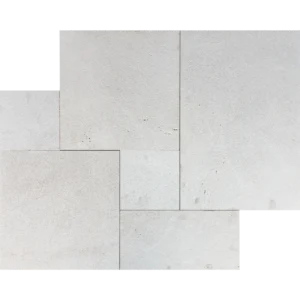
The Crema Bella LF 16″x24″ Leather Finished Marble Paver features soft cream-beige tones and a distinctive leather finish, bringing natural elegance to outdoor living spaces. Its gently textured surface highlights the marble’s organic beauty while creating a refined, understated appearance. Moreover, the rectangular 16″x24″ format complements both contemporary and traditional landscape designs.
Crafted from natural marble, this paver showcases subtle color variations that make each installation unique. The leather finish provides a soft, tactile texture without the glossy appearance of polished stone. As a result, Crema Bella LF creates a warm and sophisticated atmosphere for patios, pool decks, courtyards, and garden walkways.
- Material: Natural marble
- Color: Soft cream-beige with subtle natural variations
- Finish: Leather finished for a gently textured, natural appearance
- Size: 16″x24″ (nominal)
- Thickness: 1-1/4″ (verify with supplier)
- Applications: Patios, pool decks, courtyards, garden walkways, and outdoor living areas
Pair these marble pavers with natural landscaping, modern outdoor furniture, or Mediterranean-inspired architectural elements for a cohesive design. Ultimately, the Crema Bella LF 16″x24″ marble paver combines timeless beauty, natural texture, and versatile styling to enhance residential and commercial outdoor spaces.
Installation Guide – Crema Bella LF 16″x24″ Leather Finished Marble Paver
Important Advisory
This guide covers only the paver installation phase. Proper base preparation, drainage, and bedding requirements must be evaluated and completed by qualified professionals before installation.
Step 1: Dry Layout & Pattern Planning
- Dry-lay pavers on the prepared surface to evaluate natural cream-beige tones, veining, and texture variations.
- Arrange the 16″x24″ rectangular pavers in a running bond or stacked pattern to achieve a balanced and consistent appearance.
- Use chalk lines or a laser level to establish reference lines for accurate alignment.
Step 2: Paver Placement
- Carefully place each 16″x24″ marble paver onto the properly prepared bedding layer.
- Maintain consistent joint spacing appropriate for the paver dimensions, edge characteristics, and installation system.
- Use a rubber mallet with suitable surface protection to gently adjust placement without damaging the natural stone.
- Check alignment, surface level, and drainage slope throughout installation.
Step 3: Cutting & Edge Finishing
- Use a wet saw equipped with a diamond blade specifically designed for cutting natural marble.
- Support the pavers securely during cutting to minimize vibration, cracking, and edge chipping.
- Carefully smooth exposed cut edges using appropriate stone-finishing tools, where necessary.
Step 4: Joint Treatment
- Select polymeric sand, grout, or another joint filler specifically approved for natural marble and the chosen installation system.
- Follow the joint filler manufacturer’s instructions for application, cleaning, and curing.
- Remove excess joint material promptly using methods compatible with the leather-finished marble surface.
- If polymeric sand is used, follow the manufacturer’s wetting and activation requirements to prevent staining or residue.
Step 5: Sealing & Maintenance
- Once the installation is sufficiently dry, consider applying a penetrating, breathable sealer specifically formulated for exterior natural marble.
- Test the sealer on a small, inconspicuous area before full application.
- Inspect the surface periodically and reapply sealer as recommended by the manufacturer, depending on exposure and use.
- Clean with pH-neutral, non-abrasive cleaners suitable for natural marble. Avoid acidic cleaning products.
Disclaimer
Crema Bella LF is a natural marble product. Variations in color, veining, texture, and surface appearance are inherent characteristics of natural stone and are not considered manufacturing defects. Always inspect and dry-lay materials before permanent installation. Installation methods, joint spacing, drainage, and sealing requirements may vary depending on project conditions. Professional installation is strongly recommended.