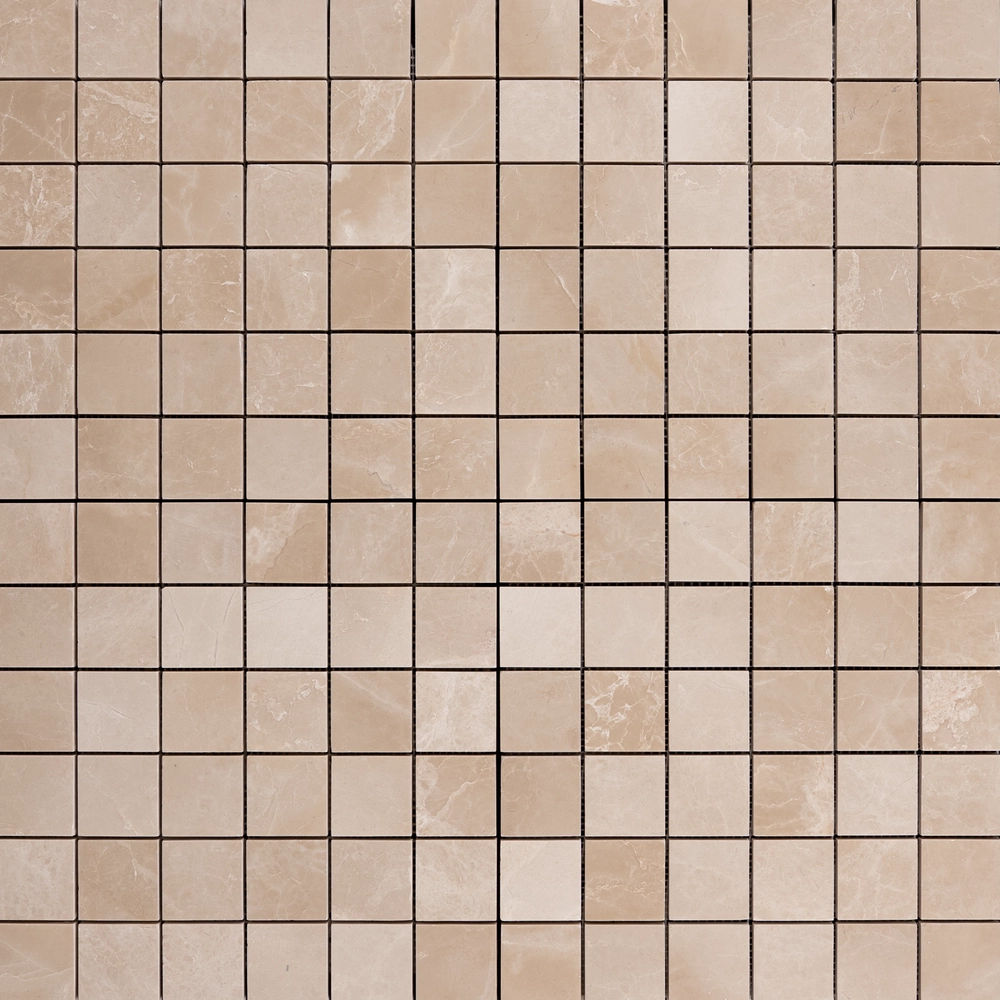
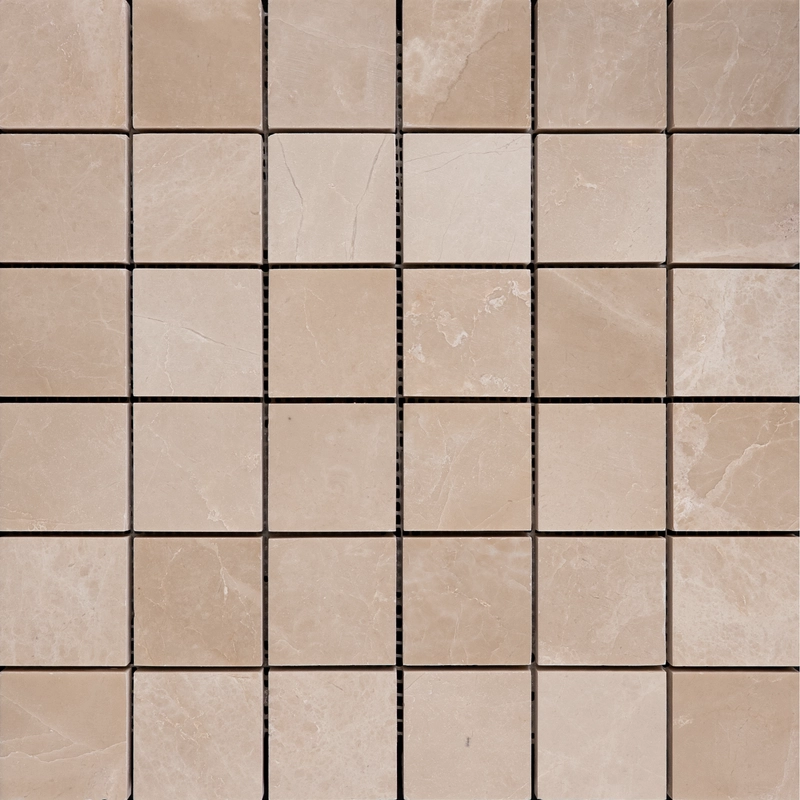
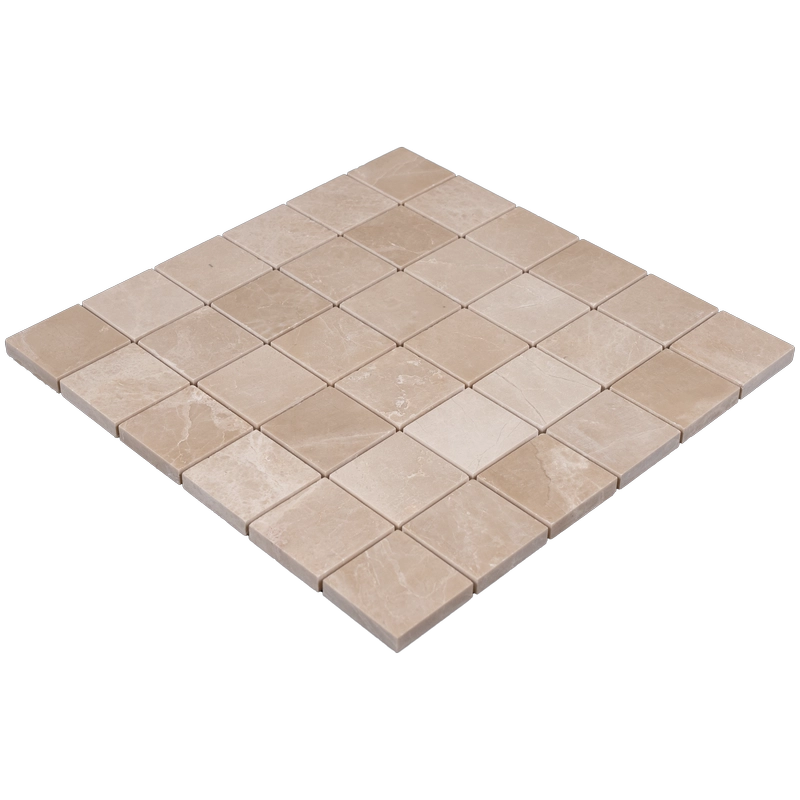
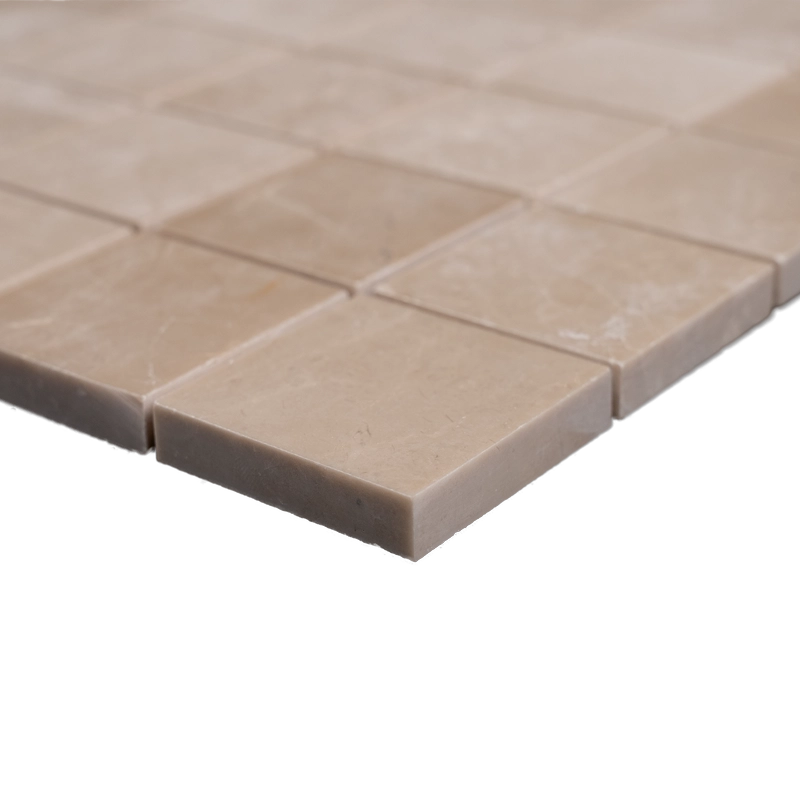
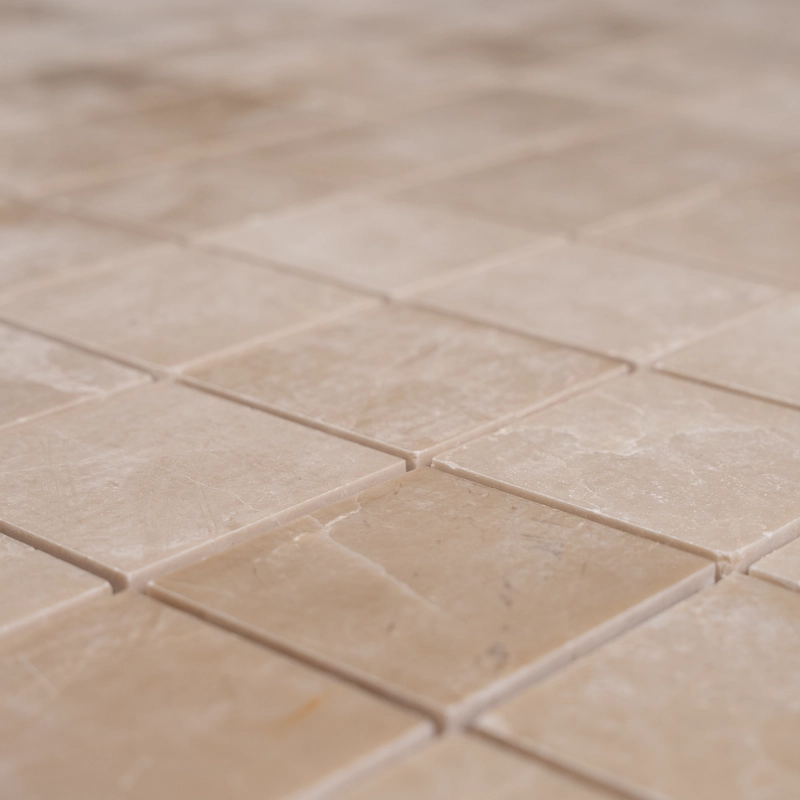
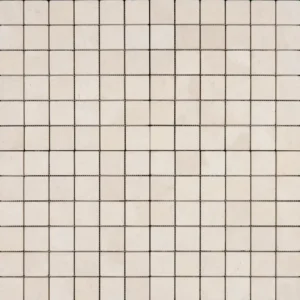
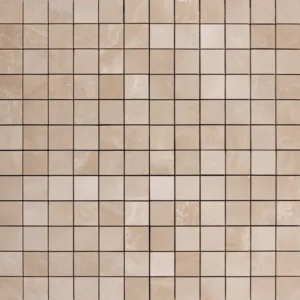

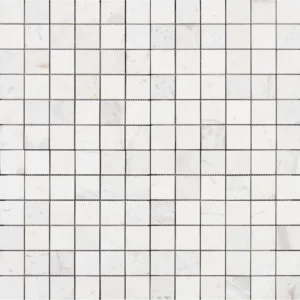


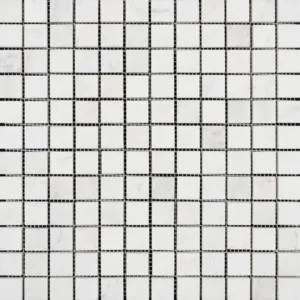
Botticino 2×2 Polished Marble Mosaic Tile
The Botticino 2×2 Polished Marble Mosaic Tile highlights the timeless beauty of beige marble in a classic square format. With warm tones and gentle veining, it creates a natural elegance that suits both modern and traditional interiors.
Thanks to its polished surface, this mosaic reflects light and adds depth to any room. It is especially ideal for kitchens, bathrooms, and accent walls where a refined look is desired. The 2×2 size also makes it easy to install on both small and large surfaces.
Key Features:
- Material: Genuine Botticino marble
- Finish: Polished for a glossy, smooth surface
- Tile Size: 2″x2″ mosaic format
- Color: Warm beige with soft natural veining
- Applications: Suitable for walls, showers, backsplashes, and decorative features
Because of its neutral tones, Botticino pairs well with a wide range of countertops, cabinetry, and flooring. Moreover, its polished finish offers a touch of luxury while remaining durable and easy to maintain. Whether you are planning a full remodel or a small upgrade, this marble tile delivers style and quality in equal measure.