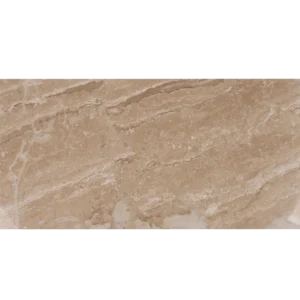
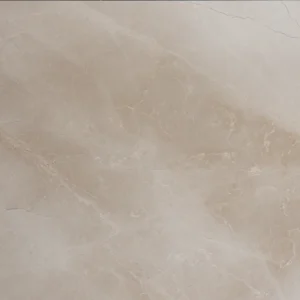
Botticino Marble Tile 12″x24″ Polished – Timeless Beige Stone with Straight Edge
Understated Luxury in a Classic Format
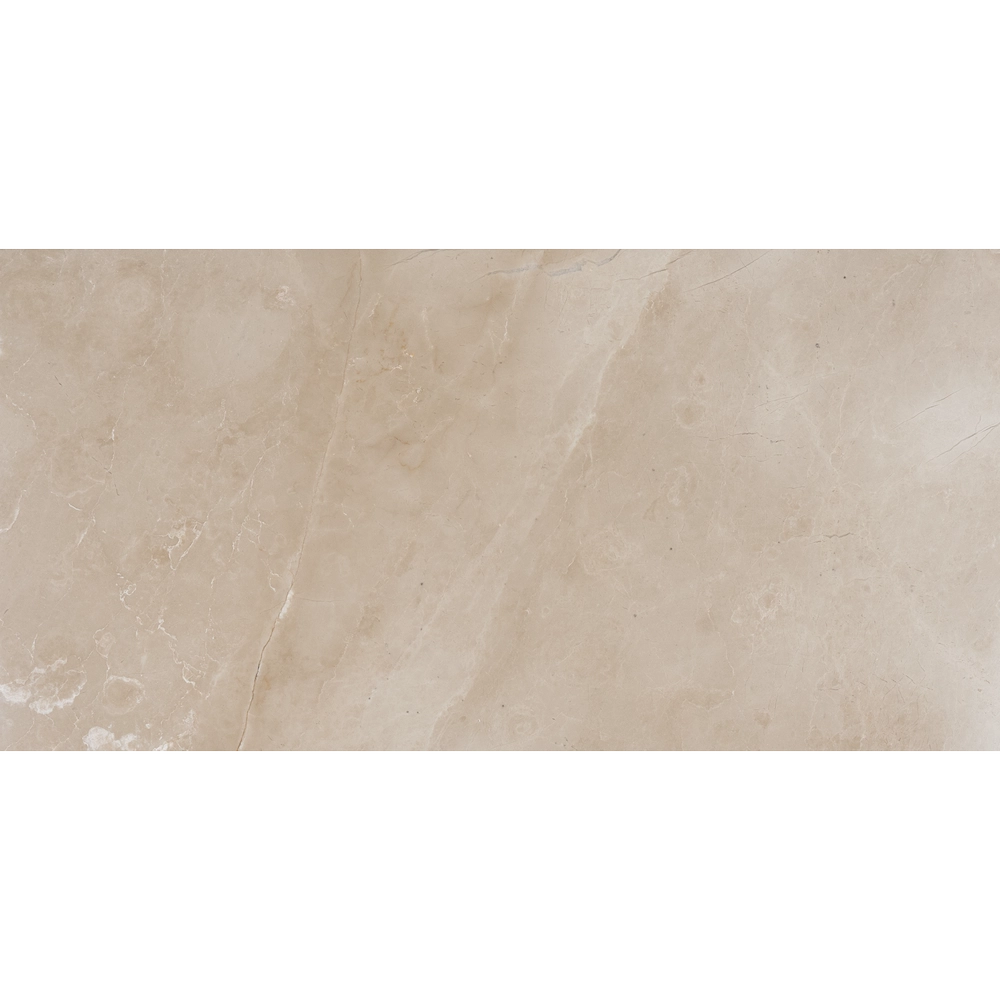
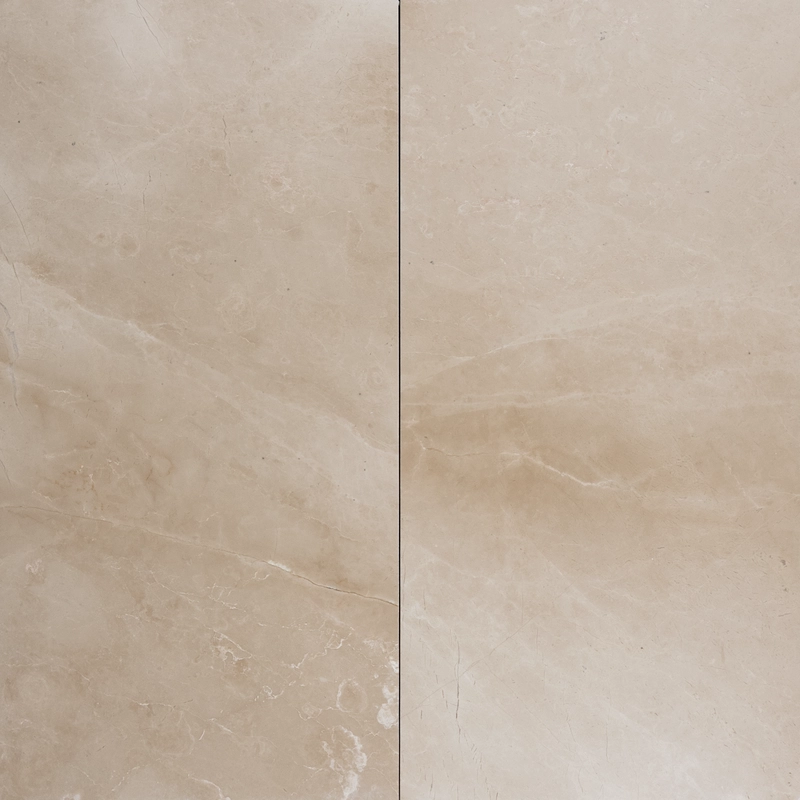
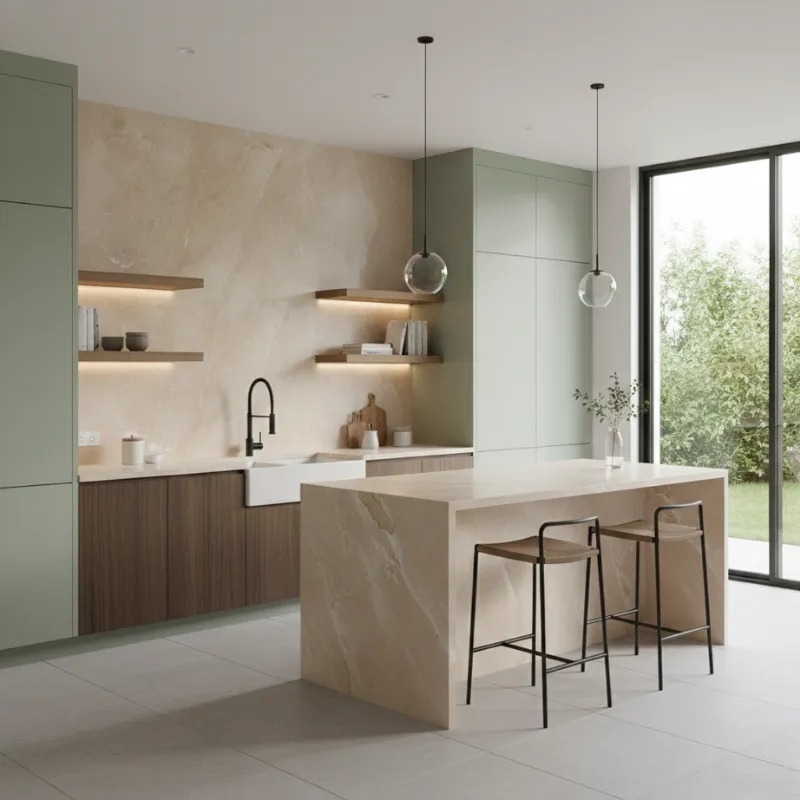
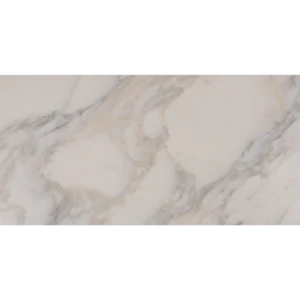
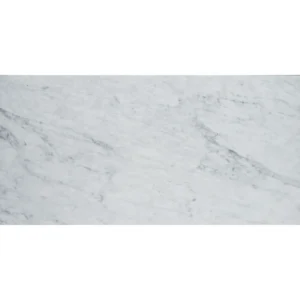
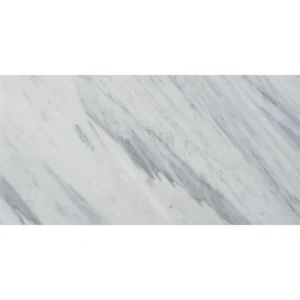
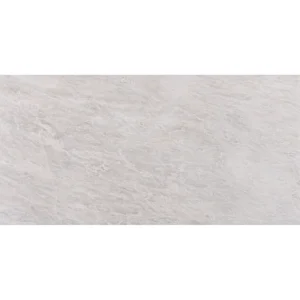
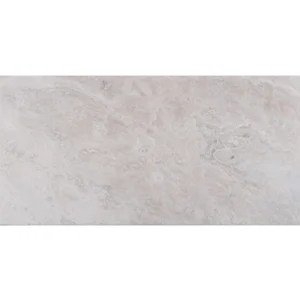
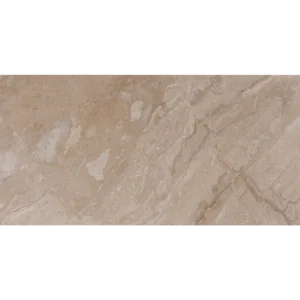
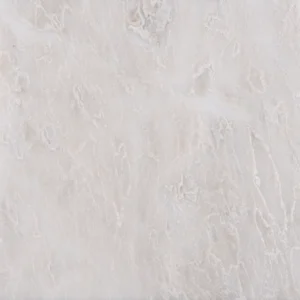
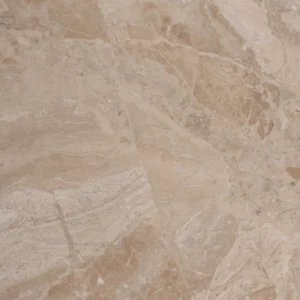
Crafted from authentic Botticino marble, the Botticino Marble Tile 12″x24″ delivers refined beige tones with delicate veining and a radiant polished finish. This versatile rectangular format brings an elegant yet warm presence to a wide range of interior spaces—from minimalist kitchens to traditional bathrooms.
Its straight-edge design ensures tight grout lines and seamless transitions, making it ideal for walls, floors, and custom installations. Whether you aim to enhance a contemporary layout or complement a classical motif, Botticino marble’s enduring charm and visual softness elevate your surroundings.
Product Details
- Stone: Botticino Marble
- Color: Soft beige with creamy undertones and fine veining
- Finish: Polished – smooth, light-reflective surface
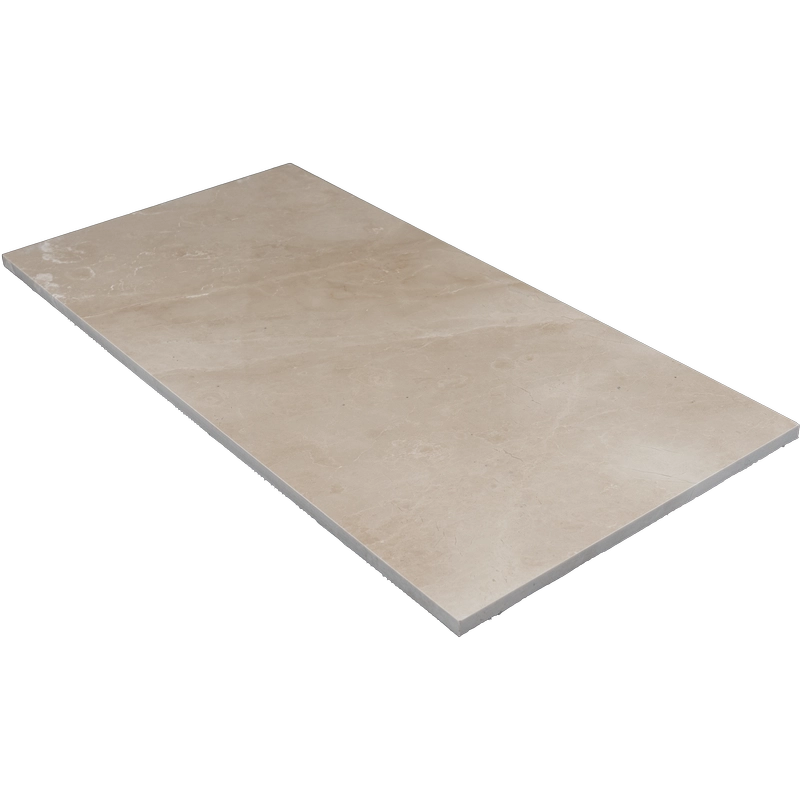
- Size: 12″ x 24″ (30.5 x 61 cm)
- Edge: Straight edge for clean alignment
- Thickness: 1/2″ (1.2 cm)
- Recommended Use: Indoor floors and walls – residential or light commercial settings
Why Choose Botticino Polished Marble Tile?
This tile blends timeless beauty with practical application. Its subtle palette works effortlessly with wood tones, metal accents, and natural textures. Moreover, the polished surface enhances light flow and creates a sense of space in smaller rooms. It’s an excellent option for those seeking sophistication without overwhelming color.
If you’d like to explore similar designs, our Tiles collection has many close alternatives.
Installation Guide – Step by Step
Step 1: Surface Preparation – Clean and Flat Base
- Ensure the substrate is solid, dry, and flat within 1/8″ variation per 10 feet.
- Clean thoroughly to remove dust, oil, or loose particles.
- In wet areas, apply a waterproofing membrane prior to installation.
Step 2: Layout Planning – Minimize Cuts and Highlight Veining
- Find the center of the space and snap reference lines for even layout.
- Dry-lay tiles to arrange veining direction and color consistency.
- Blend from multiple boxes for natural variation.
- Recommended grout spacing: 1/16″ to 1/8″ for clean lines with straight edges.
Step 3: Mortar Application – Bond Strength is Key
Recommended Mortars:
- Mapei Ultraflex LFT White
- Laticrete 254 Platinum White
- Ardex X77 White
Instructions:
- Use a 1/2″ square-notched trowel for even thin-set distribution.
- Back-butter each tile to ensure full coverage and bond.
- Work in sections and avoid letting mortar skin over.
Step 4: Cutting & Fitting – Clean Cuts for a Polished Look
- Use a wet saw with a continuous-rim diamond blade rated for marble.
- Polish any visible cut edges to match the factory finish.
- Dry-fit tiles before final installation for best alignment.
Step 5: Setting Tiles – Clean Alignment Matters
- Use spacers to maintain consistent joints and symmetry.
- Tap tiles gently with a rubber mallet to seat evenly.
- Clean off excess mortar immediately to avoid staining polished surfaces.
- Allow 24 hours for thin-set curing before grouting.
Step 6: Grouting & Sealing – Protect the Surface
- Pre-seal polished Botticino marble to prevent grout staining.
- Use non-sanded grout to avoid scratching the polished finish.
- Apply grout diagonally with a rubber float and wipe clean promptly.
- Buff haze off after 30 minutes with a soft cloth.
- Re-seal tile and grout after 72 hours for added protection.
Maintenance Tips – Long-Lasting Beauty
- Use pH-neutral cleaners specifically formulated for marble.
- Avoid acidic substances like lemon, vinegar, or bleach.
- Clean up spills promptly to prevent etching or staining.
- Reseal every 6–12 months depending on usage and exposure.
Shipping & Packaging
Each Botticino 12″x24″ tile is cushioned and boxed for secure transit. Inspect tiles before installation to ensure uniform color and surface quality.
Important Note
Botticino marble is a natural material with inherent variation. Always dry-lay tiles before installation. Stonemarket USA is not responsible for variation or installer error.