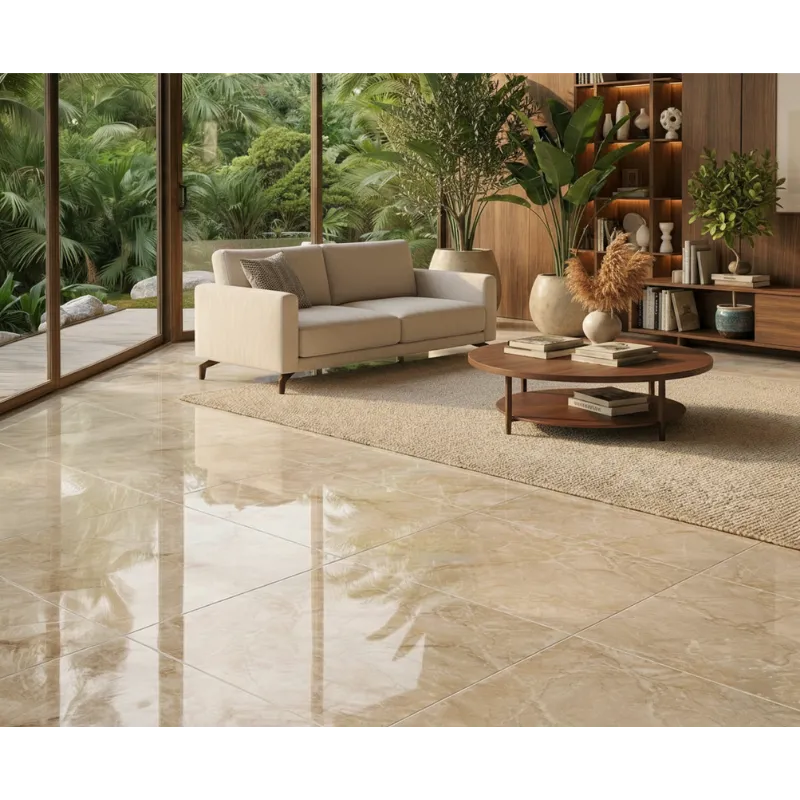
Royal Beige Tile 18″x18″ Polished – Natural Marble with Glossy Finish
Elevate Interiors with Luxurious Light and Warmth
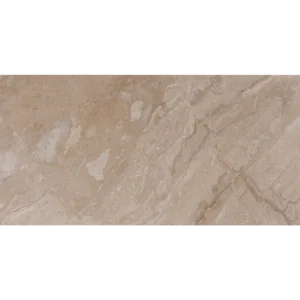
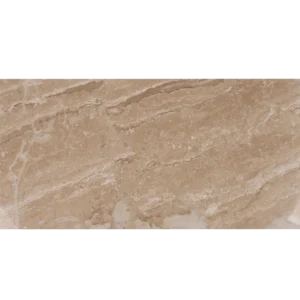
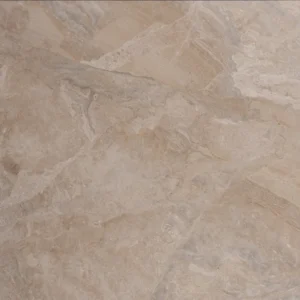
The Royal Beige Tile 18″x18″ Polished brings refined elegance to your interior spaces. Made from premium-grade natural marble, each tile features a radiant beige tone and a smooth, high-gloss finish that reflects light beautifully. This polished surface enhances the richness of the marble while brightening the room, making it a perfect fit for interiors that demand a clean, sophisticated feel.
With its generous 18″x18″ size, this tile reduces grout lines for a seamless appearance and contributes to a spacious, uncluttered atmosphere. It’s ideal for indoor wall applications in bathrooms, kitchens, foyers, or upscale commercial environments. Whether used as a continuous surface or paired with decorative trims, it brings a warm, polished character to both modern and traditional designs.
Product Features – Royal Beige 18″x18″ Polished Marble Tile
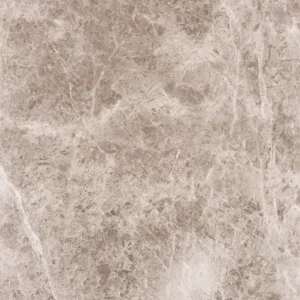
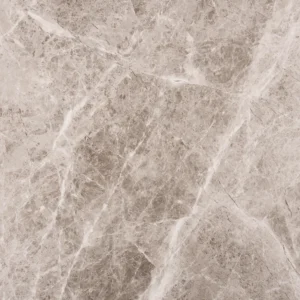
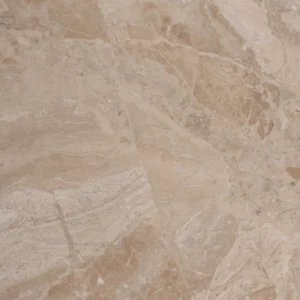
- Material: Premium natural Royal Beige marble
- Color: Warm beige with subtle variation and veining
- Finish: Polished – highly reflective, elegant shine
- Size: 18″x18″ (45.7×45.7 cm)
- Thickness: Approx 0.45″ (1.1 cm)
- Edge Detail: Straight edge for clean transitions
- Recommended Use: Indoor walls – bathrooms, kitchens, commercial interiors, accent walls
Why Choose This Polished Marble Tile?
Unlike ceramic imitations, this tile captures the authenticity and depth only real marble can offer. Its polished surface makes colors appear richer, while its neutral beige palette complements a wide range of color schemes. Moreover, it’s an excellent choice for adding a sense of luxury without overwhelming the design. Durable, low-maintenance, and timeless—this tile strikes a perfect balance between practicality and style.
Installation & Care Tips
- Use a white, marble-safe adhesive to preserve the clarity of the finish
- Apply non-sanded grout to protect the surface from scratches
- Seal the tile after installation to guard against moisture and stains
- Clean regularly using a pH-neutral stone cleaner
Installation Guide – Step by Step
Step 1: Surface Preparation – Create a Stable Base
- Thoroughly clean the substrate. Remove dust, oil, wax, and debris.
- Check flatness using a long straight edge or level. Lippage is more noticeable with polished surfaces.
- Apply a waterproofing membrane in wet areas such as bathrooms or kitchens.
- Use a self-leveling underlayment if needed to correct any dips or uneven spots.
Step 2: Layout Planning – Visual Flow & Tile Blending
- Mark layout lines from the center of your surface and dry-lay several tiles before installing.
- Polished Royal Beige marble exhibits subtle veining and color shifts—mix from different boxes for a natural blend.
- Maintain tight grout lines (**1/16″–1/8″**) to complement the tile’s straight edges and enhance its sleek look.
- Avoid small cuts near edges by adjusting layout where necessary.
Step 3: Adhesive Application – Use White, Non-Staining Mortar
Recommended Mortars:
- Mapei Ultraflex LFT White
- Laticrete 254 Platinum White
- Ardex X77 White
Instructions:
- Use a 1/2″ square-notched trowel for even mortar application.
- Back-butter each tile to ensure full contact and avoid voids that can crack under pressure.
- Set tiles into fresh mortar and press firmly, adjusting alignment while adhesive is workable.
Step 4: Cutting & Fitting – Clean, Accurate Cuts
- Use a wet saw with a continuous-rim diamond blade designed for marble to prevent chipping.
- Test-fit cuts before installing and smooth visible edges using a polishing pad or marble file.
Step 5: Setting Tiles – Flat and Flawless
- Use a leveling system to ensure flush alignment and minimize lippage between polished tiles.
- Tap gently with a rubber mallet for proper seating.
- Immediately clean off excess mortar with a damp sponge—residue left on polished surfaces may cause dull spots.
- Let mortar cure for at least 24 hours before applying grout.
Step 6: Grouting & Sealing – Protect the Shine
- Pre-seal the polished marble surface before grouting to prevent staining and haze.
- Use non-sanded grout for joints ≤ 1/8″ to avoid scratching.
- Apply grout diagonally with a rubber float and clean promptly with a damp sponge.
- Buff the tile surface with a dry cloth after 15–20 minutes to remove haze without dulling the polished finish.
- Allow grout to cure fully (72 hours), then apply a **penetrating marble sealer** approved for polished finishes.
Maintenance Tips – Preserve the Gloss
- Clean regularly using a pH-neutral marble-safe cleaner.
- Immediately wipe up spills—especially acidic substances like wine, citrus, and coffee.
- Re-seal periodically (every 6–12 months depending on use).
- Use rugs, mats, or felt protectors to reduce scratching in high-traffic zones.
Shipping & Packaging
Each 18″ x 18″ Royal Beige Polished Marble Tile is individually protected and boxed for safe transport. Inspect all tiles before installation and store indoors in a clean, dry area.
Important Note
Natural stone tiles like Royal Beige marble may feature tonal and veining variations. Dry-lay and plan the layout before installation for the best result. Stonemarket USA is not responsible for issues arising from improper installation or material misuse.