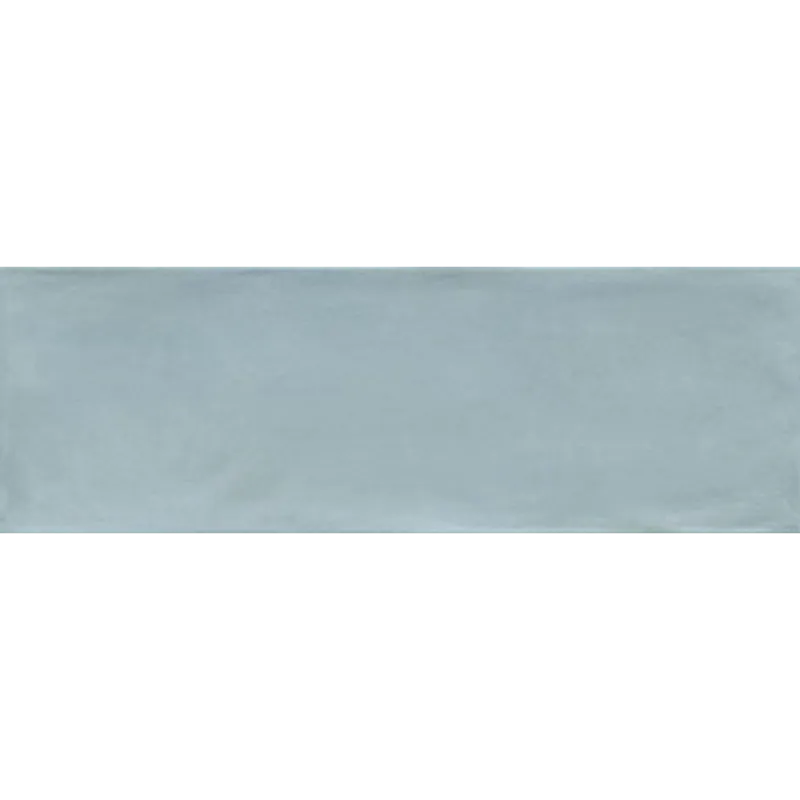
Titan Aqua Touch 4×12 Ceramic Tile Glossy
Soft Aqua Color with a Glossy Contemporary Finish
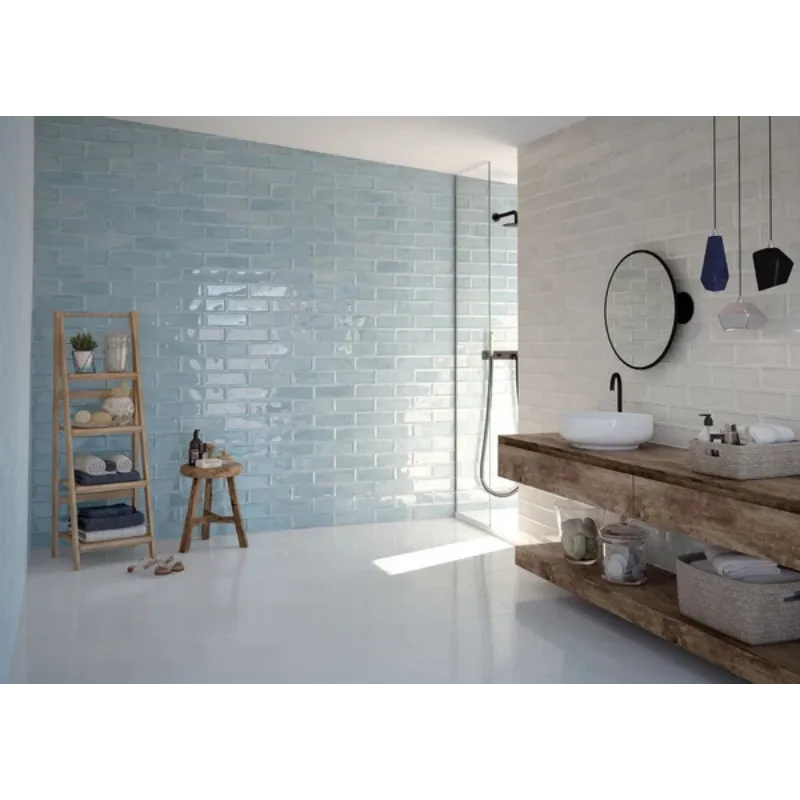
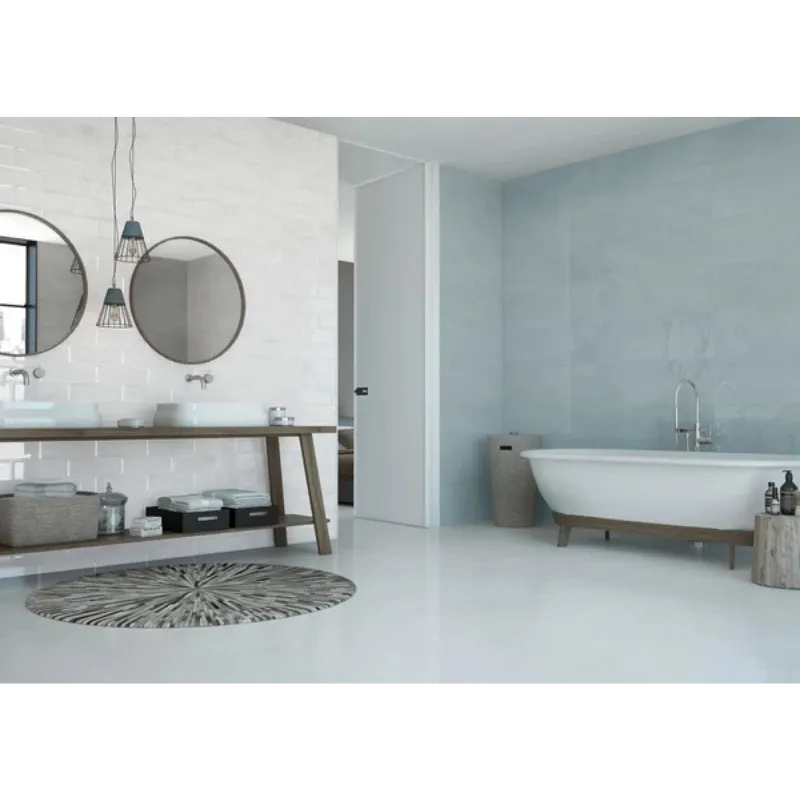
The Titan Aqua Touch 4×12 Ceramic Tile Glossy brings a fresh, luminous look to interior walls with its soft aqua-blue tone and glossy surface. Part of the Titan Collection by Happy Floors, this glazed white-body ceramic tile combines subtle color variation with a handcrafted-inspired appearance for a distinctive yet versatile wall design.
The elongated 4″x12″ format works beautifully in kitchens, bathrooms, backsplashes, shower walls, and decorative accent areas. Its glossy finish reflects light across the surface, while the pressed edges contribute to the characteristic look of this ceramic wall tile.
Key Features
- Material: Glazed white-body ceramic
- Collection: Titan
- Color: Aqua / light blue
- Finish: Glossy
- Size: 4″x12″
- Thickness: 3/8″ (9 mm)
- Edge: Pressed
- Coverage: Approx. 0.33 sq. ft. per piece
- Pieces per Box: 33
- Coverage per Box: 10.76 sq. ft.
- Application: Interior walls, backsplashes, kitchens, bathrooms, and accent walls
Design Flexibility
The 4×12 format provides flexibility for a variety of wall layouts, including traditional horizontal installations, vertical patterns, stacked designs, and other decorative arrangements. The soft aqua color can introduce a subtle coastal influence or serve as a refreshing accent within contemporary and transitional interiors.
Because the Titan Collection features noticeable shade and surface variation, blending tiles from multiple boxes before and during installation is recommended to create a balanced finished appearance.
For a complete view of available tile styles, visit the Tiles page and compare options.
Installation Guide – Step by Step
Step 1: Surface Preparation – Clean, Flat and Stable Substrate
- Make sure the installation surface is clean, dry, flat, structurally sound, and free from dust, grease, paint, or other materials that may interfere with adhesion.
- Repair cracks, uneven areas, or damaged substrates before beginning the installation.
- Use an appropriate waterproofing system in wet areas such as shower walls and other moisture-prone applications where required.
Step 2: Layout Planning – Blend the Shade Variation
- Establish reference lines before installation to maintain a balanced and consistent layout.
- Dry-lay several tiles to review the Aqua color, glossy surface, and shade variation before setting the material.
- Blend tiles from multiple boxes throughout the installation to distribute the collection’s color and surface variation naturally.
- The 4″x12″ format can be installed in horizontal, vertical, stacked, offset, and other decorative wall patterns.
- Select grout-joint width according to applicable tile-industry standards and the recommendations of the tile, mortar, and grout manufacturers.
Step 3: Mortar Application – Ceramic Tile Thin-Set
Recommended Mortar Type:
- Use a high-quality thin-set mortar suitable for glazed white-body ceramic wall tile and the specific installation substrate.
- For this light Aqua tile, white mortar is generally preferred where appropriate for the installation.
Instructions:
- Select the appropriate notched trowel according to substrate conditions and the mortar manufacturer’s recommendations.
- Apply mortar consistently and work only within the manufacturer’s recommended open time.
- Press each tile firmly into the mortar to achieve proper contact and bonding.
- Periodically remove a tile during installation to verify adequate mortar transfer and coverage.
Step 4: Cutting & Fitting – Protect the Glazed Surface
- Use a professional tile cutter or wet saw equipped with a blade suitable for glazed ceramic tile.
- Measure and dry-fit cut pieces before final placement.
- Handle cut and factory edges carefully to minimize chipping of the glazed surface.
- Use appropriate ceramic-tile tools for outlet openings, plumbing penetrations, and other detailed cuts.
Step 5: Setting Tiles – Maintain Consistent Alignment
- Use tile spacers as appropriate to maintain consistent grout joints throughout the installation.
- Check alignment frequently, especially when installing stacked, vertical, or offset patterns.
- Remove excess mortar from the glossy tile surface and grout joints before it hardens.
- Allow the mortar to cure according to the manufacturer’s instructions before grouting.
Step 6: Grouting & Final Cleaning
- Choose a grout compatible with glazed ceramic tile and the selected grout-joint width.
- Apply grout diagonally across the joints using a rubber grout float.
- Remove excess grout promptly with a clean, damp sponge while avoiding excessive water.
- After curing, remove any remaining grout haze using a cleaning method approved for glazed ceramic tile.
- The glazed ceramic tile surface typically does not require sealing; follow the grout manufacturer’s recommendations regarding grout sealing.
Maintenance Tips – Care for the Glossy Ceramic Surface
- Clean regularly with a mild, non-abrasive cleaner suitable for glazed ceramic tile.
- Avoid abrasive pads or harsh cleaning tools that may affect the glossy surface.
- Wipe splashes, soap residue, grease, and other buildup promptly.
- Maintain grout joints according to the grout manufacturer’s care recommendations.
Shipping & Packaging
Titan Aqua Touch 4×12 Ceramic Tile Glossy is packaged with 33 pieces per box, providing approximately 10.76 sq. ft. of coverage per box. Each tile provides approximately 0.33 sq. ft. of coverage. Store cartons in a clean, dry environment and inspect all material before installation.
Important Note
The Titan Collection is designed with noticeable shade and surface variation. Color and appearance may vary between individual tiles and boxes. Blend material from multiple boxes before and during installation to achieve a balanced finished appearance. This 4″x12″ ceramic tile is intended primarily for interior wall, backsplash, kitchen, bathroom, and decorative accent applications. Verify suitability for the specific installation environment before installation. Stone Market USA is not responsible for installation errors or material installed without prior inspection.