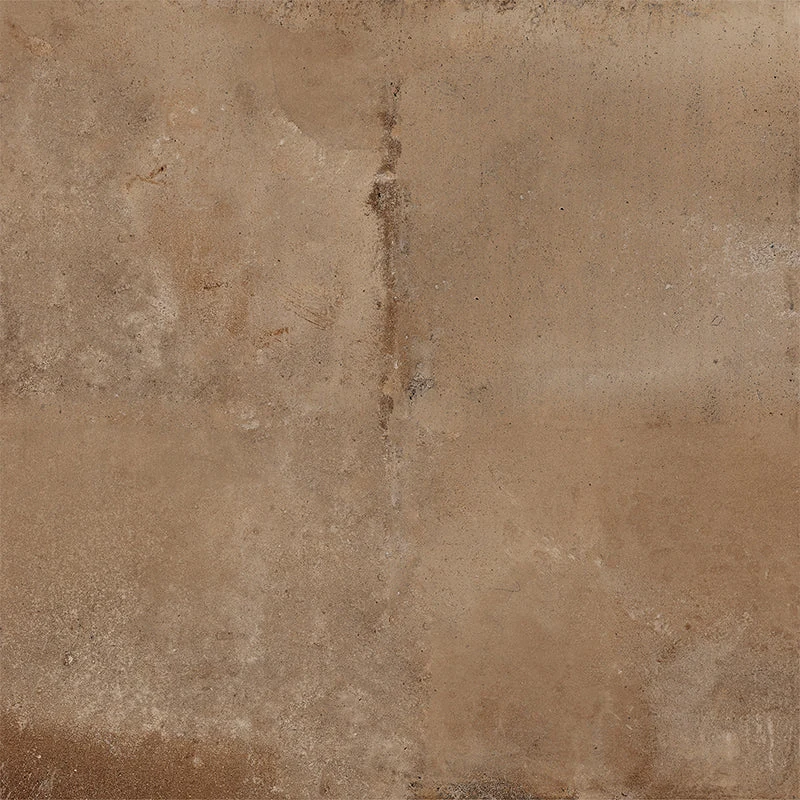
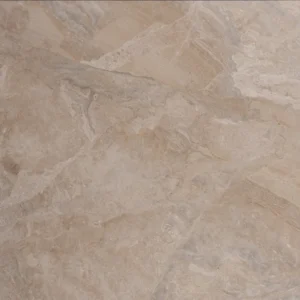
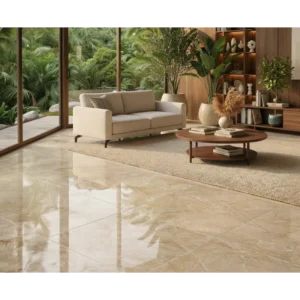
Claystone Brown 12×12 Rectified Natural Porcelain Tile
Claystone Brown 12×12 Porcelain Tile brings the warmth of natural stone into a durable porcelain surface. Its nuanced brown tones and soft, limestone-inspired movement create an inviting, versatile backdrop for contemporary and transitional spaces alike.
The natural matte finish offers a refined, low-sheen look, while rectified edges support precise installation and tighter grout joints. In the classic 12×12 format and a practical 3/8 in (9mm) thickness, this Happy Floors tile fits smoothly into a wide range of interior layouts for floors and walls.
Engineered for everyday performance, Claystone Brown carries a PEI 4 wear rating and a DCOF of 0.42, with frost-resistant porcelain construction for added durability. Expect natural-looking shade and pattern variation; review and blend tiles from multiple boxes during installation for a balanced overall appearance.
Features
- Color: Brown with subtle, stone-inspired variation
- Material: Porcelain
- Size: 12×12 in
- Thickness: 3/8 in (9mm)
- Finish: Natural (matte)
- Edge: Rectified for precise, tight joints
- PEI Rating: 4 for busy residential and many commercial interiors
- DCOF: 0.42 for traction on interior floors
- Frost-resistant porcelain construction
- Low-maintenance surface—simple routine cleaning
Recommended Applications
- Residential interior floors
- Residential interior walls
- Kitchen floors
- Bathroom floors and walls
- Entryways and foyers
- Living areas and hallways
- Commercial interior floors
- Commercial interior walls
- Feature walls
Installation Guide – Claystone Brown 12×12 Rectified Natural Porcelain Tile
Important Advisory
Always follow the tile manufacturer’s instructions, setting-material manufacturers’ guidelines, and applicable industry standards (e.g., ANSI A108/A118 and TCNA Handbook). Verify substrate suitability, flatness, and environmental conditions before starting. Observe local building codes and incorporate waterproofing where required.
Step 1: Layout & Planning
- Confirm substrate is clean, sound, dry, and flat; correct irregularities before tiling.
- Plan a balanced layout using control lines; dry‑lay several tiles to review shade and pattern variation.
- Blend tiles from multiple boxes to distribute variation evenly.
- Account for movement joints per industry standards and project conditions.
Step 2: Tile Installation
- Use a high‑quality polymer‑modified thin‑set mortar suitable for porcelain and the specific substrate.
- Select trowel size per mortar manufacturer guidance to achieve proper coverage; key mortar into the substrate and comb in one direction.
- Set tiles with a slight back‑and‑forth motion; back‑butter as needed to meet coverage requirements.
- Check alignment and plane frequently; use a leveling system where appropriate to help minimize lippage.
- Remove excess mortar from faces and joints before it hardens; allow mortar to cure per manufacturer instructions before grouting or traffic.
Step 3: Cutting
- Use a wet saw with a quality diamond blade rated for porcelain.
- Measure and dry‑fit cuts; support tiles properly to reduce chipping.
- Use diamond hole saws for penetrations and smooth cut edges as needed.
Step 4: Joint Filling
- Select a grout appropriate for porcelain and the chosen joint width.
- Pack joints fully with a rubber float, wipe diagonally with a damp sponge, and avoid overwashing.
- Honor movement joints and changes of plane with appropriate sealant rather than grout.
- Allow grout to cure per manufacturer instructions before final cleaning or service.
Step 5: Cleaning & Maintenance
- Sweep or vacuum regularly to remove abrasive debris.
- Clean with a pH‑neutral cleaner approved for porcelain tile; rinse thoroughly.
- Avoid harsh acids, oil‑based soaps, and abrasive pads that may affect finishes or grout.
- Use entry mats and protective furniture pads to reduce wear.
Disclaimer
Installation variables are project‑specific. Verify actual product, lot, and dimensions before installation. Stone Market USA is not responsible for installation errors, improper substrate conditions, or materials installed without prior inspection.