Bardiglio Marble Tile 3″x12″ Polished – Gray Marble with Straight Edge
Refined Detail in a Compact Format
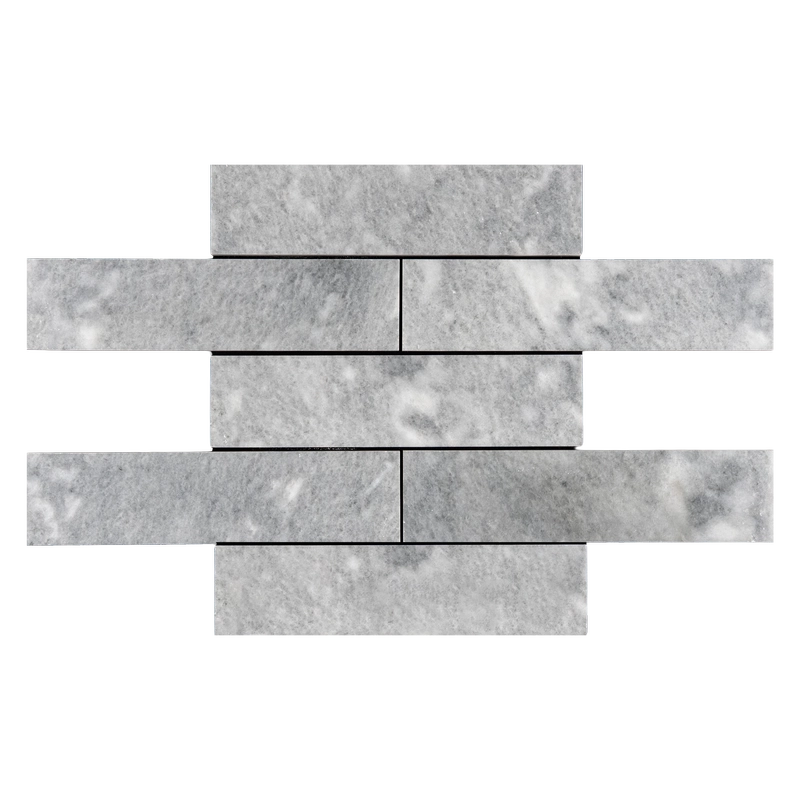
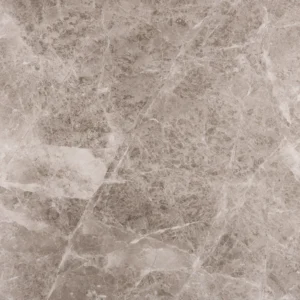
The Bardiglio Marble Tile 3″x12″ Polished offers timeless sophistication in a sleek, narrow profile. Crafted from rich gray Bardiglio marble, this tile features dynamic smoky veining enhanced by a polished finish that brings out the natural depth of the stone. Its elongated shape is perfect for creating bold borders, elegant backsplashes, or refined wall designs.
Thanks to its compact size and straight edge, this tile invites creative layouts—from stacked and herringbone to vertical accent bands. Whether used on its own or as a complementary detail, it blends classical elegance with modern flexibility.
Key Features
- Stone: Premium Bardiglio marble
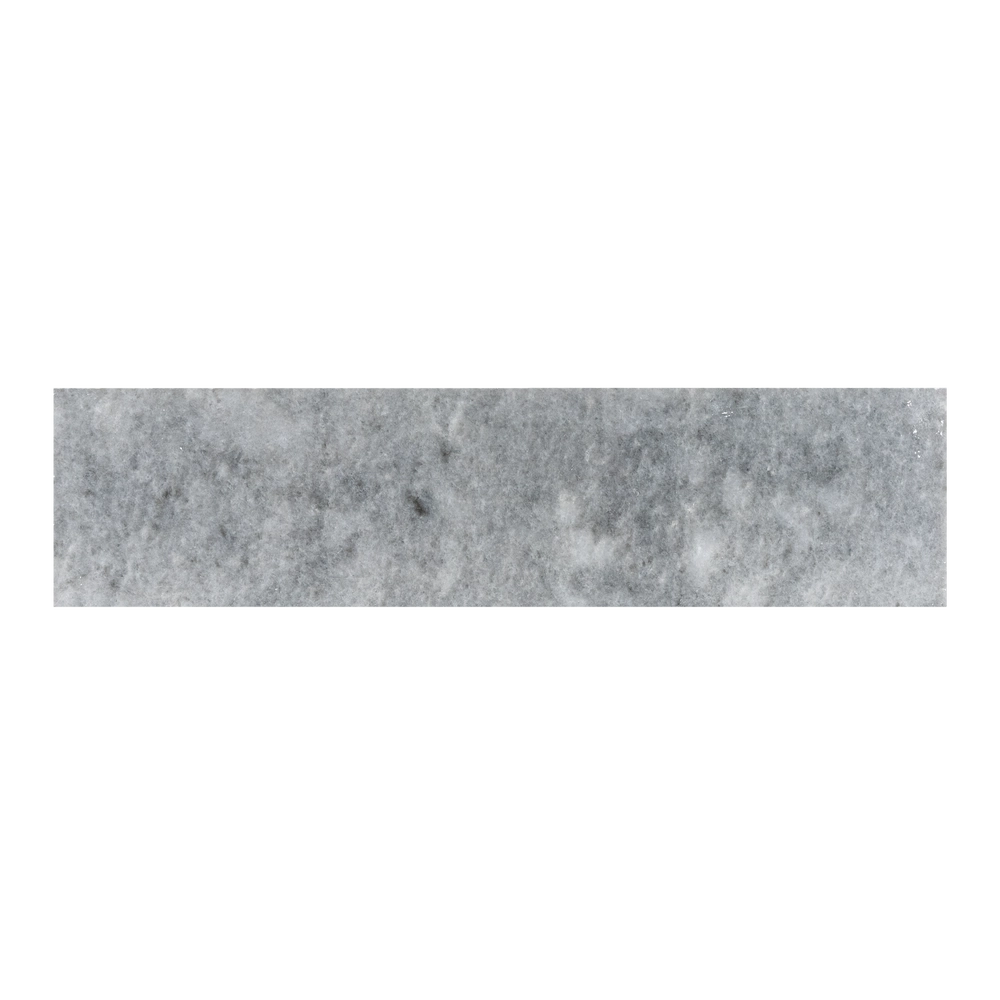
- Color: Deep gray with fluid, smoky veining
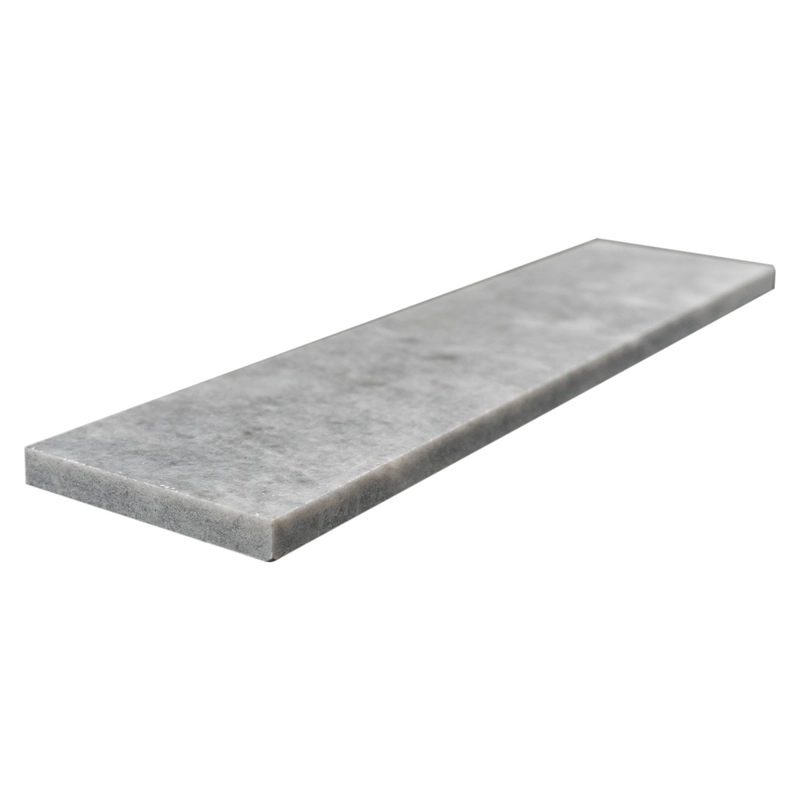
- Finish: Polished for a smooth, light-reflecting surface
- Size: 3″x12″ (7.5×30.5 cm)
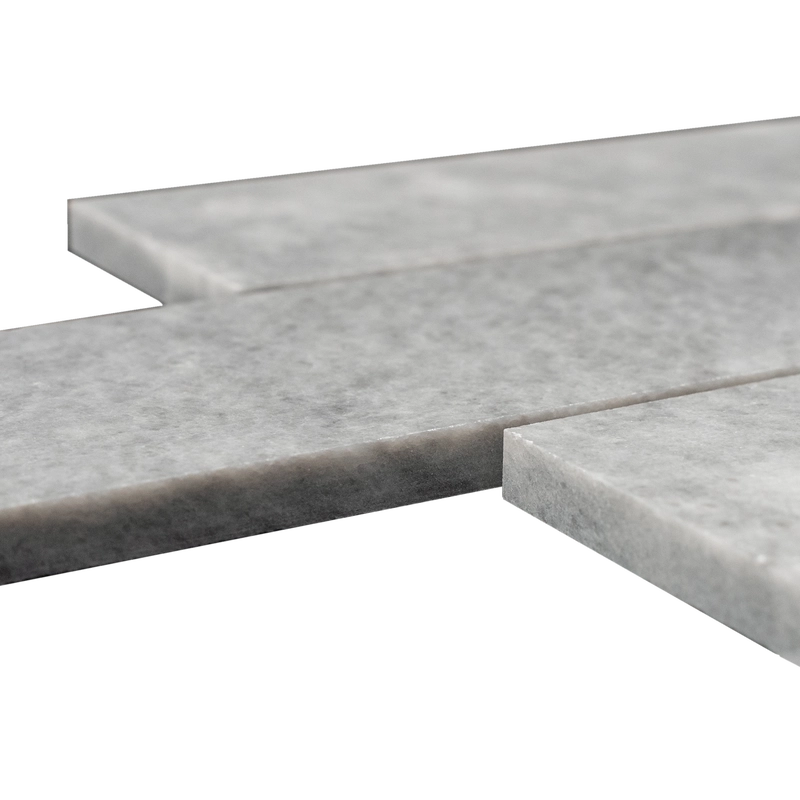
- Edge: Straight edge for seamless transitions
- Application: Ideal for walls, backsplashes, and decorative bands
Design Flexibility
Small in size but big in impact, this tile unlocks endless architectural design opportunities. Use it to frame spaces, break up large surfaces, or infuse detail into minimalist environments. Its scale works especially well in compact areas that benefit from visual elongation.
For a complete view of available tile styles, visit the Tiles page and compare options.
Installation Guide – Step by Step
Step 1: Surface Preparation – Ensure a Solid Foundation
- Clean the substrate thoroughly; it must be dry, level, and free from grease or dust.
- Use a waterproofing membrane in areas exposed to moisture (e.g., showers, kitchens).
- Repair cracks and fill low spots with a leveling compound if necessary.
Step 2: Layout Planning – Design with Intention
- Mark centerlines to guide tile placement for symmetry.
- Dry-lay tiles to assess color variation and directional veining.
- Use multiple boxes for blending natural marble variation.
- Recommended grout spacing: 1/16″ to 1/8″ for straight edges.
Step 3: Mortar Application – Thin-Set for Narrow Tiles
Recommended Mortars:
- Mapei Ultraflex LFT White
- Laticrete 254 Platinum White
- Ardex X5 White
Instructions:
- Apply thin-set using a 1/4″ square-notched trowel for consistent coverage.
- Back-butter each tile to ensure complete contact and avoid air pockets.
- Work in small sections and do not let mortar dry before tile placement.
Step 4: Cutting & Fitting – Precision is Key
- Use a wet saw with a continuous-rim diamond blade suitable for marble.
- Polish visible cut edges to match the factory finish.
- Dry-fit cut pieces before final installation to confirm fit and alignment.
Step 5: Setting Tiles – Keep Them Aligned
- Use tile spacers to maintain uniform grout lines and alignment.
- Set tiles with firm hand pressure or a rubber mallet for level installation.
- Clean off any excess mortar immediately from the polished surface.
- Allow adhesive to cure for at least 24 hours before grouting.
Step 6: Grouting & Sealing – Protect and Polish
- Apply a penetrating sealer before grouting to protect the polished surface.
- Use non-sanded grout to avoid scratching the marble face.
- Grout diagonally with a rubber float, then clean excess with a damp sponge.
- Buff off grout haze with a soft cloth after 30 minutes.
- Apply a final sealant after 72 hours of curing to protect both tile and grout lines.
Maintenance Tips – Preserve the Gray Elegance
- Use only pH-neutral, non-abrasive stone-safe cleaners.
- Wipe spills promptly to avoid etching or staining.
- Reseal periodically depending on use—typically every 6–12 months.
Shipping & Packaging
Each 3″ x 12″ Bardiglio marble tile is protected in padded cartons to reduce risk of edge chipping. Inspect tiles before installation for consistency in polish and veining.
Important Note
Bardiglio marble exhibits natural variation in tone and veining. Always dry-lay tiles prior to final installation. Stonemarket USA assumes no responsibility for color variation or installer error.