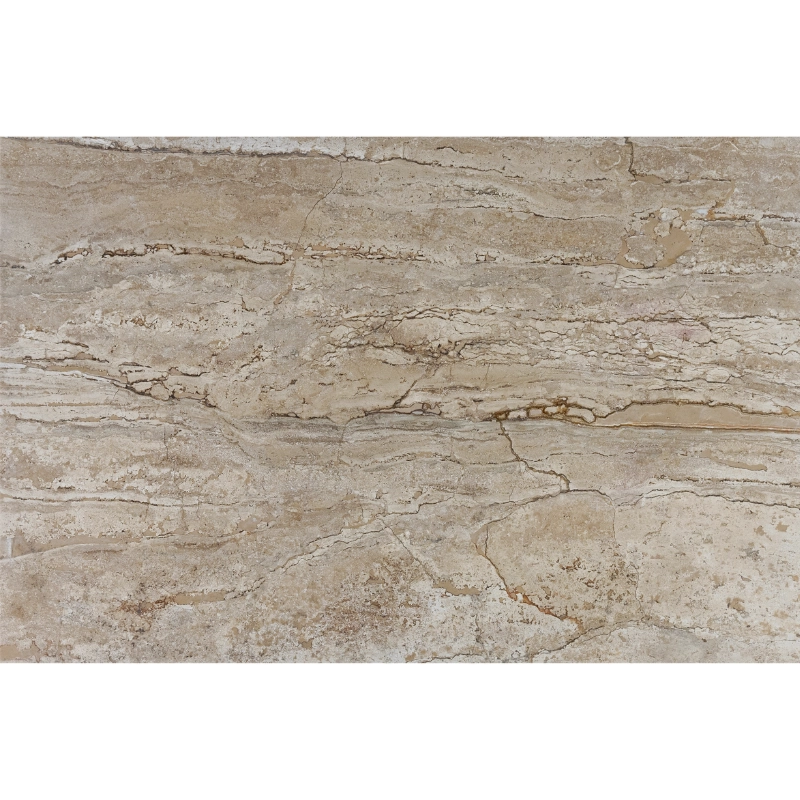
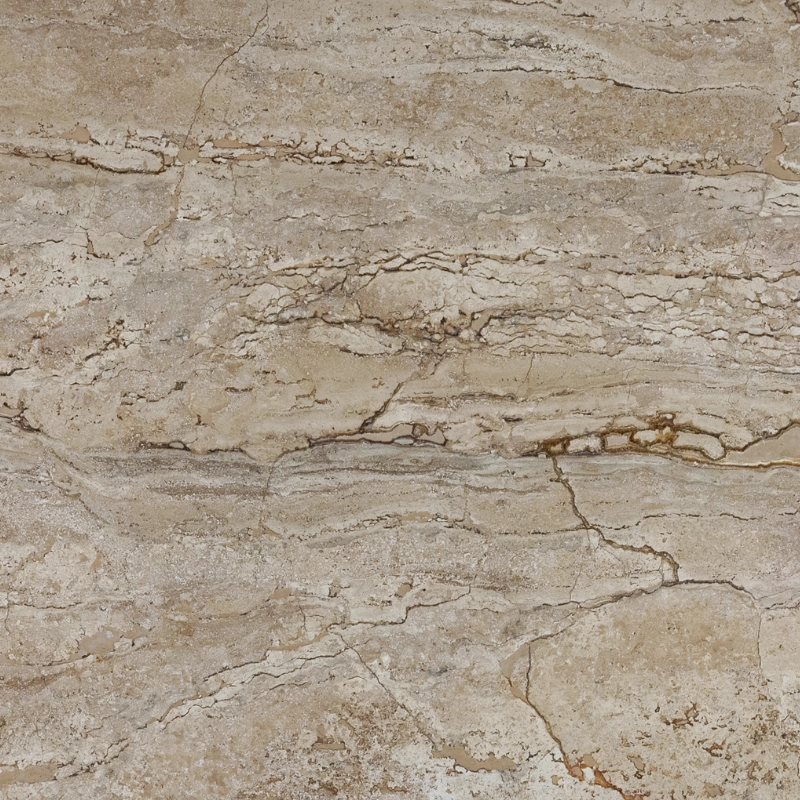
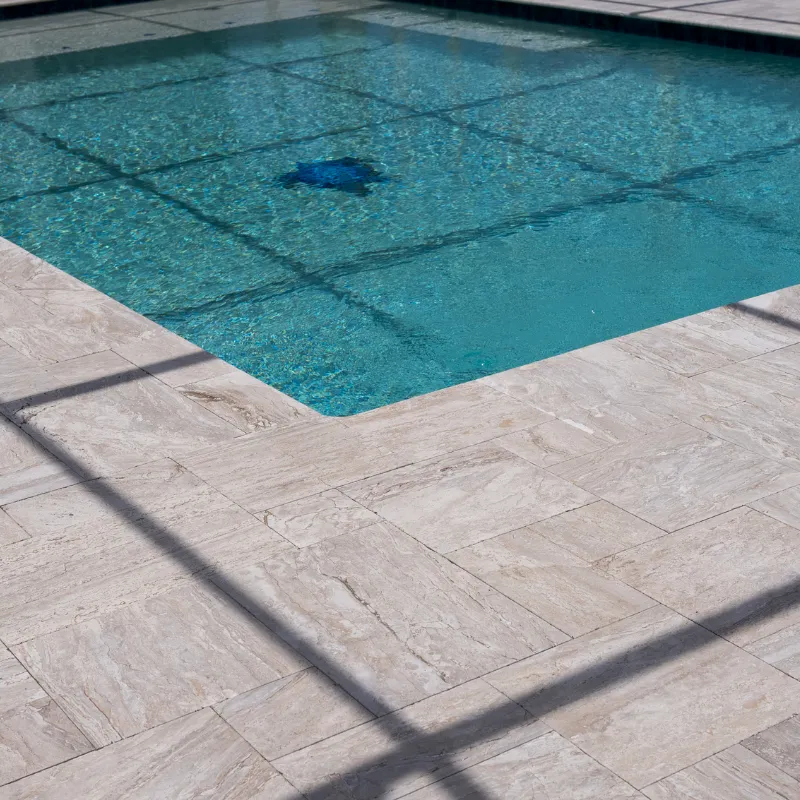
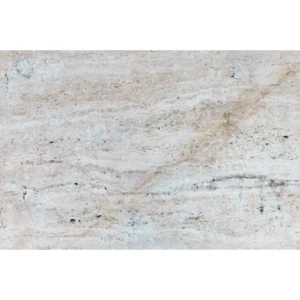
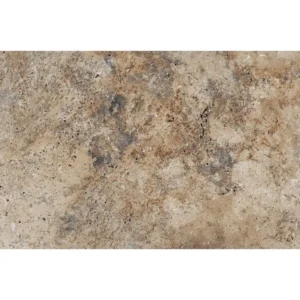
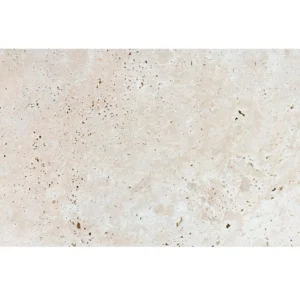
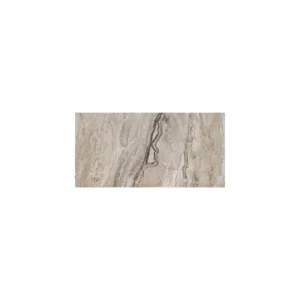
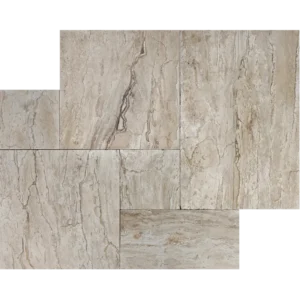
Grand Canyon Tumbled 16″x24″ Travertine Paver – Weathered Beige Elegance
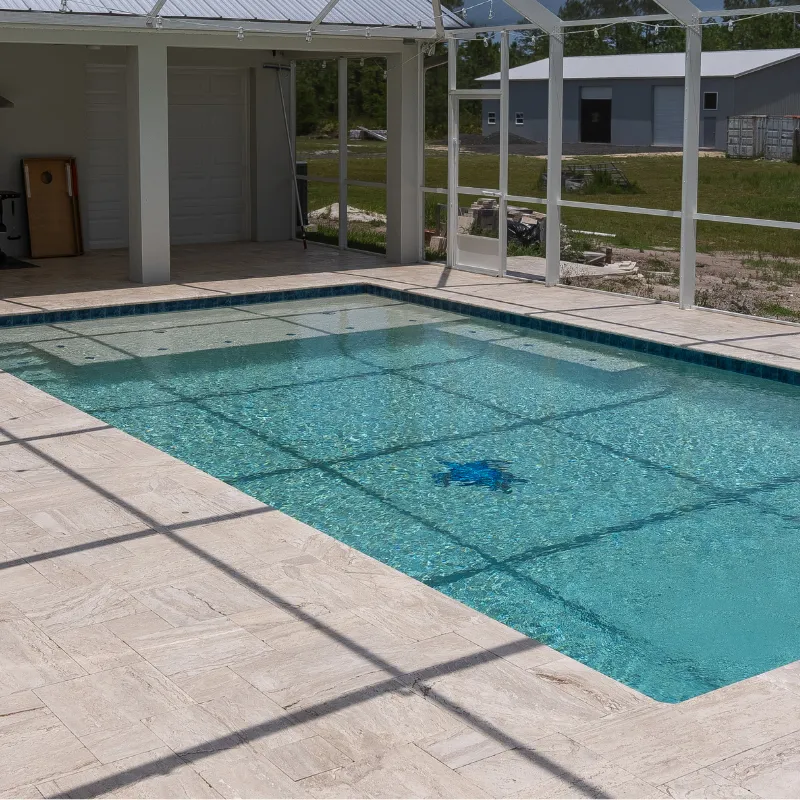
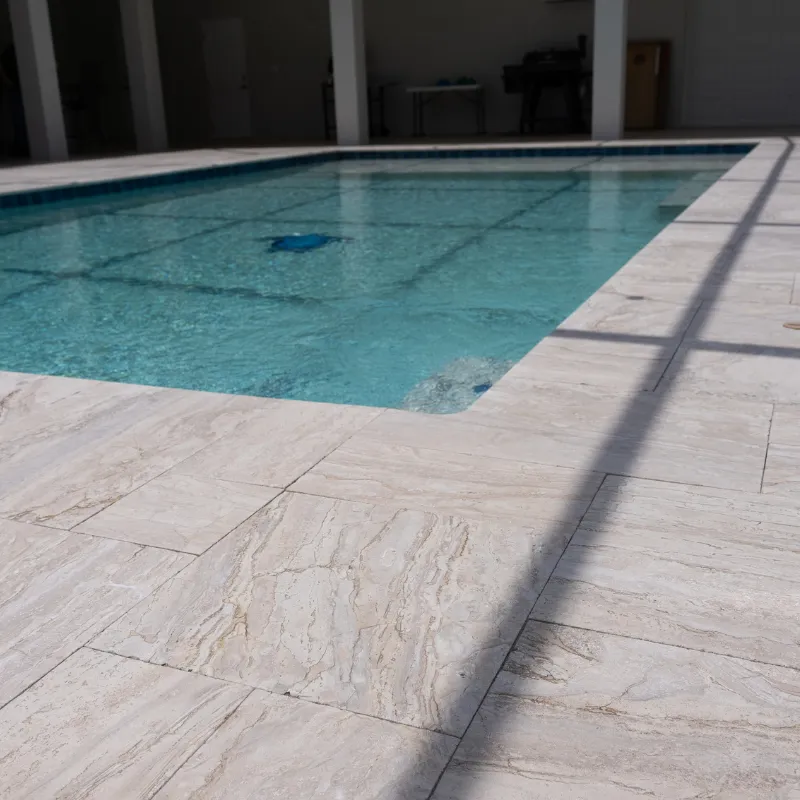
Give your landscape a calm, modern look with the Grand Canyon Tumbled 16″x24″ Travertine Paver.
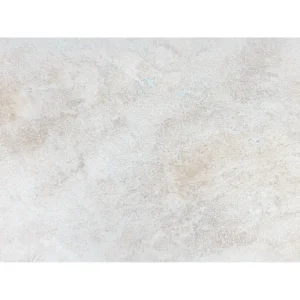
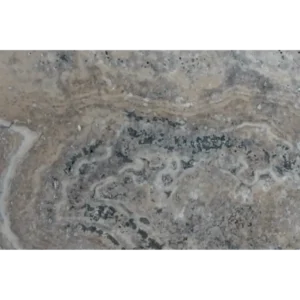
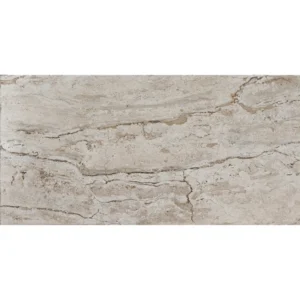
Cool soft beige tones create a refined palette. The tumbled finish adds gentle texture and confident footing.
Use it to bring clean, timeless style to patios, paths, and poolside areas.
The generous 16″x24″ format reduces joints, so surfaces read open and seamless.
Rounded, weathered edges introduce a subtle, time-worn feel that pairs well with wood, metal, and greenery.
Install in running bond or staggered rows for simple rhythm; mix sizes for a custom set-out.
Key Features
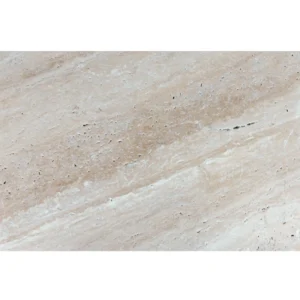
- Material: Natural travertine
- Color: Grand Canyon soft beige movement
- Finish: Tumbled texture with comfortable underfoot feel
- Size: 16″ x 24″ (nominal)
- Edge: Softly rounded, weathered profile
- Patterns: Running bond, staggered, or modular mixes
- Use: Patios, pool surrounds, garden walks, terraces
Why It Works
- Fewer grout lines for a spacious, uncluttered look
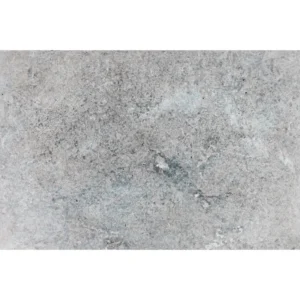
- Balanced gray tones that complement many materials
- Durable stone that handles sun, rain, and daily traffic
- Easy care: seal periodically to protect color and ease cleaning
Choose the Grand Canyon Tumbled 16×24 Travertine Paver when you want calm color, crisp geometry, and long-lasting performance in one elegant stone.
Installation Guide – Grand Canyon Tumbled 16″x24″ Travertine Paver
Important Note
This guide covers only the paver laying phase. Sub-base and bedding preparation must be completed by qualified professionals before installation.
Step 1: Dry Layout & Planning
- Dry-lay pavers to assess natural color/vein variation and tumbled edge differences.
- Select a layout (running bond, ashlar, staggered grid) that balances tones and minimizes cuts.
- Snap chalk lines or use a laser to establish straight reference lines.
Step 2: Paver Placement
- Set each 16″x24″ paver gently onto the prepared bedding layer following your layout lines.
- Maintain uniform joint spacing of 1/8″–1/4″.
- Tap lightly with a rubber mallet to fully seat and level each paver; check adjacent edges to avoid lippage.
Step 3: Cutting & Edge Finishing
- Use a wet saw with a diamond blade rated for travertine for clean, accurate cuts.
- Support large-format pieces during cutting to prevent edge chipping or fractures.
- Smooth any exposed cut edges with a rubbing stone to blend with the tumbled finish.
Step 4: Joint Filling
- Fill joints with polymeric sand or a travertine-compatible joint filler.
- Gently compact the surface and sweep away excess material.
- If using polymeric sand, lightly mist to activate per manufacturer instructions.
Step 5: Sealing & Maintenance
- After the installation is dry, apply a breathable, penetrating sealer formulated for exterior travertine.
- Re-seal every 1–2 years depending on exposure and traffic.
- Clean with pH-neutral stone cleaners only; avoid acidic or abrasive products.
Disclaimer
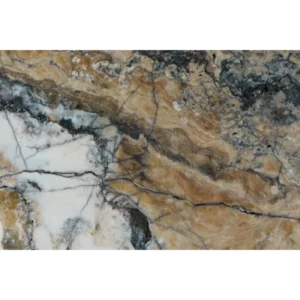
Travertine is a natural stone and may show tonal variation, surface pits, and veining—these are inherent characteristics, not defects. Always dry-lay and inspect materials before final installation. Professional installation is recommended for best performance and appearance.