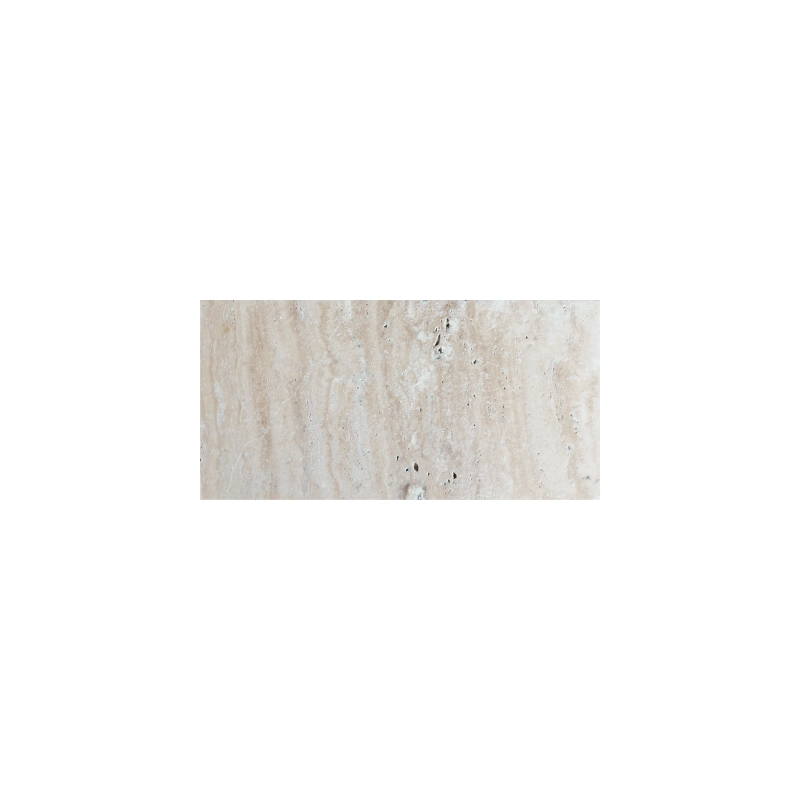
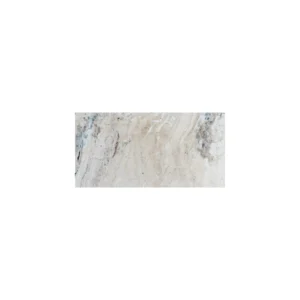
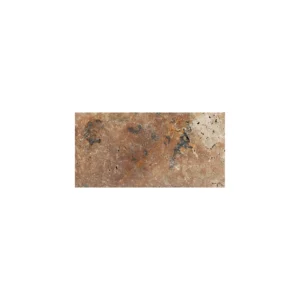
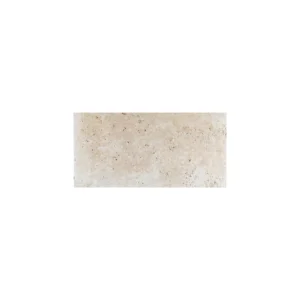
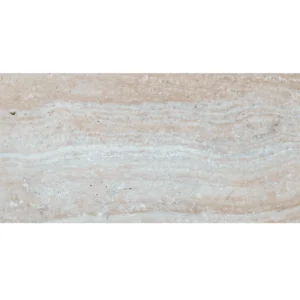
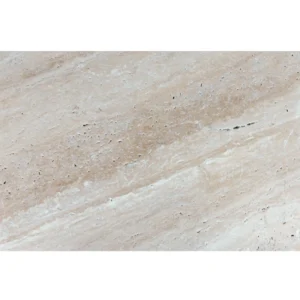
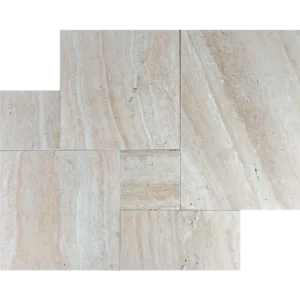
Desert Bloom 6×12 Tumbled Travertine Paver – Rustic Outdoor Elegance
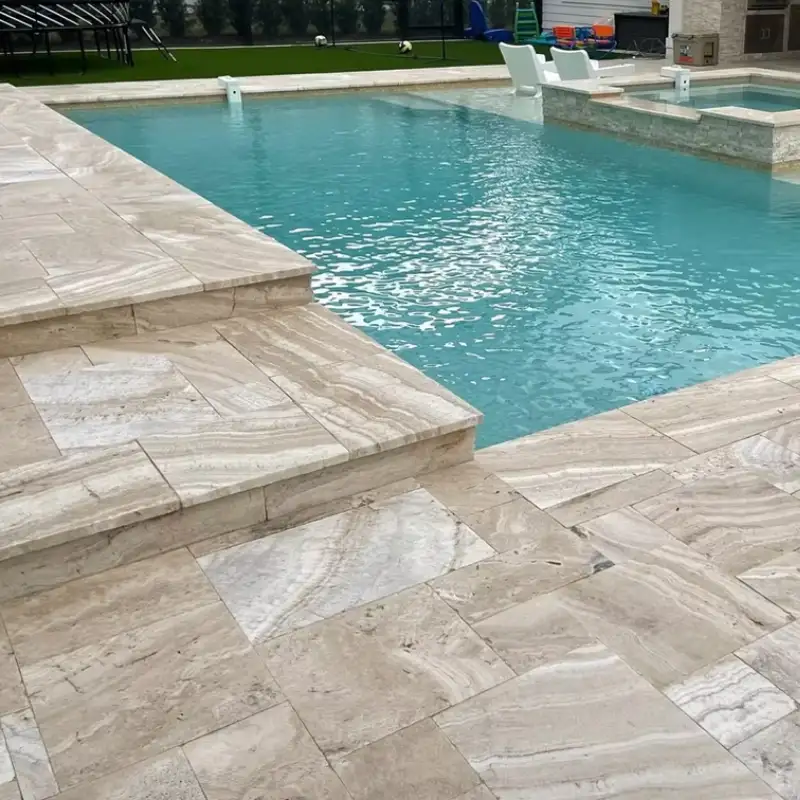
Transform your outdoor areas with the Desert Bloom 6×12 Tumbled Travertine Paver.
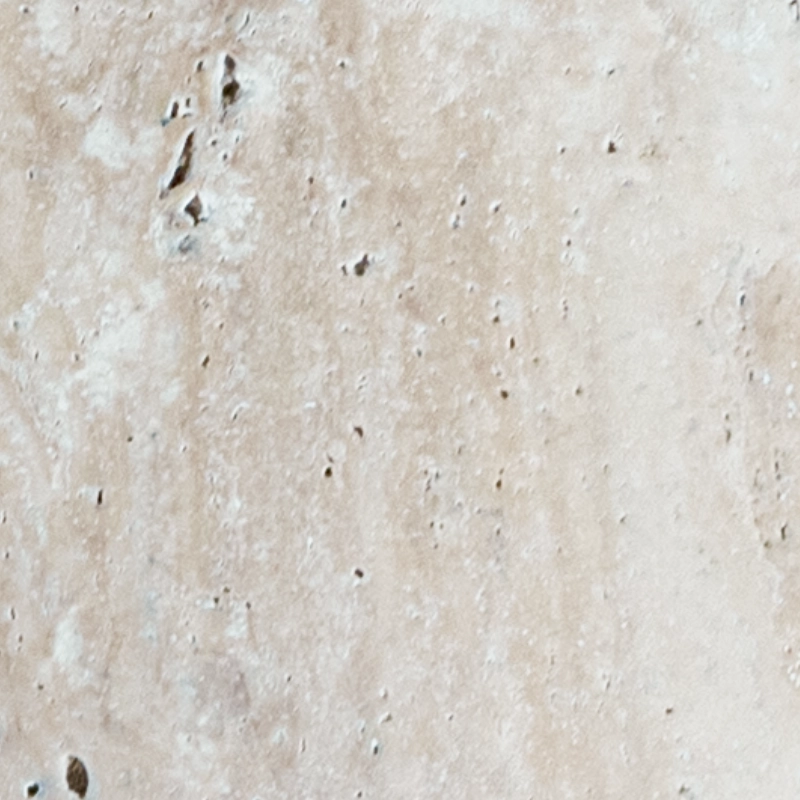
Its warm ivory-beige tones, paired with soft movement, create a natural and inviting look.
Because of its tumbled finish, the paver offers a rustic charm and natural slip resistance,
which makes it ideal for wet or high-traffic spaces.
Use these pavers to design patios, pool decks, garden paths, and walkways.
The 6×12 size allows you to create flexible layouts, including running bond, herringbone, or staggered designs.
As a result, your outdoor space will have a custom, polished look while still feeling warm and organic.
Since this paver is made of durable travertine, it performs well under weather exposure and keeps its beauty for years.
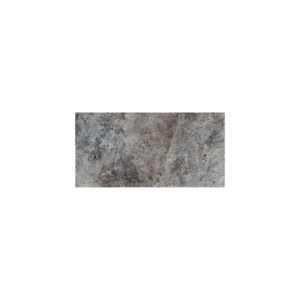
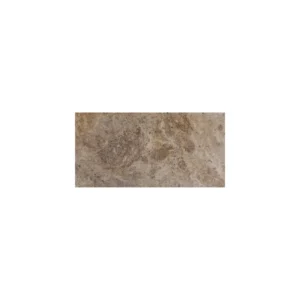
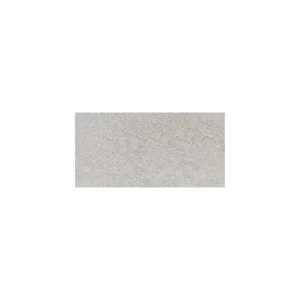
Additionally, the soft color variations and aged edges give each piece a unique character,
helping you achieve a cohesive and timeless landscape design.
Key Features
- Material: Premium natural travertine
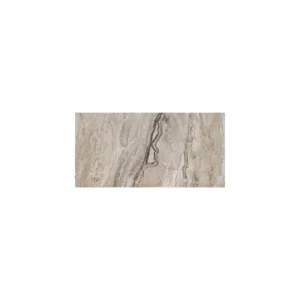
- Color: Warm ivory-beige with soft variation
- Finish: Tumbled for rustic appeal and slip resistance
- Size: 6″x12″ (nominal)
- Edge: Tumbled for an aged, authentic appearance
- Applications: Patios, walkways, pool decks, and garden paths
Choose the Desert Bloom 6×12 Tumbled Travertine Paver
to bring warmth, durability, and a naturally elegant finish to your outdoor projects.
Installation Guide – Desert Bloom 6″x12″ Tumbled Travertine Paver
Important Note
This guide covers only the paver covering process. Base and bedding preparation must be completed by qualified professionals prior to installation.
Step 1: Dry Layout & Planning
- Dry-lay pavers to assess color, veining, and surface variations.
- Arrange pavers to achieve a visually balanced pattern, such as running bond, herringbone, or basketweave.
- Mark alignment reference lines to keep rows straight and consistent.
Step 2: Paver Placement
- Place each 6″x12″ paver carefully on the prepared bedding layer.
- Maintain a consistent joint spacing of 1/8″–1/4″.
- Tap gently with a rubber mallet to seat pavers evenly without damaging the tumbled edges.
Step 3: Cutting & Adjustments
- Use a wet saw with a diamond blade designed for travertine for precise cuts.
- Handle smaller pavers carefully to avoid corner chipping.
- Smooth any exposed cut edges to maintain the natural, tumbled look.
Step 4: Joint Filling
- Fill joints with polymeric sand or a travertine-safe joint filler.
- Compact gently and sweep away all excess material.
- If using polymeric sand, lightly mist with water to activate bonding.
Step 5: Sealing & Maintenance
- Apply a breathable, penetrating sealer suitable for exterior travertine after installation is dry.
- Re-seal every 1–2 years, depending on exposure and weather conditions.
- Use pH-neutral stone cleaners only; avoid acidic or abrasive chemicals.
Disclaimer
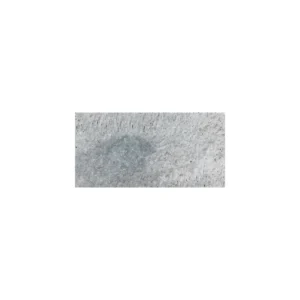
Travertine is a natural stone that features tonal variation, surface pits, and veining. These characteristics enhance its unique appeal. Always dry-lay and inspect material prior to installation. Professional installation is recommended for the best performance and longevity.