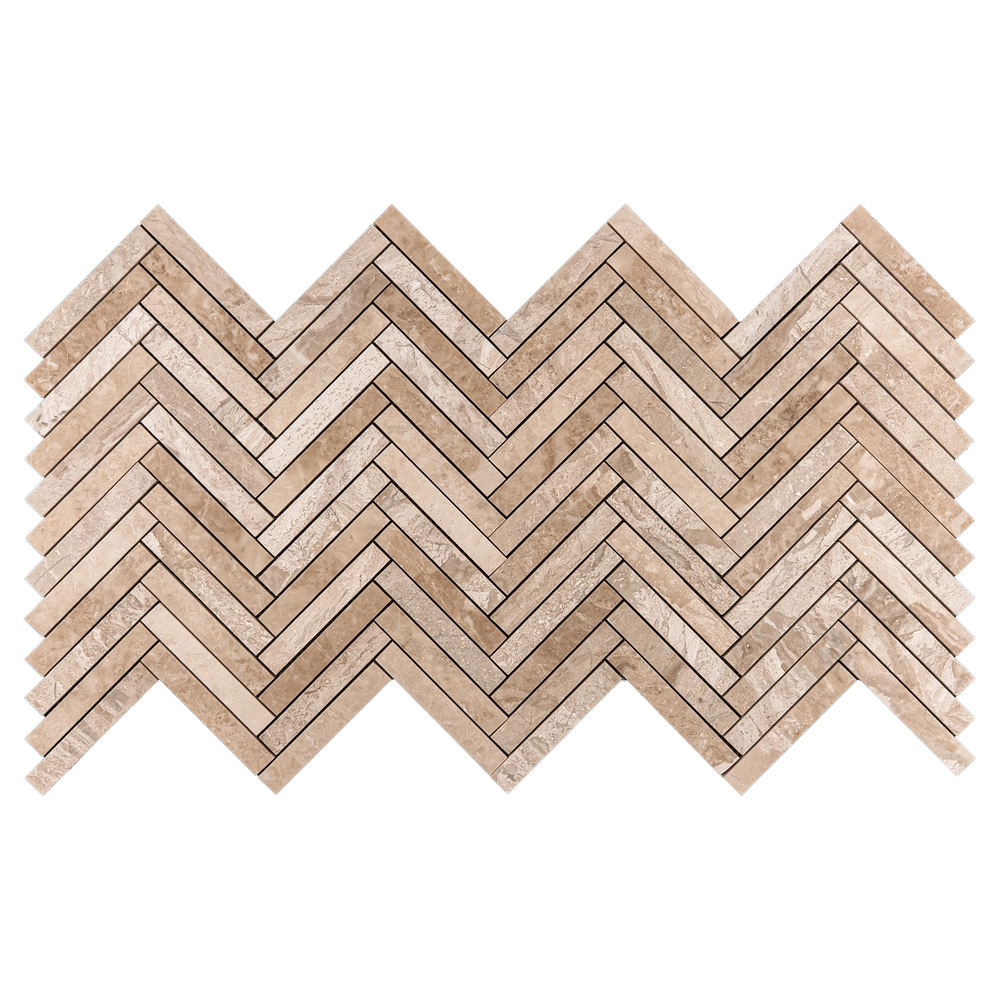
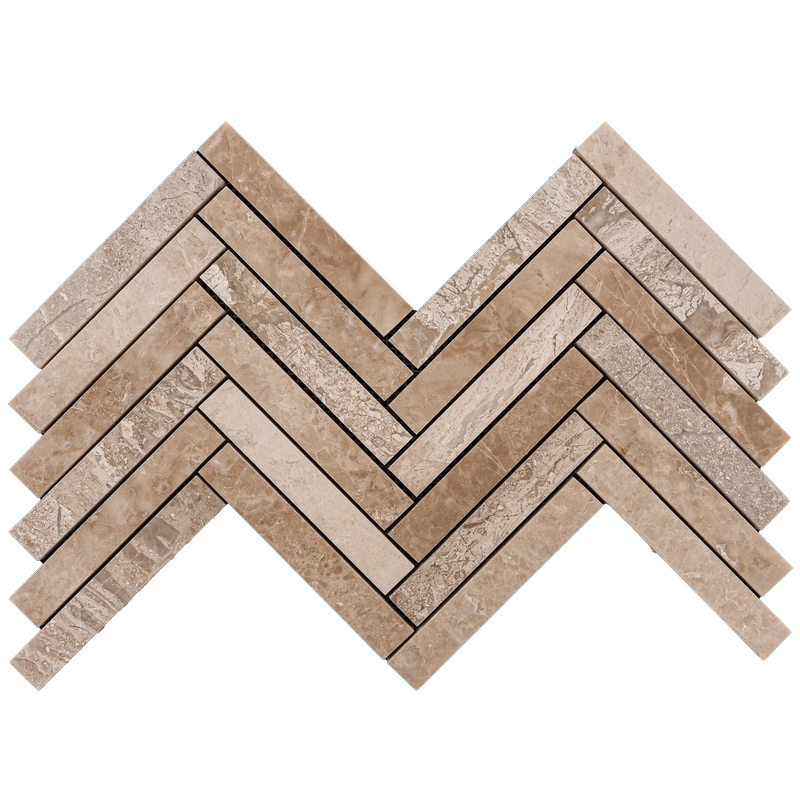
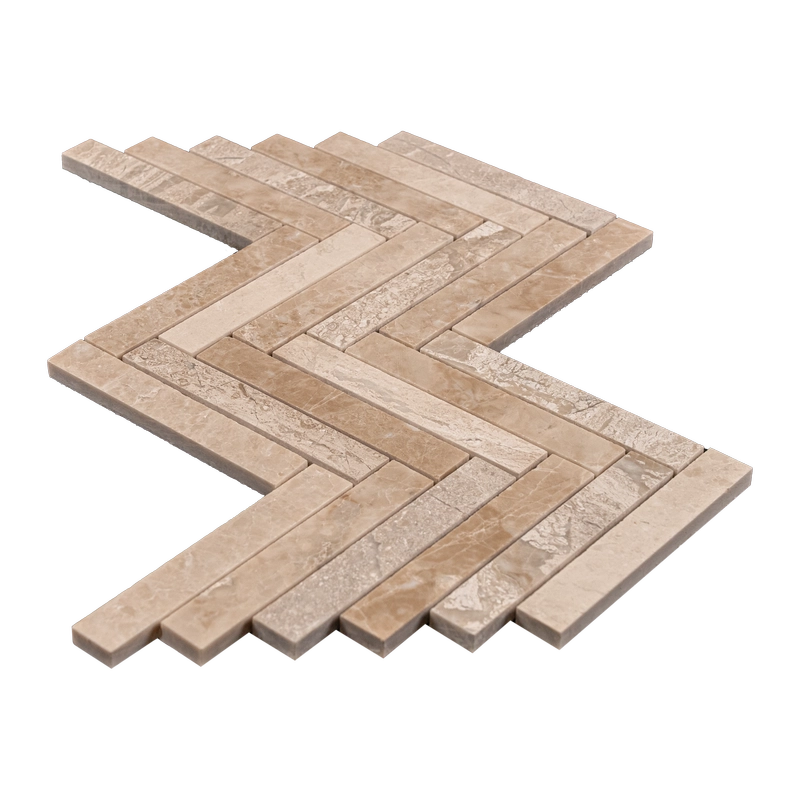

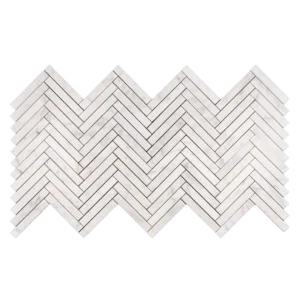
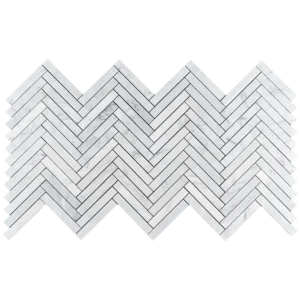
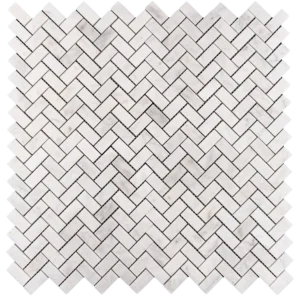
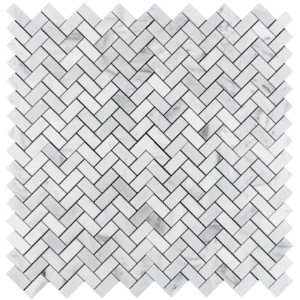
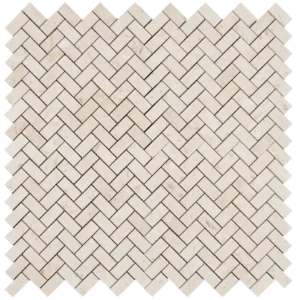
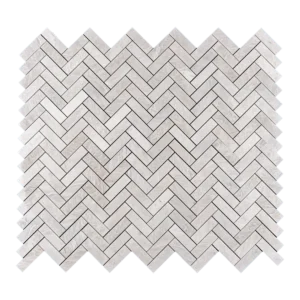
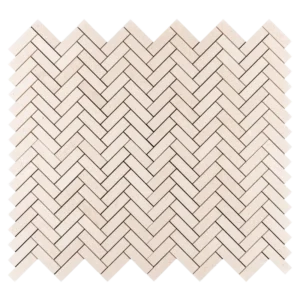
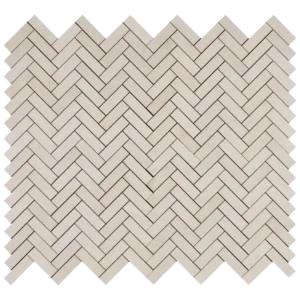
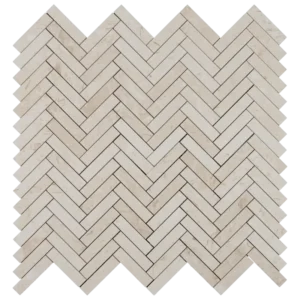
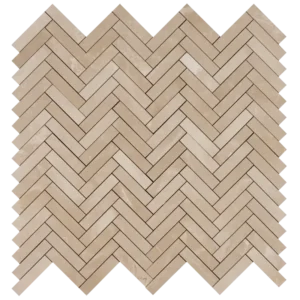
Royal Beige 1×6 Herringbone Honed Marble Mosaic Tile
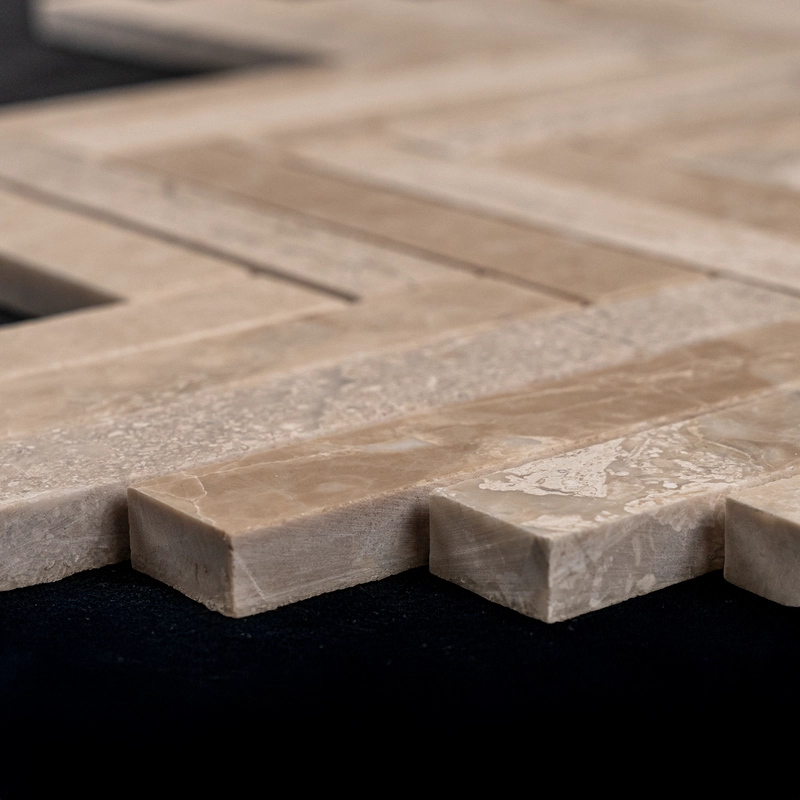
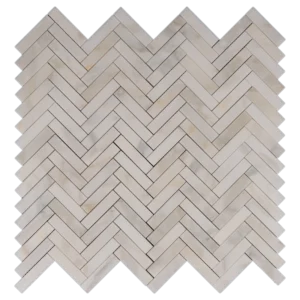
Elevate your interiors with the Royal Beige 1×6 Herringbone Honed Marble Mosaic Tile, a timeless design crafted from premium marble. Its soft beige tones and smooth honed surface bring a refined warmth that enhances both modern and traditional spaces.
The elegant herringbone layout adds movement and depth, making this mosaic perfect for backsplashes, feature walls, and flooring. Because of its natural marble texture, every piece displays unique variations, giving your project a one-of-a-kind look. In addition, the honed finish provides a soft matte feel that highlights the stone’s natural beauty without glare.
Key Features:
- Material: Natural Royal Beige marble
- Finish: Honed, matte surface
- Size: 1″x6″ mosaic strips in a herringbone layout
- Style: Classic herringbone pattern for dynamic design
- Application: Ideal for kitchens, bathrooms, accent walls, and floors
Whether you are creating a classy backsplash, a stylish shower wall, or a feature floor, this marble mosaic adds sophistication and timeless charm. Its durability ensures long-lasting beauty, while the versatile beige color blends effortlessly with a wide range of palettes and styles.