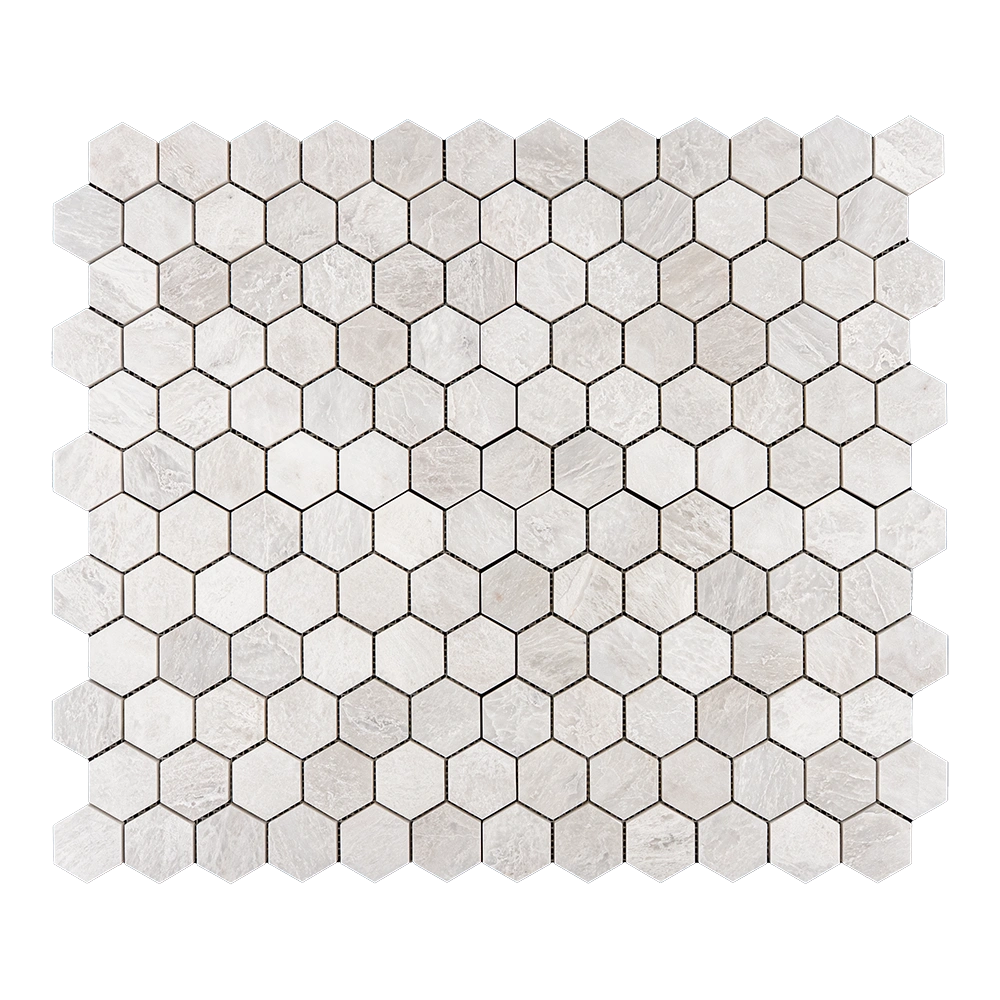

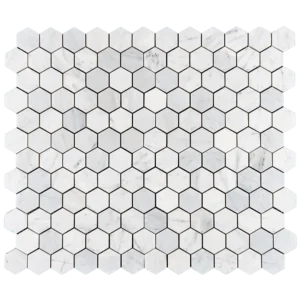
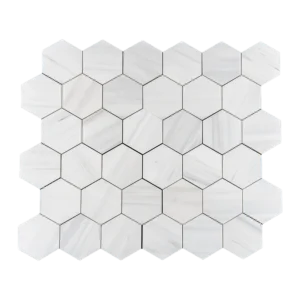
2″ Iceberg Hexagon Mosaic Tile – Honed White Marble Hexagon
Honed Iceberg Marble for Timeless Geometric Designs
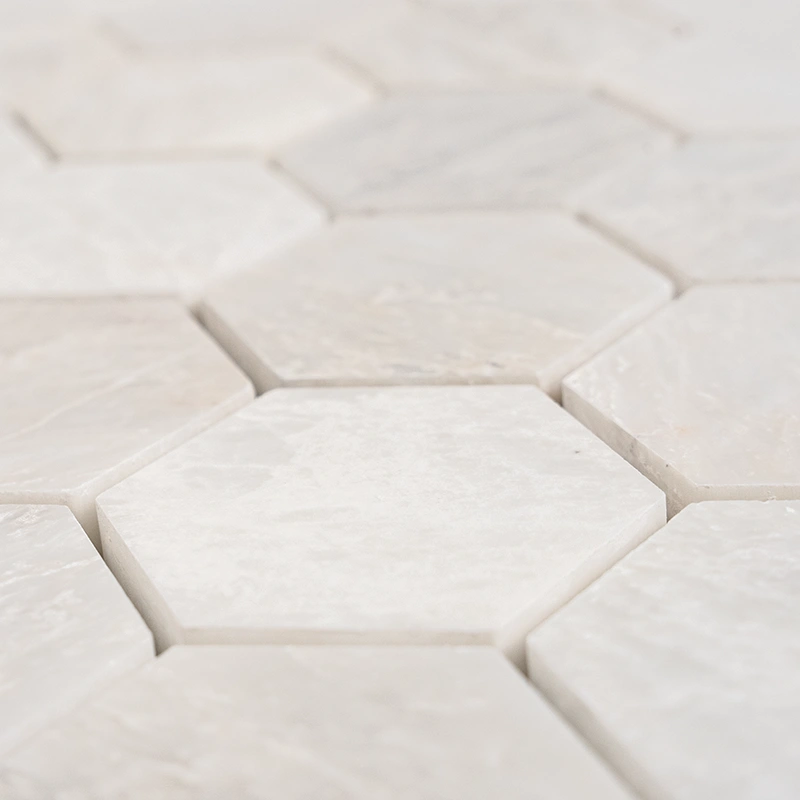
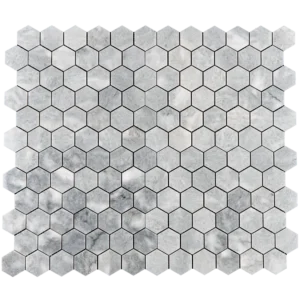
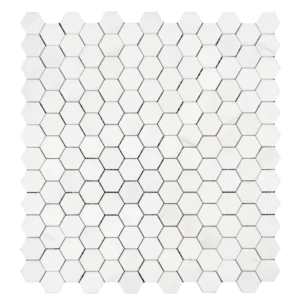
Transform your interiors with the 2″ Iceberg Honeycomb Mosaic Tile. This elegant mosaic features premium white Iceberg marble, accented with delicate icy veining. Its honed finish creates a smooth, matte surface that softens the look of bright spaces while adding a refined, contemporary feel. The classic 2-inch hexagon pattern brings a sense of movement and balance, an ideal choice for both modern and traditional designs.
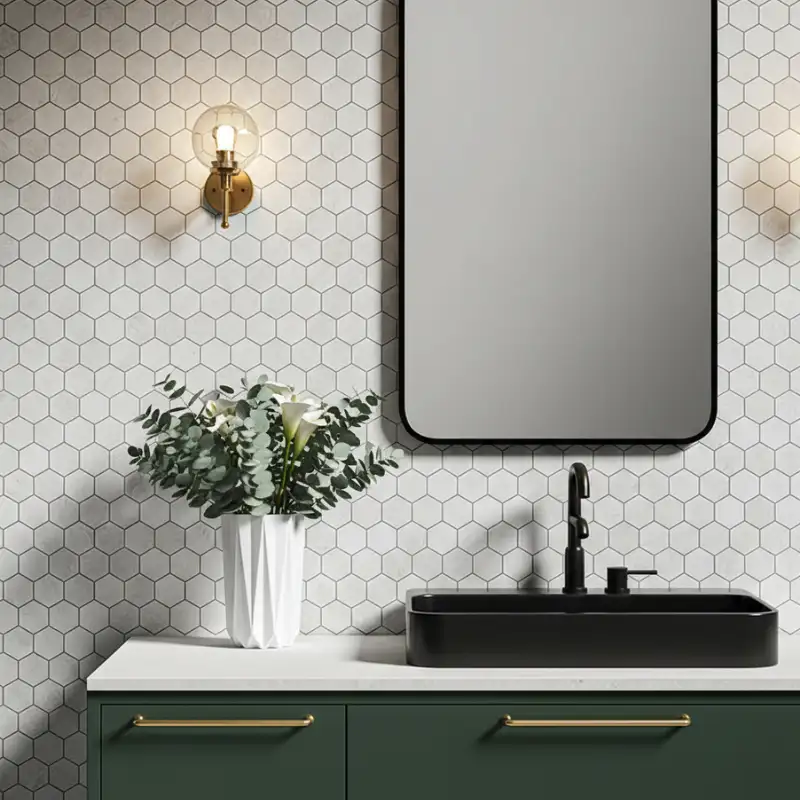
Whether used for a kitchen backsplash, bathroom feature wall, or a decorative accent, this mosaic tile enhances any space with its serene and sophisticated aesthetic. The mesh-mounted backing simplifies installation, ensuring consistent alignment and easier application.
Product Highlights
- Material: Natural Iceberg Marble
- Color: Crisp white with subtle icy veining
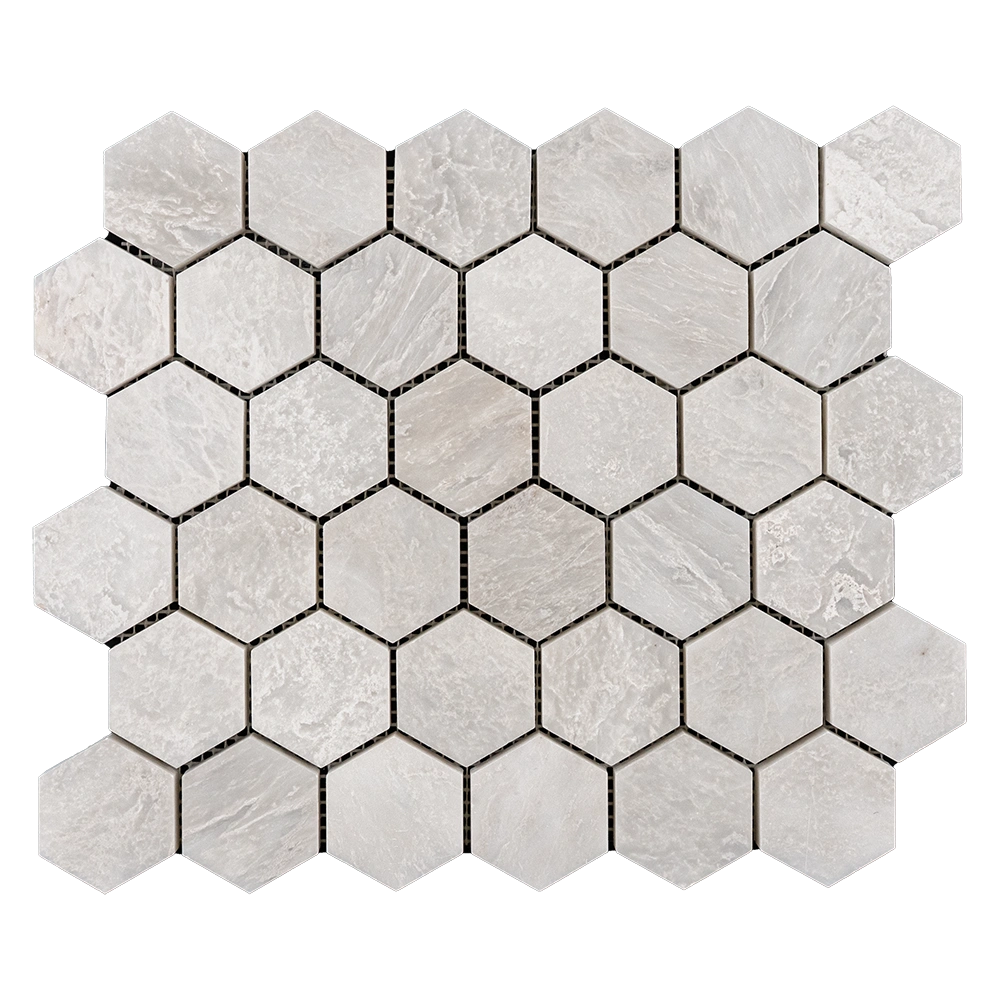
- Shape: Honeycomb (2″ hexagon chips)
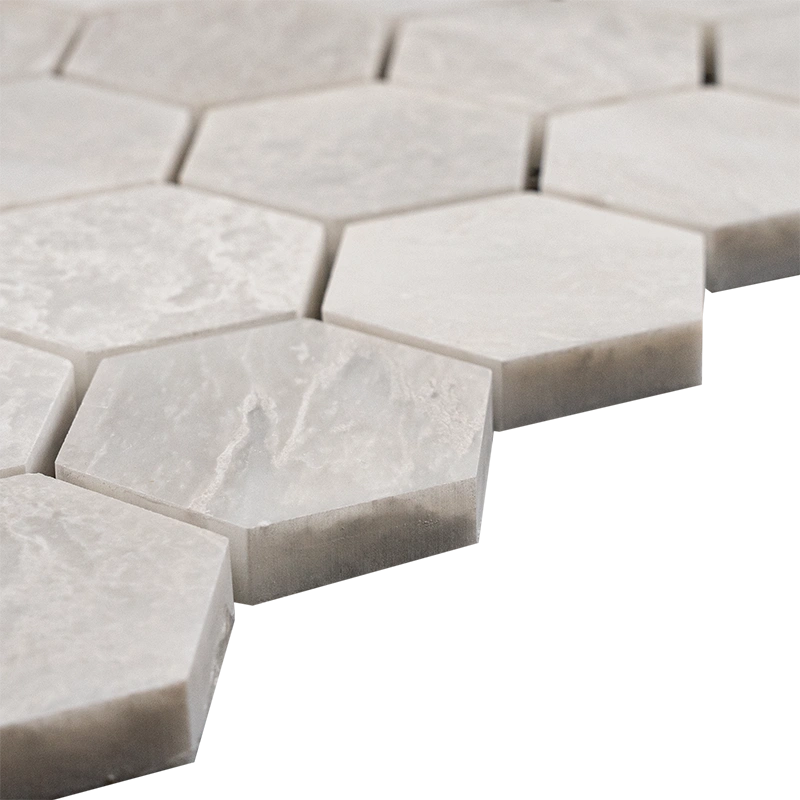
- Finish: Honed – smooth, matte surface
- Sheet Size: 10.4″ x 12″ (26.5 x 30.5 cm)
- Thickness: Approx. 0.4″ (1 cm)
- Installation: Mesh-mounted for easy placement
- Use: Indoor walls – backsplashes, bathrooms, accent areas
- SKU: ICE-HB-002
Why Choose 2″ Iceberg Honeycomb Mosaic Tile?
This tile combines timeless elegance with a contemporary matte finish, allowing you to create clean, sophisticated designs. Its natural veining and geometric pattern make it perfect for upscale residential or commercial projects. The honed surface reduces glare while highlighting the stone’s authentic texture.
Recommended Applications
- Bathroom walls and shower areas
- Kitchen backsplashes and feature walls
- Fireplace surrounds and decorative panels
- Hallways, entryways, and living room accents
- Commercial spaces like hotels and spas
Maintenance Tips
- Clean with a pH-neutral stone cleaner to protect the honed finish.
- Avoid acidic or abrasive products that may damage the marble surface.
- Apply a high-quality penetrating sealer to guard against moisture and stains.
- Reapply sealer as needed based on usage and exposure.
Packaging & Coverage
- Sold per box – includes 5 mesh-mounted sheets
- Total coverage: Approx. 4.35 sq.ft. per box
- Net weight: Approx. 25.10 lbs
- Carefully packaged for secure, nationwide shipping
Explore more stone mosaics for statement walls and backsplashes in mosaic tiles.