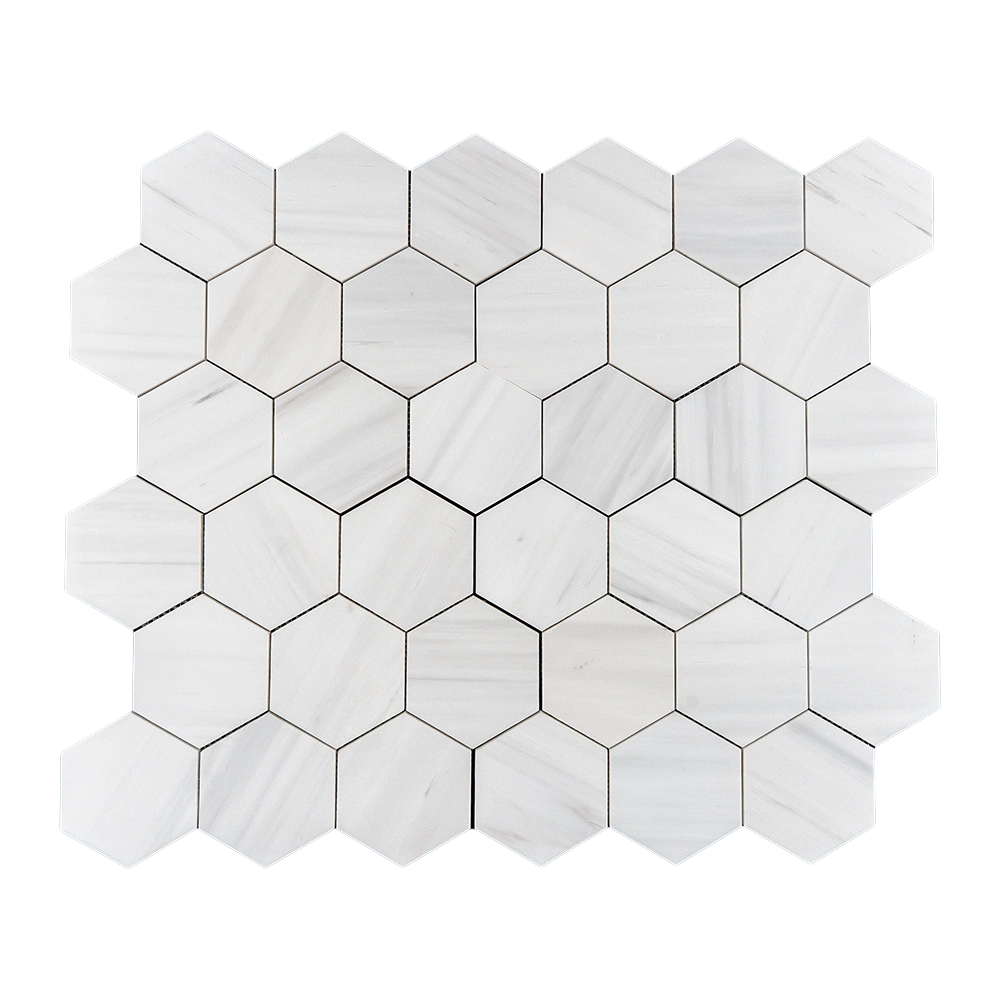
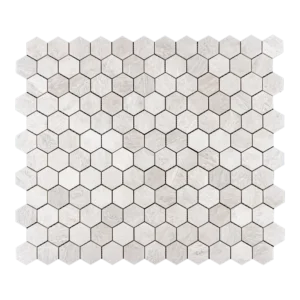
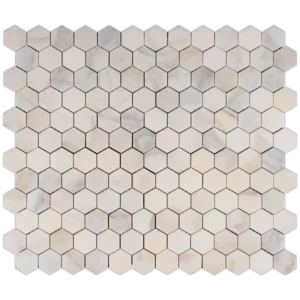
4″ Honeycomb Dolomite Mosaic Tile – Honed White Hexagon
Contemporary Design with Natural Elegance – Ideal for Bathrooms & Backsplashes
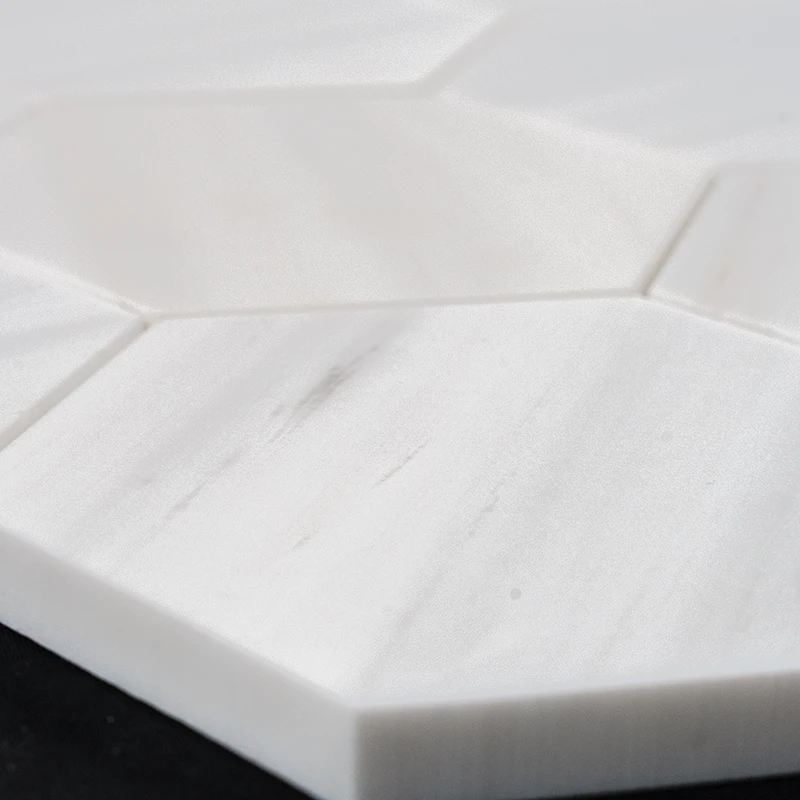
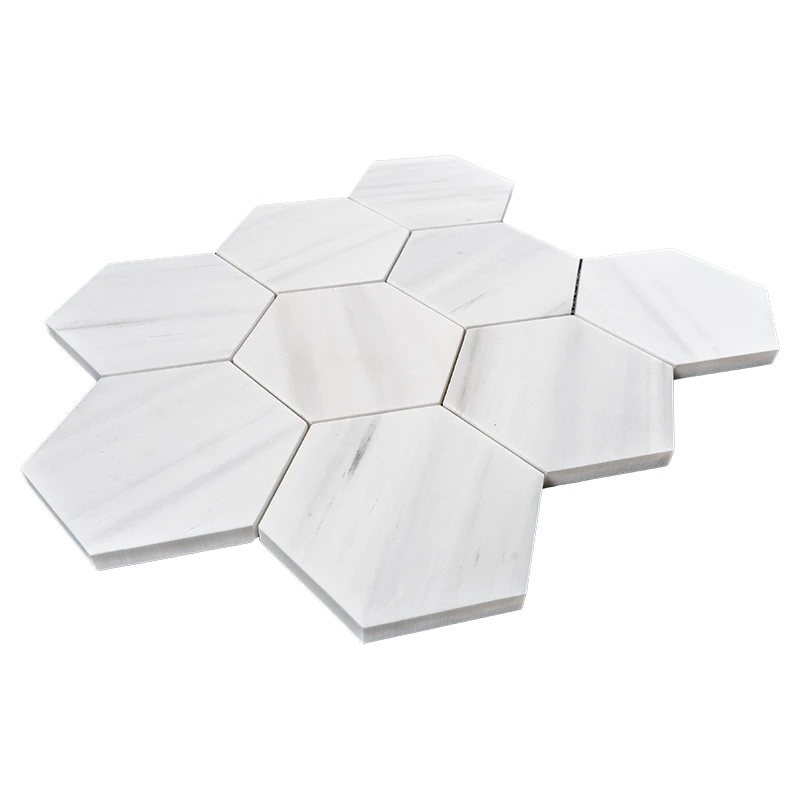
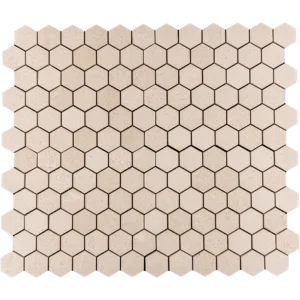
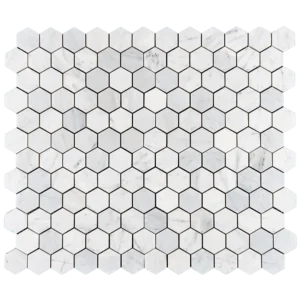
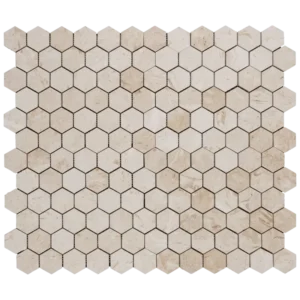
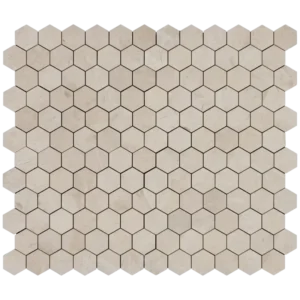
Enhance your space with the 4″ Honeycomb Dolomite Mosaic Tile, a premium choice for creating modern and elegant designs. Crafted from natural white Dolomite marble, this oversized honeycomb tile features a honed, matte finish that softens the stone’s appearance while maintaining its natural veining. The generous 4-inch hexagon shape brings a bold geometric look that suits a variety of contemporary and transitional interiors.
Perfect for residential and commercial projects, this tile’s unique scale and subtle veining add depth and dimension to any space. Its mesh-mounted backing ensures easy installation and consistent alignment, making it an ideal option for backsplashes, feature walls, bathroom cladding, and more. Whether you’re designing a serene bathroom retreat or a statement kitchen backsplash, this mosaic tile delivers lasting beauty and timeless appeal.
Product Highlights – Dolomite Marble in Honeycomb Form
- Material: Natural Dolomite Marble
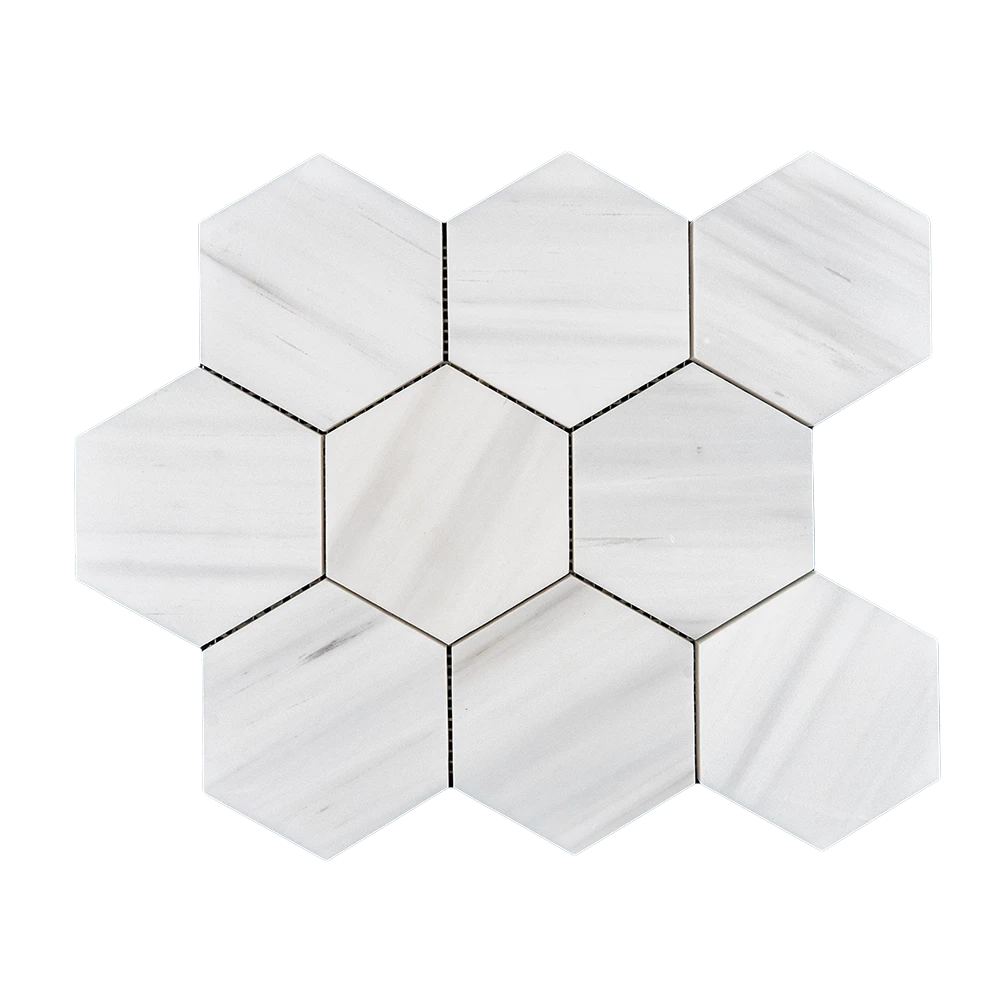
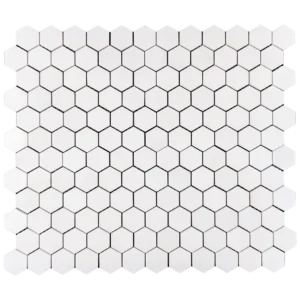
- Color: Clean white with soft, natural veining
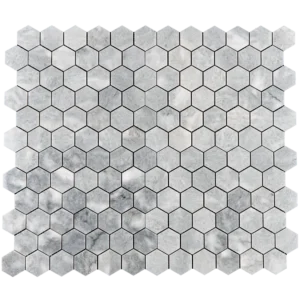
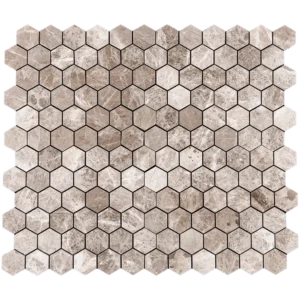
- Shape: Honeycomb – 4″ hexagon chips
- Finish: Honed – smooth, matte surface for a refined look
- Sheet Size: 10.6″ x 12″ (27 x 30.5 cm)
- Thickness: 0.4″ (1 cm)
- Installation: Mesh-mounted for easy alignment and clean layout
- Use: Indoor walls, backsplashes, feature walls, and bathroom cladding
- SKU: DOL-HB-004
Why Choose This 4″ Honeycomb Dolomite Mosaic Tile?
This mosaic tile combines contemporary geometry with the timeless elegance of white marble. The larger hexagon shape makes a bold statement, while the honed finish adds a soft, luxurious touch. Its versatility allows it to blend seamlessly with various design aesthetics, from minimalist to classic, making it a favorite among designers for both residential and commercial spaces.
Recommended Applications
- Bathroom walls and shower enclosures
- Kitchen backsplashes and feature walls
- Fireplace surrounds and accent panels
- Entryways, lobbies, and commercial reception areas
Maintenance Tips
- Clean with a pH-neutral, stone-safe cleaner to preserve the honed finish.
- Avoid acidic or abrasive products that can damage the marble surface.
- Seal periodically with a high-quality stone sealer to protect against moisture and stains.
- Reapply sealer as needed, depending on usage and exposure.
Shipping & Packaging
- Sold per box – includes 5 mesh-mounted sheets
- Total coverage: Approx. 4.42 sq.ft. per box
- Net Weight: Approx. 22.1 lbs
- Securely packaged to minimize breakage during transport
Want to compare patterns side-by-side? Visit our mosaic tile collection.