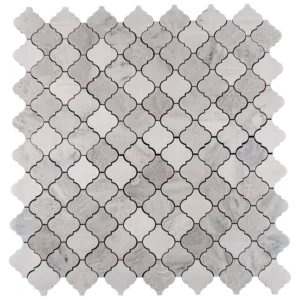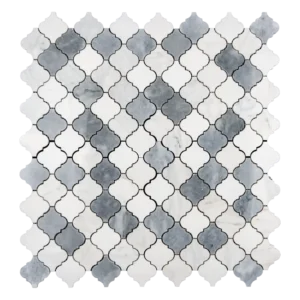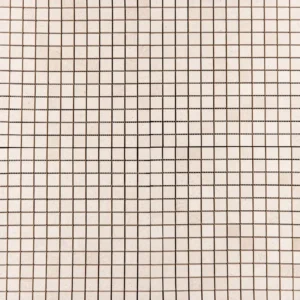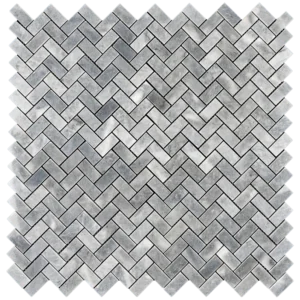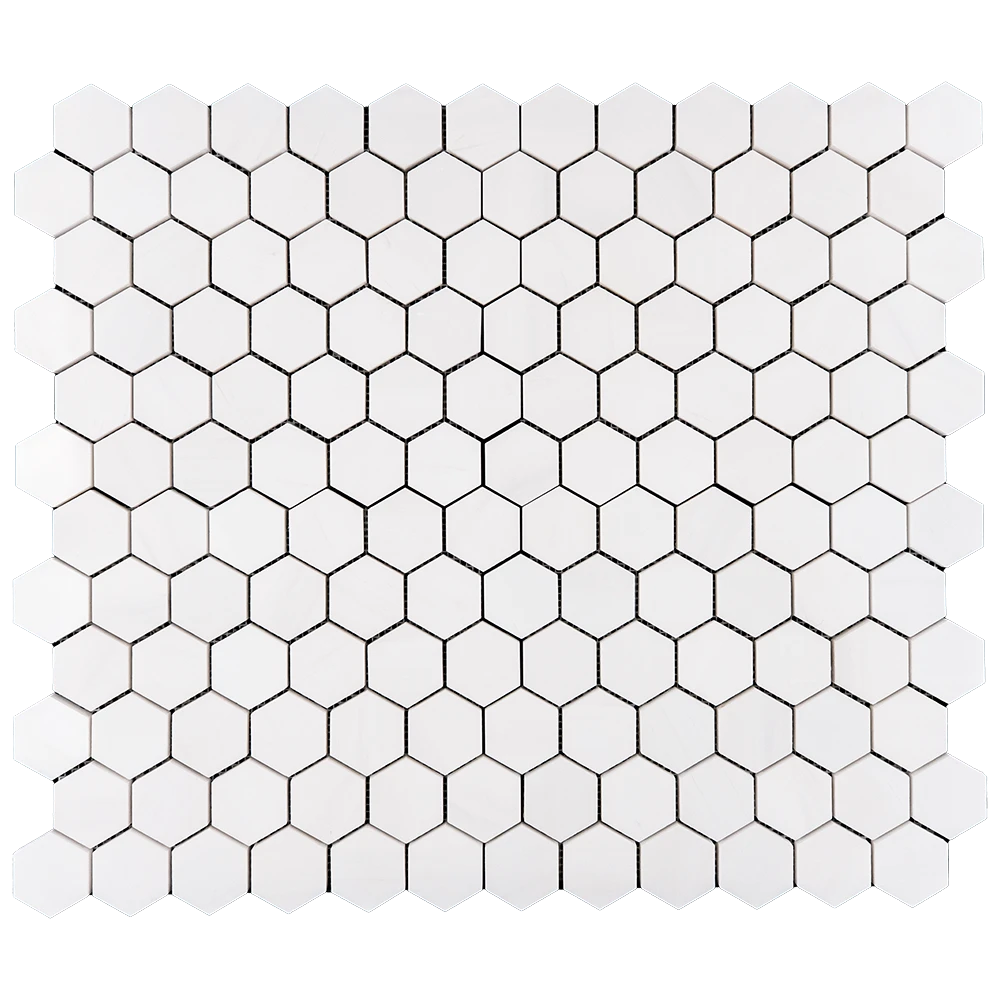
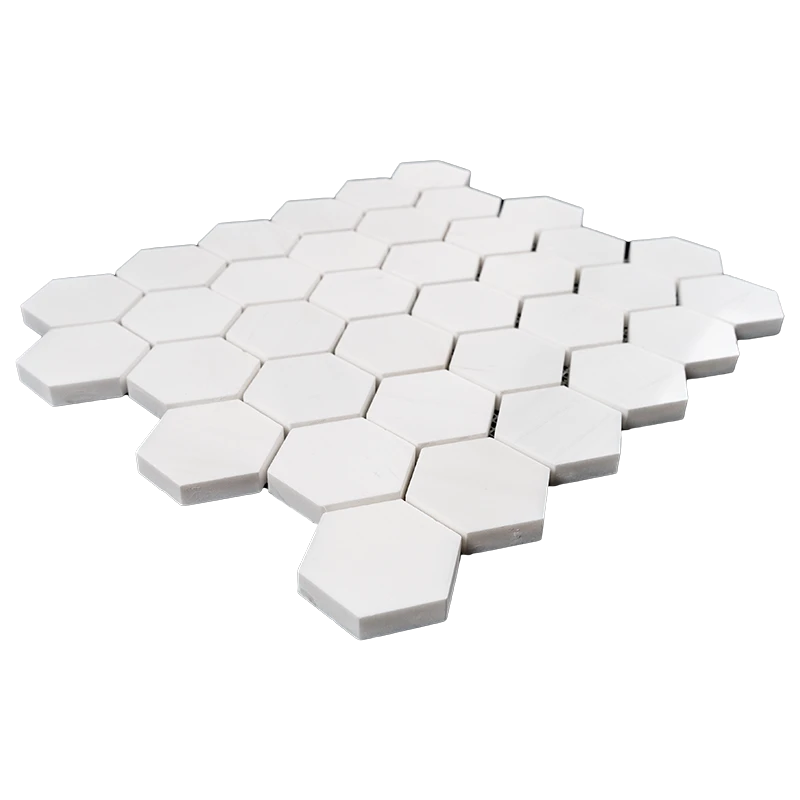
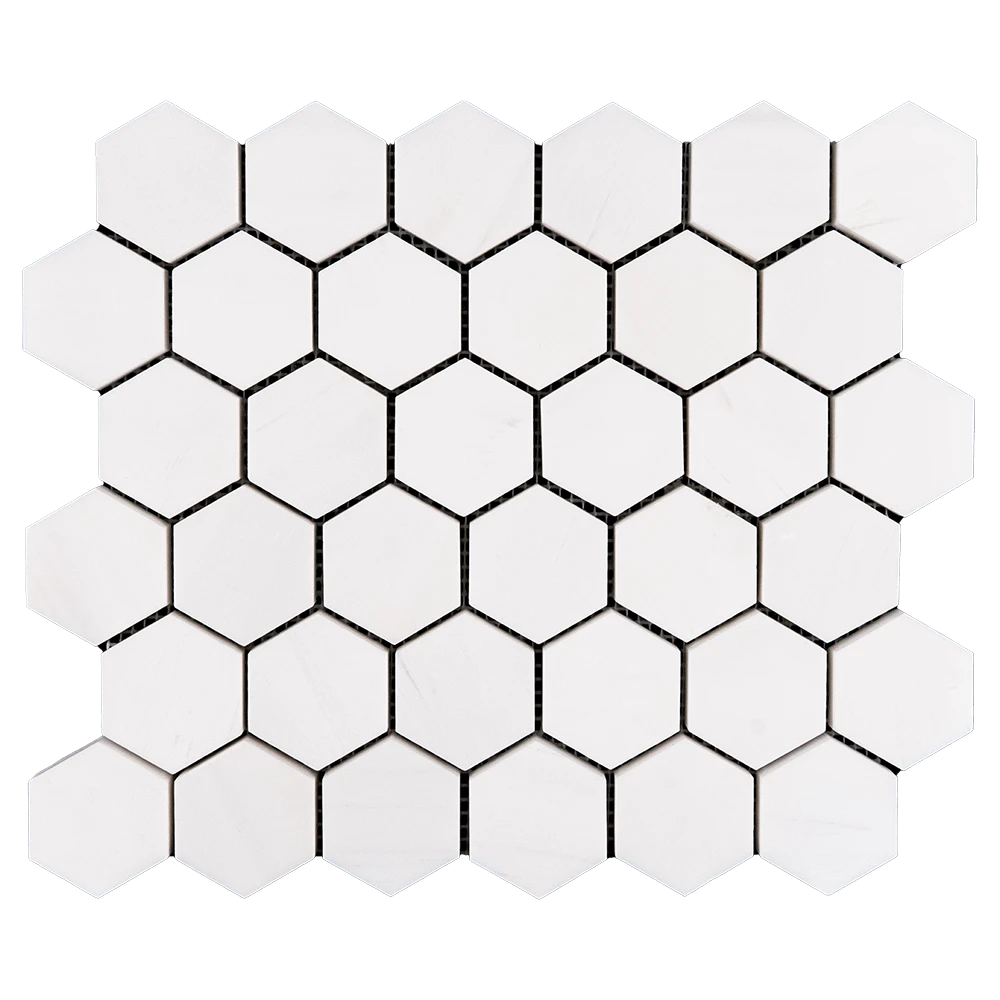
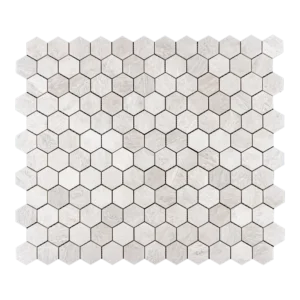
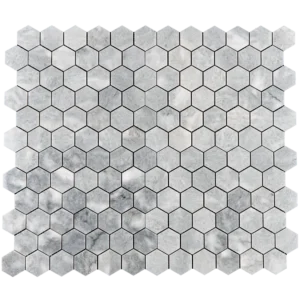
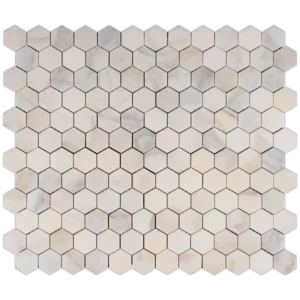
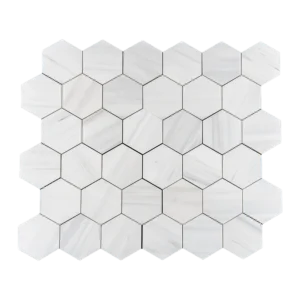
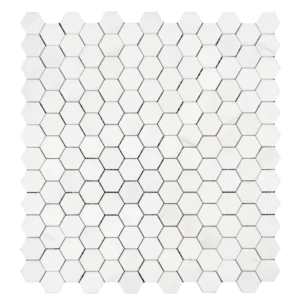
Dolomite Honeycomb Mosaic Tile – 2″ Polished White Hexagon
Polished White Hexagon Mosaic – Clean Geometry and Timeless Stone
Add a touch of elegance to your space with the Dolomite Honeycomb Mosaic Tile. Crafted from premium white Dolomite marble, this 2″ hexagon tile features a polished surface that reflects light beautifully. Its smooth, glossy finish brings out the natural beauty of the marble, giving your walls a crisp, bright look. This tile suits both modern and classic designs.
It’s perfect for backsplashes, bathrooms, and feature walls. Plus, the honeycomb pattern brings a sense of movement and balance to any room. Not only does it add visual interest, but it also helps create a clean and organized look. Moreover, the mesh-mounted backing makes installation easier, ensuring precise alignment and faster results.
Product Highlights – Dolomite Hexagon Tile Details
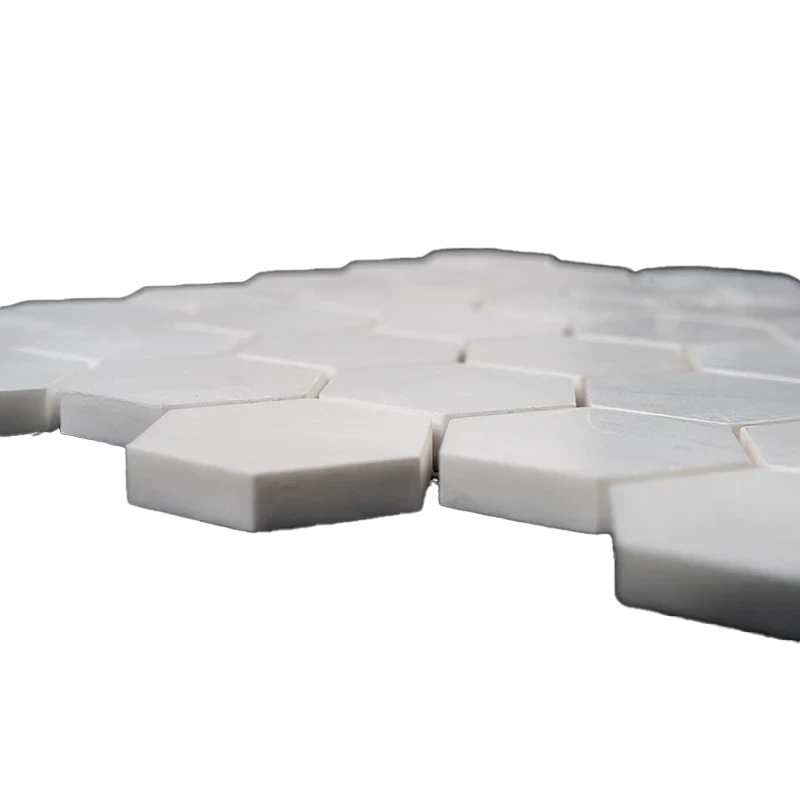
- Material: Natural Dolomite marble
- Color: Bright white with subtle natural variation
- Shape: Honeycomb – 2″ hexagon pattern
- Finish: Polished – smooth, high-gloss surface
- Sheet Size: 10.4″ x 12″ (26.5 x 30.5 cm)
- Thickness: 0.4″ (1 cm)
- Chip Size: 2″ individual hexagons
- Installation: Mesh-mounted for secure and easy setup
- Application: Indoor walls – backsplashes, bathrooms, feature panels
- SKU: DOL-HB-002
Why Choose This Polished White Hexagon Mosaic Tile?
This tile brings a perfect mix of clean geometry and natural beauty to any room. Its polished surface adds a touch of luxury, while the Dolomite marble keeps things classic and timeless. Furthermore, its versatile design makes it easy to fit into many styles, from modern to traditional. As a result, it’s a popular choice for both home and commercial spaces.
Recommended Applications
- Kitchen backsplashes and feature walls
- Bathroom walls and shower surrounds
- Fireplace surrounds and decorative accents
- Commercial spaces and hospitality settings
Maintenance Tips
- Clean with a pH-neutral, stone-safe cleaner to protect the polished surface.
- In addition, avoid acidic or abrasive cleaners that may scratch the marble.
- Use a high-quality sealer to protect against moisture and stains.
- Reseal periodically to maintain the tile’s beautiful finish.
Shipping & Packaging – Delivered with Care
- Sold per box – includes 5 mesh-mounted sheets
- Total coverage: 4.35 sq.ft. per box
- Net Weight: Approx. 25.1 lbs
- Carefully packaged for safe and secure delivery
Browse our complete selection of mosaic sheets in the mosaic tile collection.