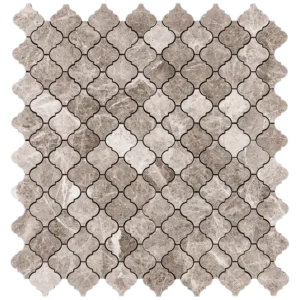
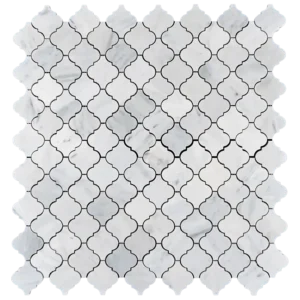
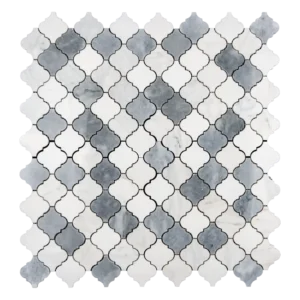
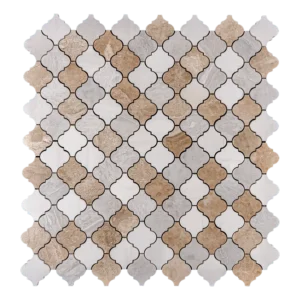
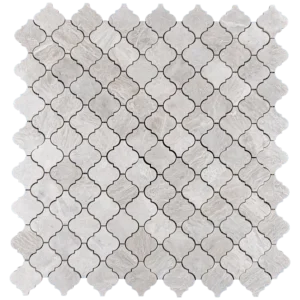
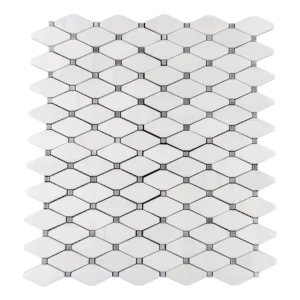
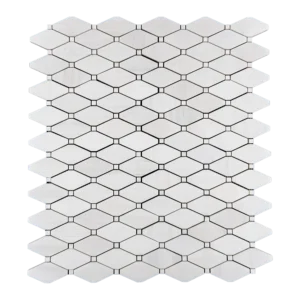
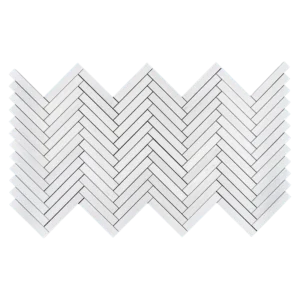
Installation Guide – Arabesque Polished Marble Mosaic Tile
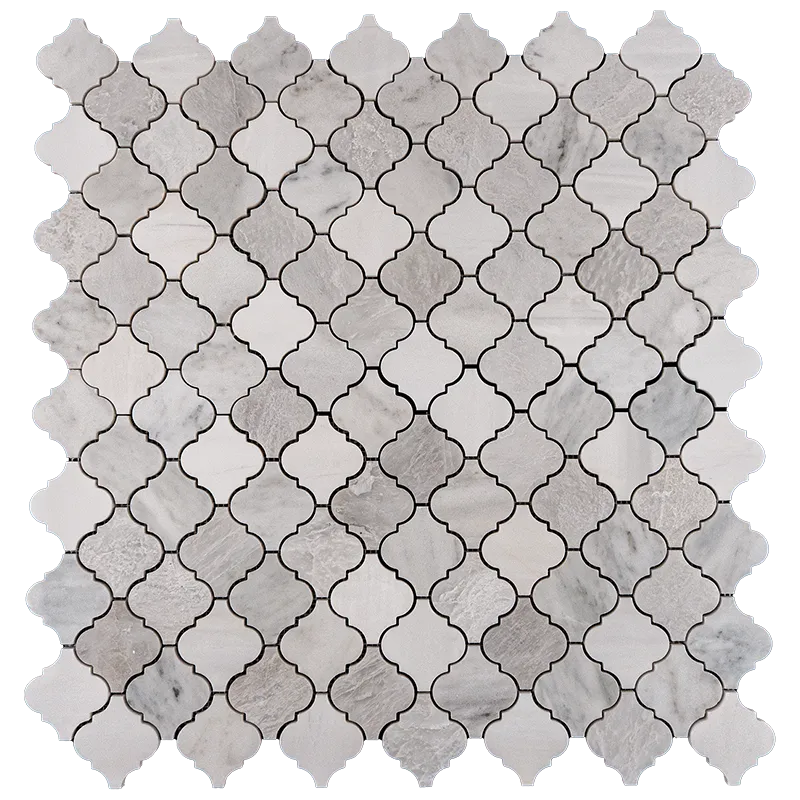
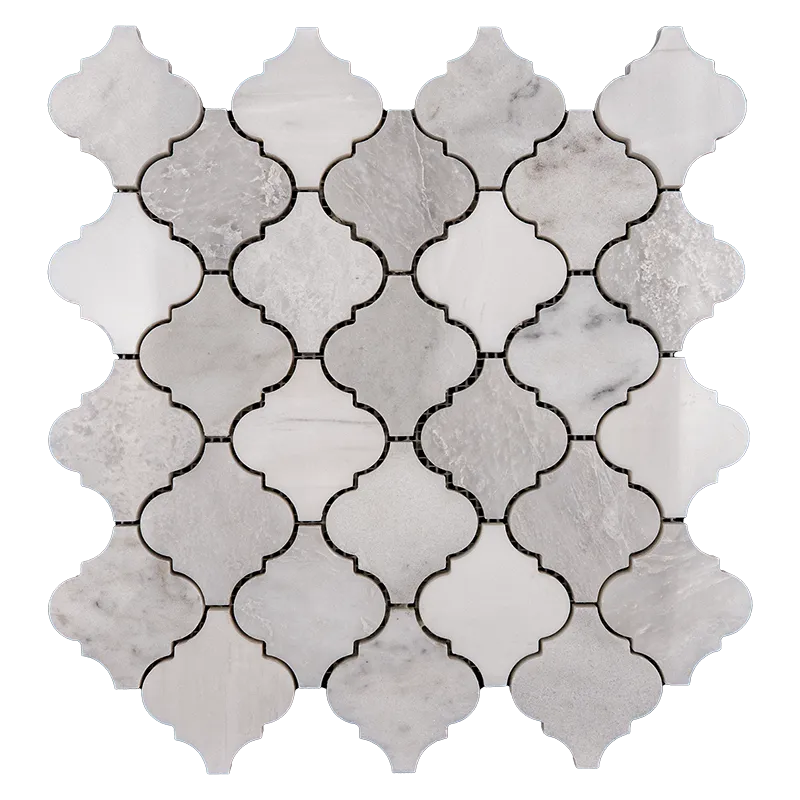
This installation guide is prepared for Arabesque Polished Marble Mosaic Tile – Dolomite, Iceberg, Imperial White.
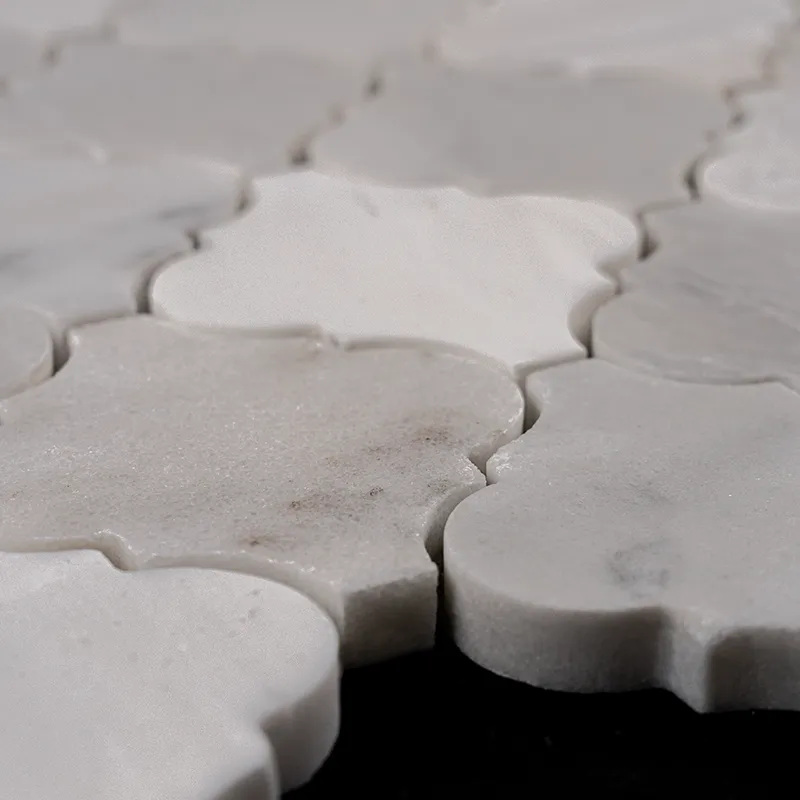
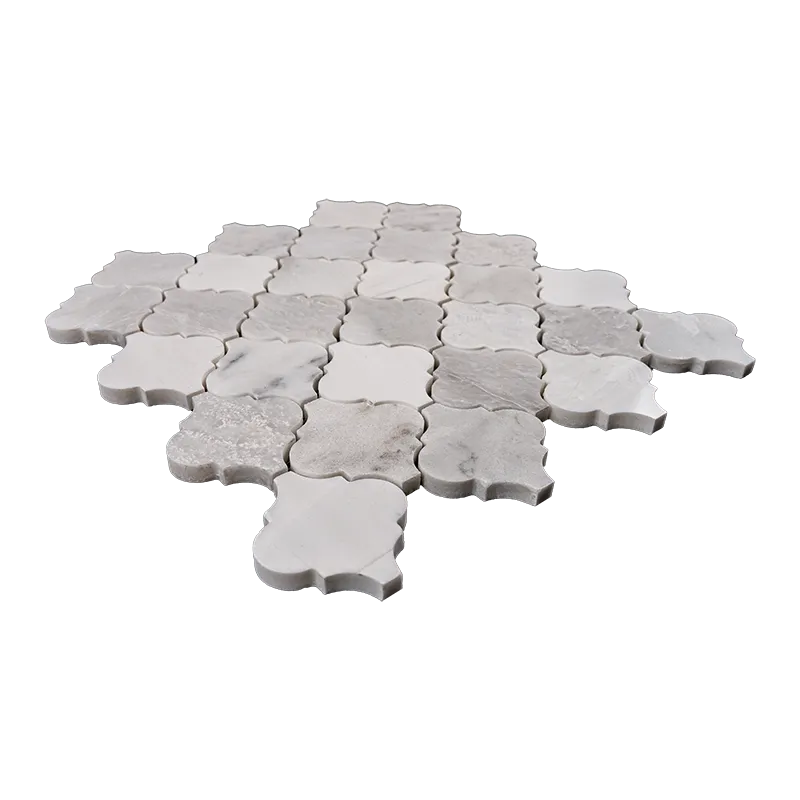
This natural stone mosaic features a polished finish, mesh backing, and an elegant arabesque pattern, making it ideal for
kitchen backsplashes, bathroom walls, shower walls, accent walls, and other indoor applications.
Before Installation
- Inspect all sheets before installation. Natural stone may include shade, veining, and texture variations.
- Blend sheets from multiple boxes to achieve a balanced color variation.
- Make sure the surface is clean, dry, flat, structurally sound, and free of dust, paint, grease, or old adhesive.
- Dry-lay the mosaic sheets before applying mortar to check pattern alignment and layout.
- For polished marble mosaics, use a white thin-set mortar suitable for natural stone.
Recommended Materials & Tools
- White polymer-modified thin-set mortar for natural stone
- Notched trowel, grout float, sponge, bucket, and level
- Wet saw with a diamond blade suitable for marble
- Non-sanded grout or grout recommended by your installer
- Natural stone sealer
- Spacers, tape measure, pencil, and clean microfiber cloth
Installation Steps
1. Prepare the Surface
The installation surface must be flat and stable. Any uneven areas should be corrected before installation.
For wet areas such as showers, proper waterproofing must be completed before tile installation.
2. Plan the Layout
Start from the most visible area and dry-lay the sheets first. Because arabesque mosaics have a decorative curved pattern,
careful alignment is important. Adjust sheets as needed to maintain consistent spacing and a continuous design.
3. Apply Thin-Set Mortar
Apply white thin-set mortar using the appropriate notched trowel. Work in small sections so the mortar does not dry before
the mosaic sheets are placed. Avoid excessive mortar, as it may rise between the joints.
4. Set the Mosaic Sheets
Press each mesh-backed sheet gently into the mortar. Use a grout float to apply even pressure across the surface.
Check alignment frequently and adjust sheets while the mortar is still workable.
5. Cutting
Use a wet saw with a diamond blade designed for marble. Cut slowly to reduce chipping, especially around the polished edges.
Always measure carefully before cutting.
6. Sealing Before Grouting
Since this is a natural polished marble mosaic, sealing before grouting is recommended. A penetrating natural stone sealer
helps protect the surface and makes grout cleanup easier.
7. Grouting
Use a grout suitable for polished marble mosaics. Non-sanded grout is commonly preferred for narrow joints and polished stone
surfaces to help reduce the risk of scratching. Always test grout on a small area first.
8. Cleaning
Remove grout haze with a clean damp sponge before it dries completely. Do not use acidic cleaners, vinegar, bleach, or harsh
chemicals on marble. Use only pH-neutral stone-safe cleaners.
9. Final Sealing
After grout has cured, apply a final coat of penetrating sealer if recommended by the sealer manufacturer.
Resealing periodically will help maintain the beauty and performance of the stone.
Important Notes
- Natural stone variation is normal and part of the beauty of marble and dolomite products.
- Polished marble may be sensitive to acidic substances and abrasive cleaners.
- For shower floors or high-slip areas, confirm suitability with your installer before installation.
- Professional installation is recommended for best results.
Care & Maintenance
Clean regularly with a soft cloth or sponge and a pH-neutral cleaner made for natural stone. Wipe spills quickly and avoid
acidic products such as vinegar, lemon-based cleaners, or harsh bathroom cleaners. Proper maintenance will help preserve the
polished finish and natural stone appearance over time.
Disclaimer: This guide is provided for general informational purposes only. Installation conditions may vary by project.
Always follow the recommendations of your professional installer, setting material manufacturer, grout manufacturer, and
sealer manufacturer.