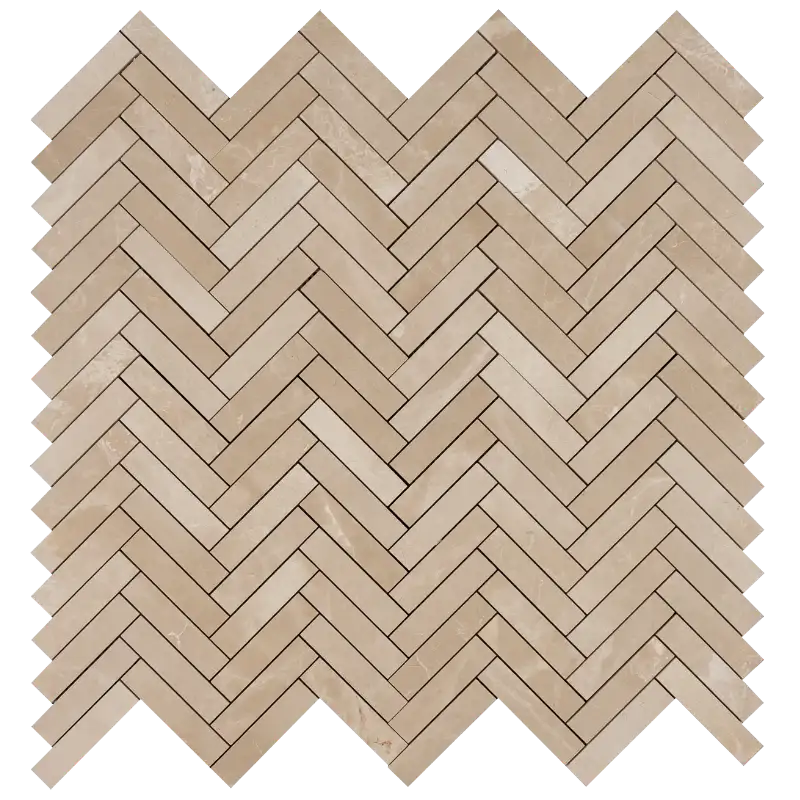
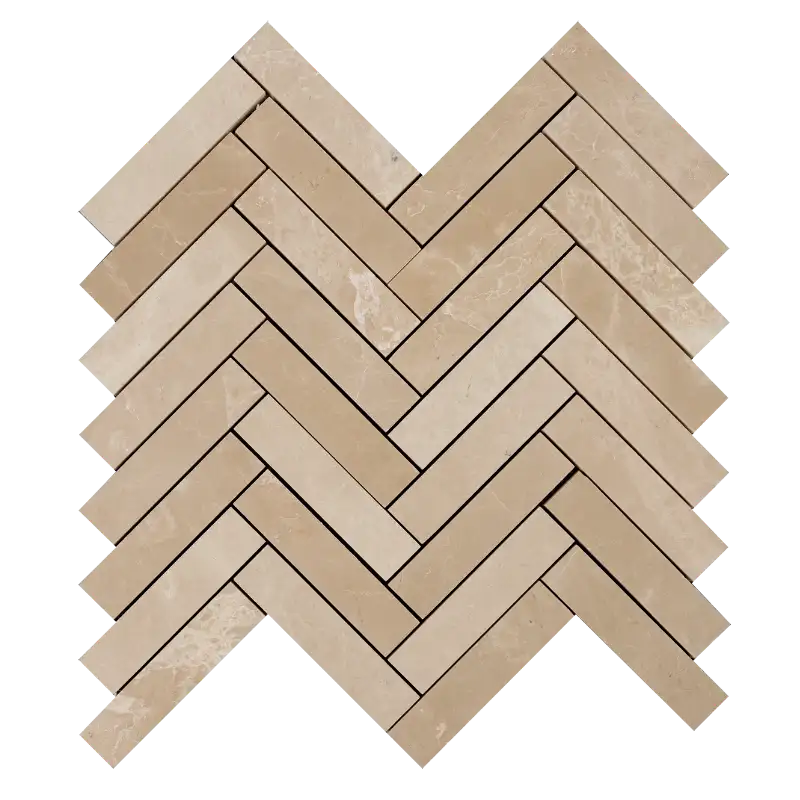
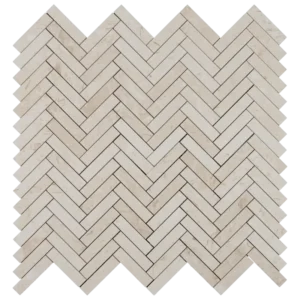
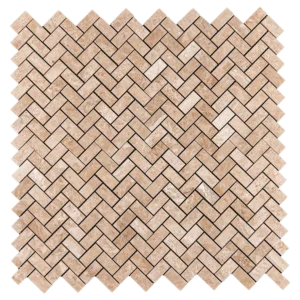
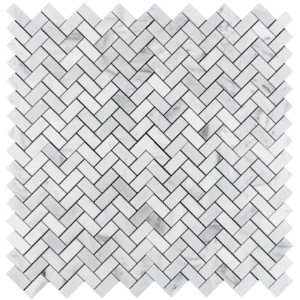
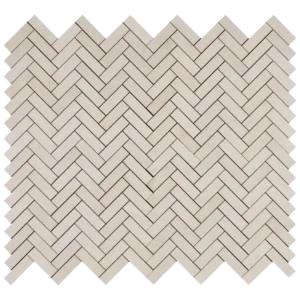
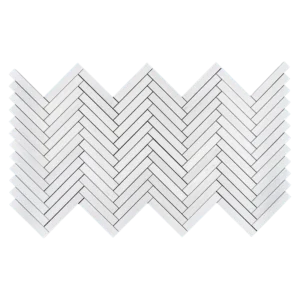
Botticino 1×4 Herringbone Beige Marble Mosaic Tile
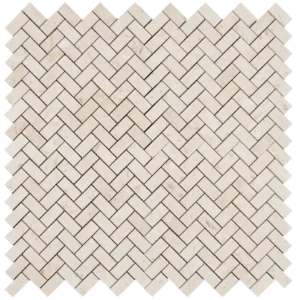
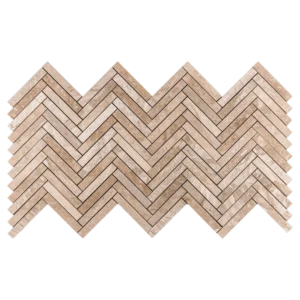
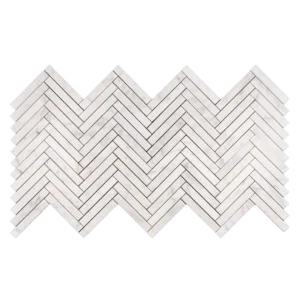
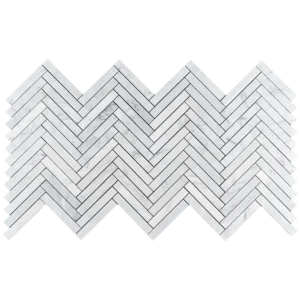
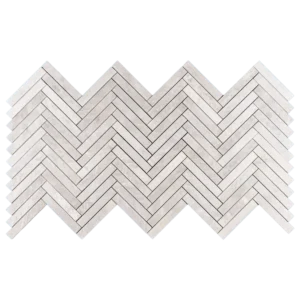
The Botticino 1×4 Herringbone Beige Marble Mosaic Tile brings natural warmth and timeless elegance to any interior space. Featuring a soft beige background with gentle cream and ivory undertones, this mosaic reflects the subtle beauty of classic Botticino marble from Italy. Its 1×4 herringbone pattern adds visual rhythm and movement, making it an excellent choice for both contemporary and traditional designs.
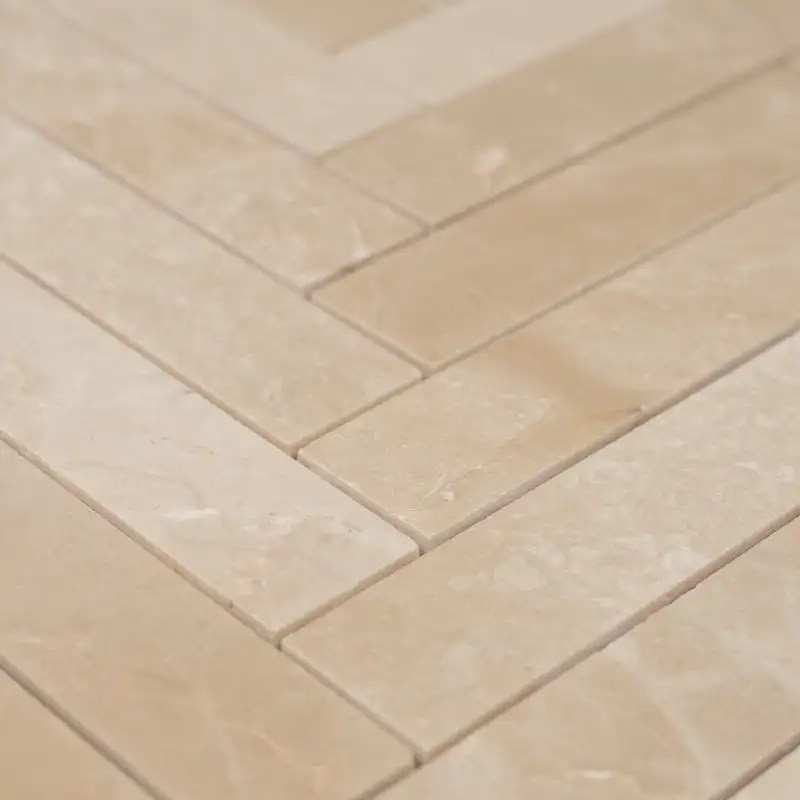
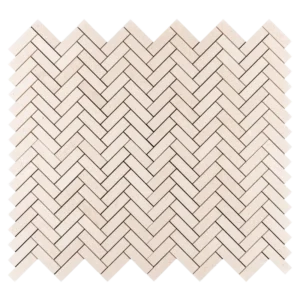
The honed finish gives the surface a smooth, matte feel that enhances the marble’s organic character while reducing glare. This tile is not only elegant but also durable and easy to maintain, making it perfect for high-end residential or light commercial applications. Use it to create inviting bathroom walls, kitchen backsplashes, or feature accents that exude sophistication and warmth.
Key Features
- Material: Natural Botticino beige marble
- Finish: Honed – smooth matte surface
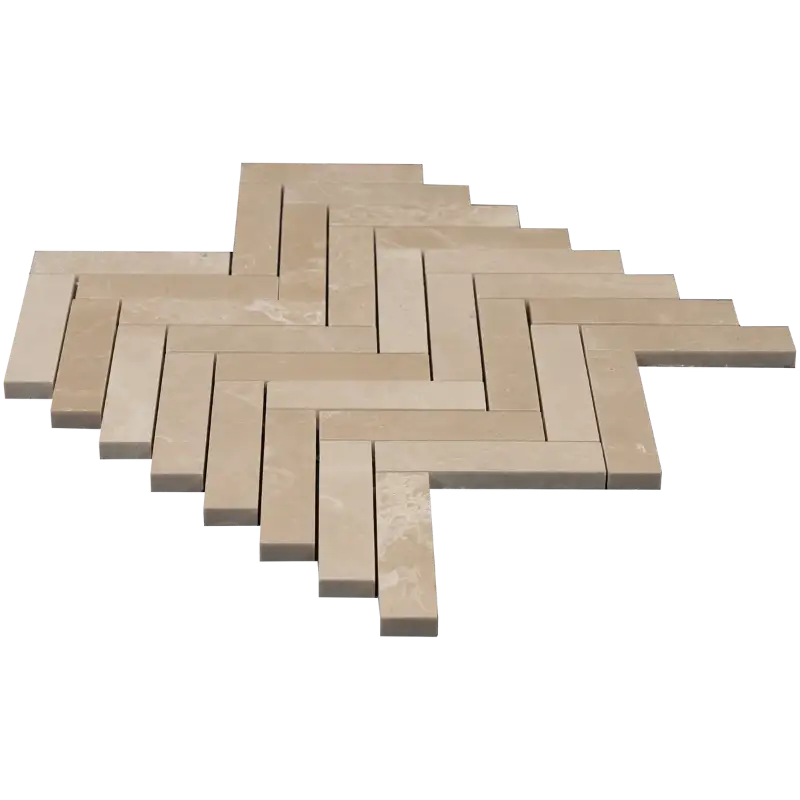
- Pattern: 1×4 herringbone layout
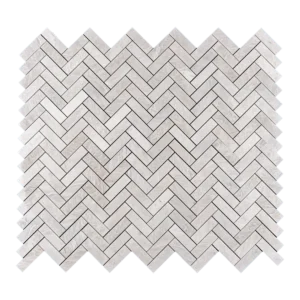
- Color: Warm beige tones with subtle cream veining
- Tile Size: 1″x4″ chips mounted on mosaic sheets
- Applications: Ideal for bathrooms, kitchens, backsplashes, shower walls, and decorative accents
Bring warmth and understated luxury to your project with Botticino Herringbone Beige Mosaic Tile. Its refined tone, natural texture, and timeless pattern blend seamlessly into both modern and classic interiors.