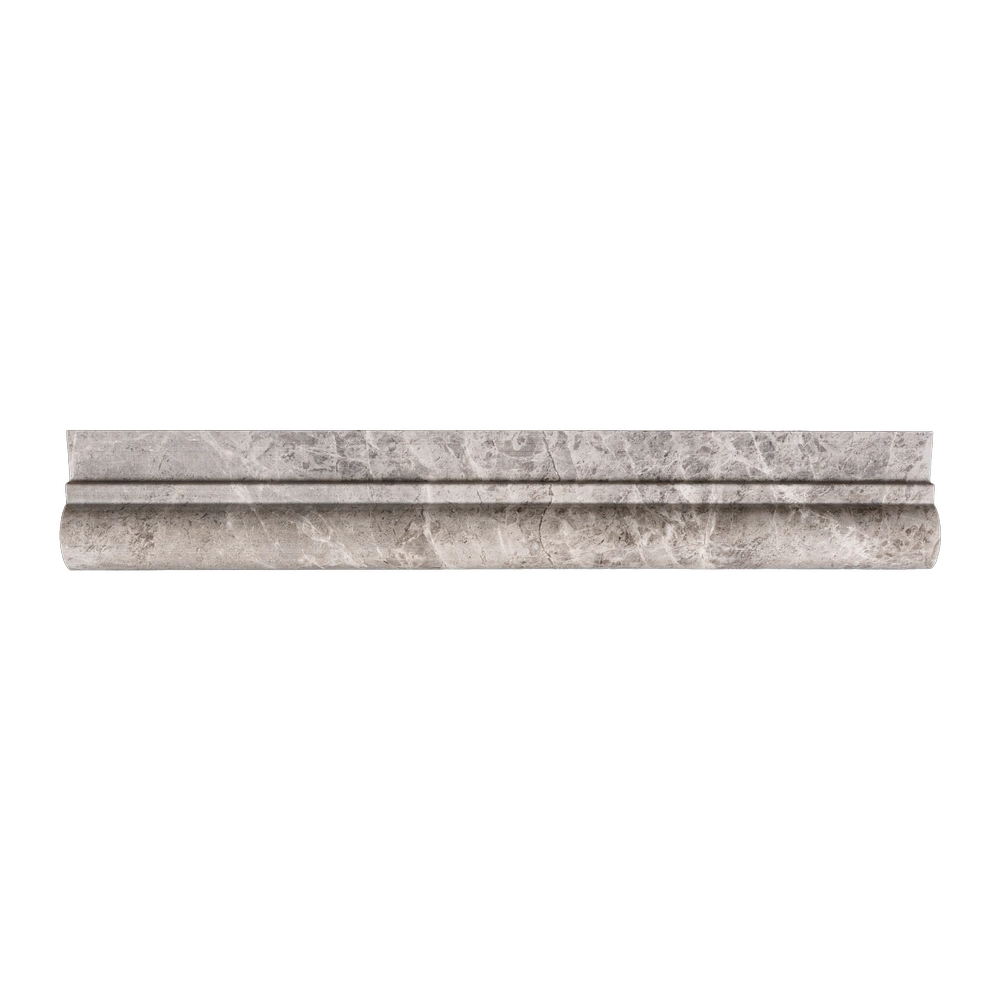
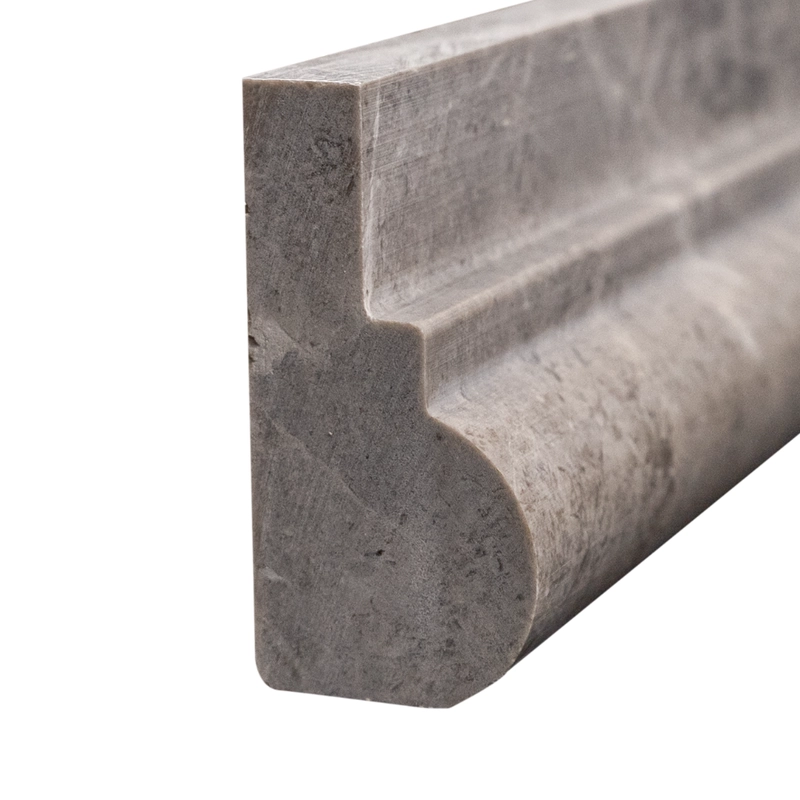
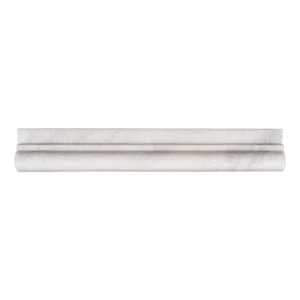
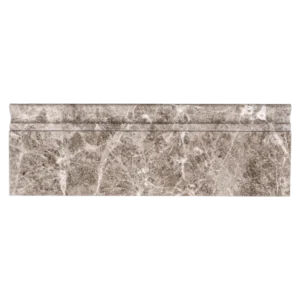
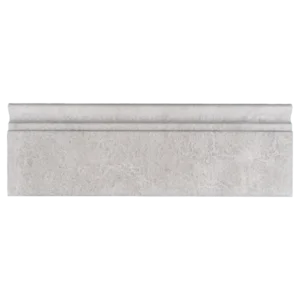
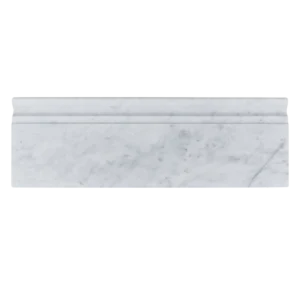
Silver Beige Diamond Polished Marble Chair Rail Trim 2″x12″
Refine your interiors with the timeless elegance of the Silver Beige Diamond Polished Marble Chair Rail Molding in a 2″x12″ format. Made from natural marble with warm cappuccino tones and soft veining, this polished trim adds both protection and architectural distinction to your walls.
Ideal for dividing wall sections, framing mosaic panels, or finishing tile installations, the chair rail’s classic profile and polished surface create a smooth, light-reflecting finish. Whether you’re designing a formal bathroom or a transitional kitchen, this trim brings sophistication and structure to any space.
Key Features
- Material: Natural Silver Beige Diamond marble
- Finish: Polished for a brilliant, reflective sheen
- Size: 2″x12″ – ideal for decorative wall applications
- Use: Perfect for wall transitions, backsplashes, and accent framing
- Color: Warm beige tones with subtle Beige veining
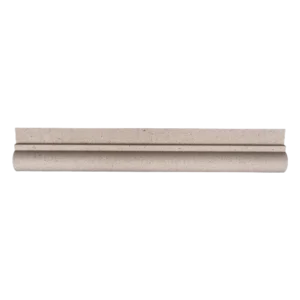
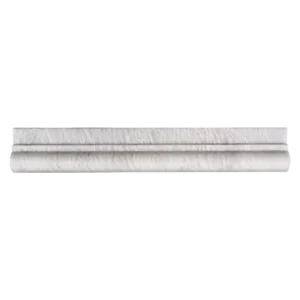
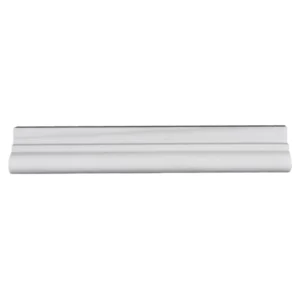
Pair with Beige Diamond baseboards, crown moldings, or floor tiles to create a fully harmonized marble interior.
Installation Guide – Silver Beige Diamond Marble Chair Rail Trim (2″x12″ Polished)
Step 1: Surface Preparation – Prepare a Clean, Level Base
- Ensure the substrate is dry, dust-free, and smooth.
- Mark a guideline using a level at the intended chair rail height.
- Complete underlying tile or wall finishes before trim installation.
Step 2: Dry Layout – Visual Alignment
- Dry-lay the trim to check for color and veining consistency.
- Use a wet saw with a fine diamond blade for precise cuts.
- Dry-fit transitions and corners to ensure a seamless finish.
Step 3: Adhesive Application – Bond with Confidence
Recommended Thin-Set Mortars:
- Laticrete 254 Platinum (White)
- Mapei Ultraflex LFT (White)
Instructions:
- Back-butter each trim piece with thin-set mortar.
- Press the piece firmly into place along your guide line.
- Secure with painter’s tape or temporary supports as needed; allow to cure for at least 24 hours.
Step 4: Grouting – Gentle Finishing
- Use unsanded grout to prevent surface scratching.
- Remove excess grout with a damp sponge immediately after application.
- Buff remaining haze after 30–45 minutes using a soft cloth.
Step 5: Sealing – Long-Term Protection
- After 72 hours of curing, apply a marble-safe penetrating sealer.
- Re-seal periodically based on use and exposure.
Maintenance Tips