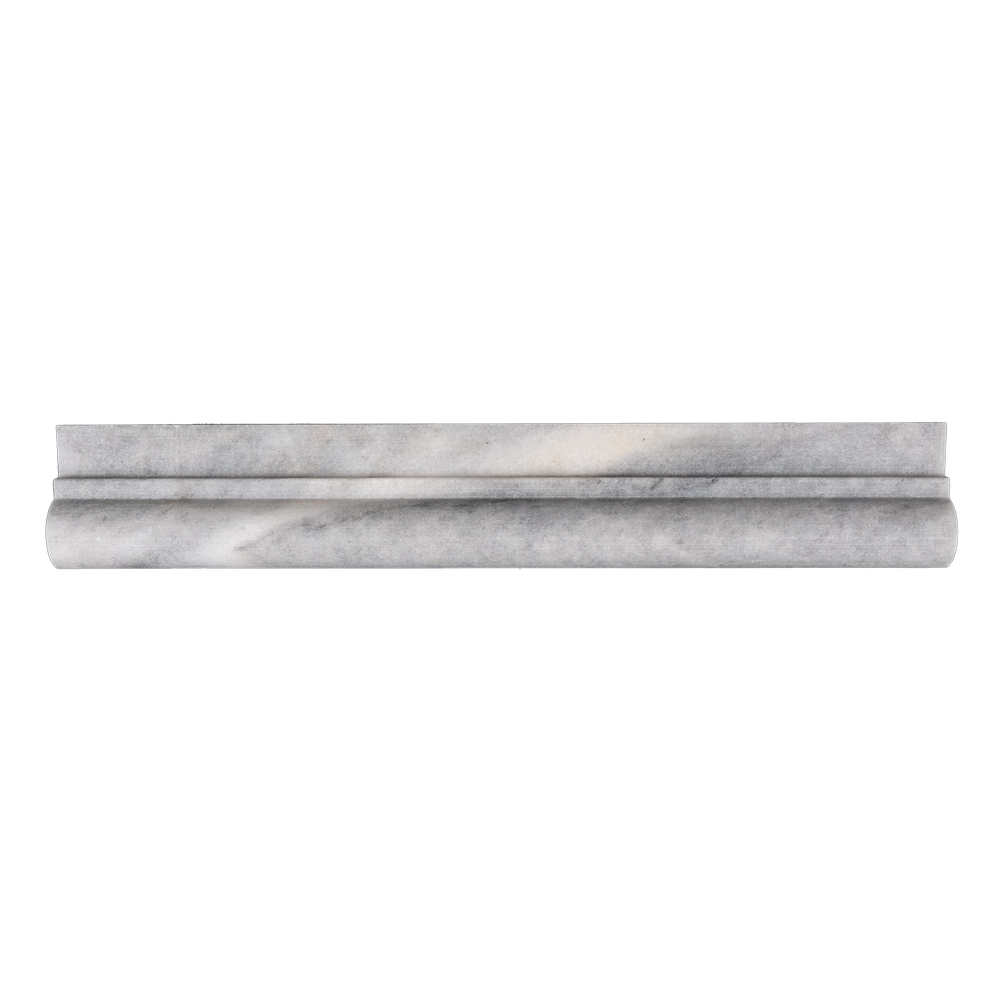
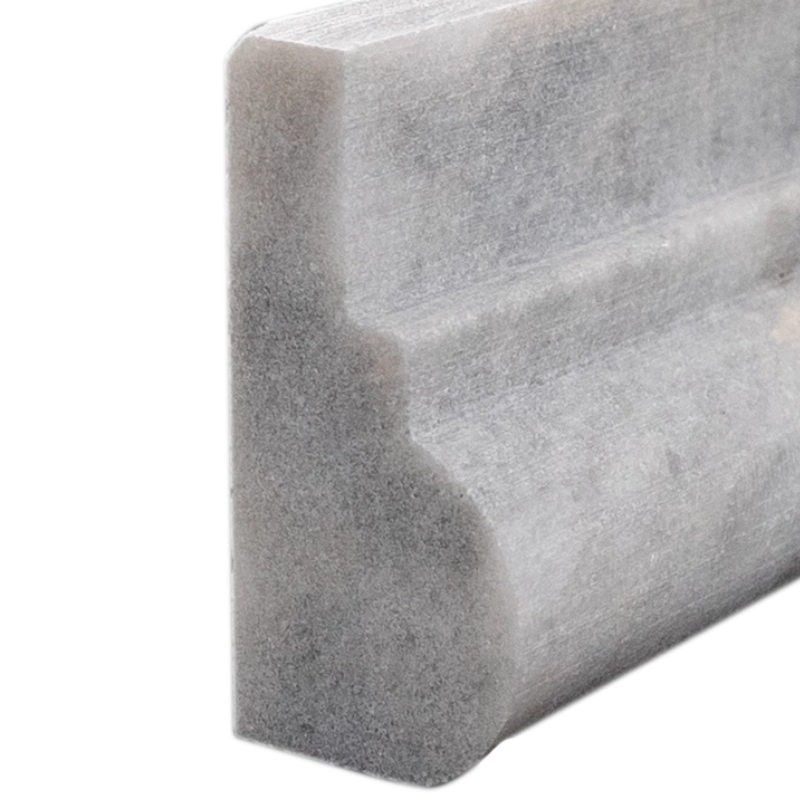
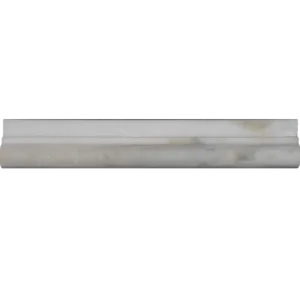
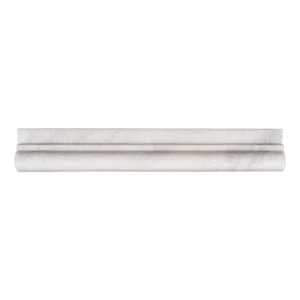
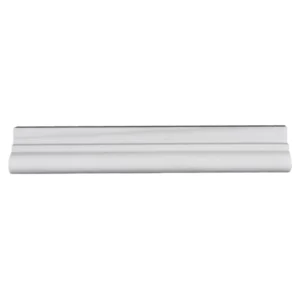
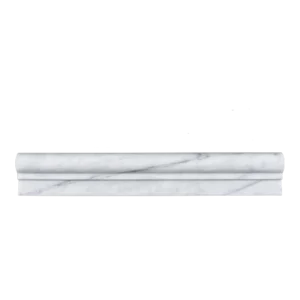
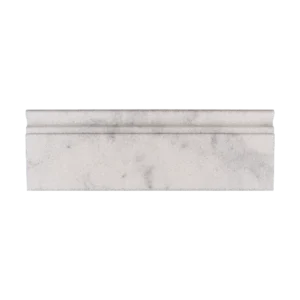
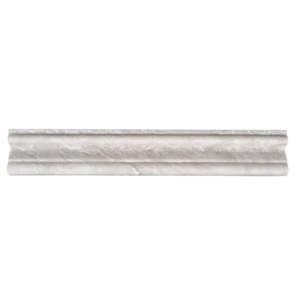
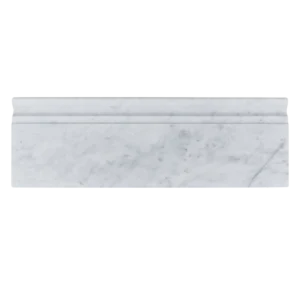
Bardiglio Chair Rail Trim 2″x12″ – Polished Gray Marble Accent Molding
Enhance your design with the refined beauty of our Bardiglio Chair Rail Trim 2″x12″, crafted from elegant gray marble and finished to a polished shine. This classic molding piece offers a timeless architectural element, ideal for creating clean transitions between wall surfaces or adding definition to feature areas. Its soft gray tones and intricate veining bring subtle sophistication to any interior setting.
Key Features
- Material: Natural Bardiglio Marble
- Color: Gray with delicate veining
- Finish: Polished for a sleek and reflective surface
- Size: 2″x12″ – standard trim dimension
- Edge Profile: Chair rail (OG-1 style)
- Use: Wall transitions, accent trims, backsplash detailing
Why Choose Bardiglio Marble Trim?
This trim not only defines spaces but also elevates them. Its small scale and crisp edge allow for versatile applications—from outlining mirror frames to capping tile installations. The polished finish reflects light beautifully, adding depth and elegance to bathrooms, kitchens, and formal living areas. Pair it with Bardiglio or contrasting marbles for refined design harmony.
Recommended Applications
- Bathroom and shower wall trims
- Backsplash borders and transitions
- Framing around mirrors or niches
- Accent walls in living or dining rooms
Installation Guide – Polished Bardiglio Marble Chair Rail Trim
Step 1: Surface Preparation – Start with a Clean Vertical Surface
- Ensure the wall substrate is flat, clean, and free of dust or oils.
- Finish all underlying tilework or wall coverings prior to installing the chair rail trim.
- Mark a level line where the chair rail will be applied—typically 32–36″ above floor level or aligned with tile terminations.
Step 2: Dry Layout – Plan for Visual Continuity
- Dry-lay the Bardiglio trim pieces along your level line to check alignment and flow of veining.
- Trim ends using a wet saw with a fine diamond blade to ensure smooth transitions at corners or terminations.
- If blending with other trims or field tiles, ensure compatibility in thickness and finish.
Step 3: Adhesive Application – Bonding to Wall Surface
Recommended Adhesives:
- Laticrete 254 Platinum White (for non-sag wall applications)
- Mapei Ultralite Mortar or equivalent marble tile adhesive
Instructions:
- Apply adhesive directly to the back of the chair rail (back-buttering recommended).
- Use a margin or notched trowel to ensure even coverage.
- Press firmly onto the wall, following your level guide line. Hold for several seconds to ensure bonding.
- Use spacers if placing multiple pieces in a row to ensure uniform joints.
Step 4: Grouting – Seamless Transitions
- Wait 24 hours for the adhesive to cure before applying grout.
- Use non-sanded grout to protect the polished finish.
- Wipe excess grout with a damp sponge and buff remaining haze after 30–45 minutes.
Step 5: Sealing – Enhance and Protect
- After grout cures (typically 72 hours), apply a penetrating sealer formulated for polished marble.
- Re-seal periodically to maintain water and stain resistance, especially in bathrooms or kitchens.
Maintenance Tips
- Use only pH-neutral, marble-safe cleaners.
- Do not use abrasive pads or acidic products that may damage the polished surface.
- Wipe gently with a soft cloth to retain luster.
Important Note
Bardiglio marble is a natural stone with inherent variation in veining and tone. Always dry-lay pieces before installation for visual consistency. Stonemarket USA is not responsible for color variation or improper installation.