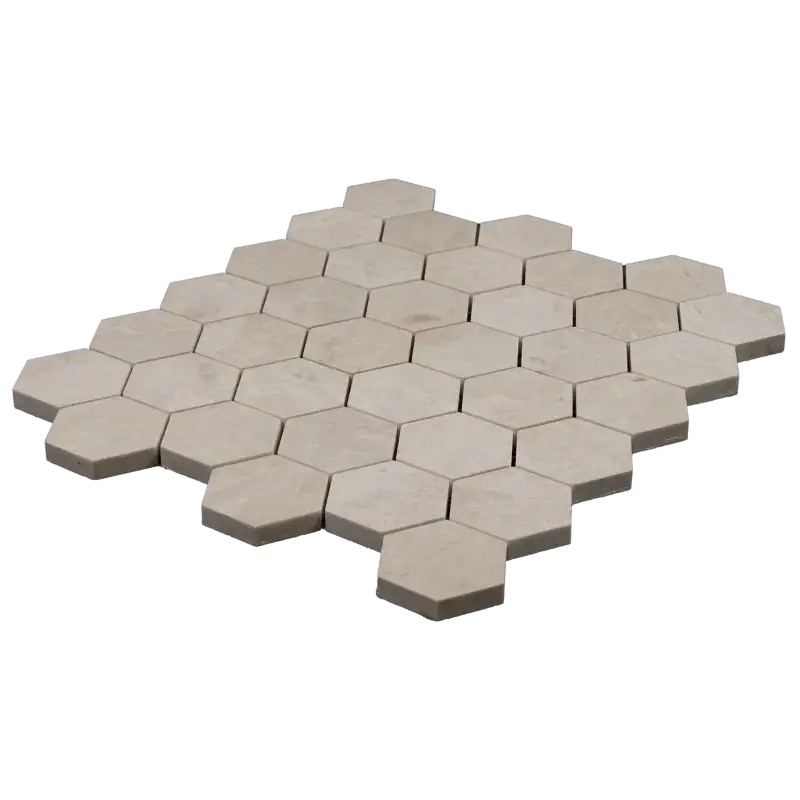

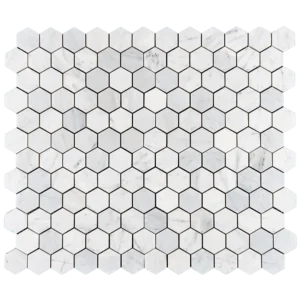
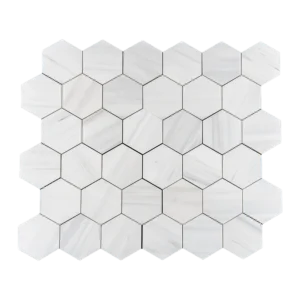
Vanilla 2″ Hexagon Honed Marble Mosaic Tile
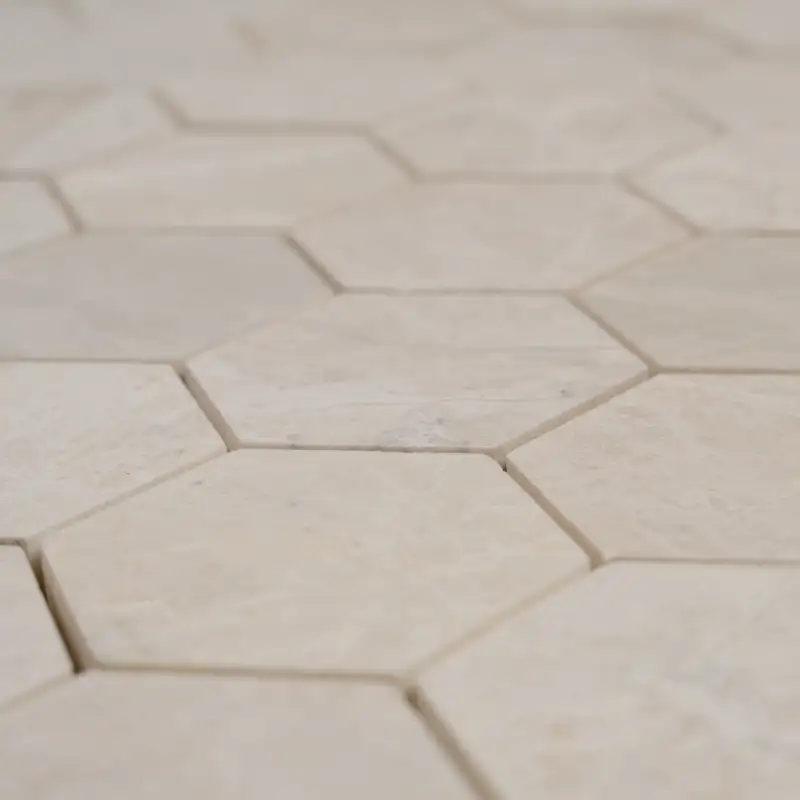
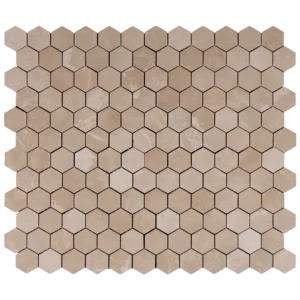
The Vanilla 2″ Hexagon Honed Marble Mosaic Tile brings natural warmth and timeless elegance to any interior. With its soft beige tones and smooth honed finish, this classic hexagon (honeycomb) mosaic blends traditional charm with modern sophistication — perfect for spaces that need both style and subtlety.
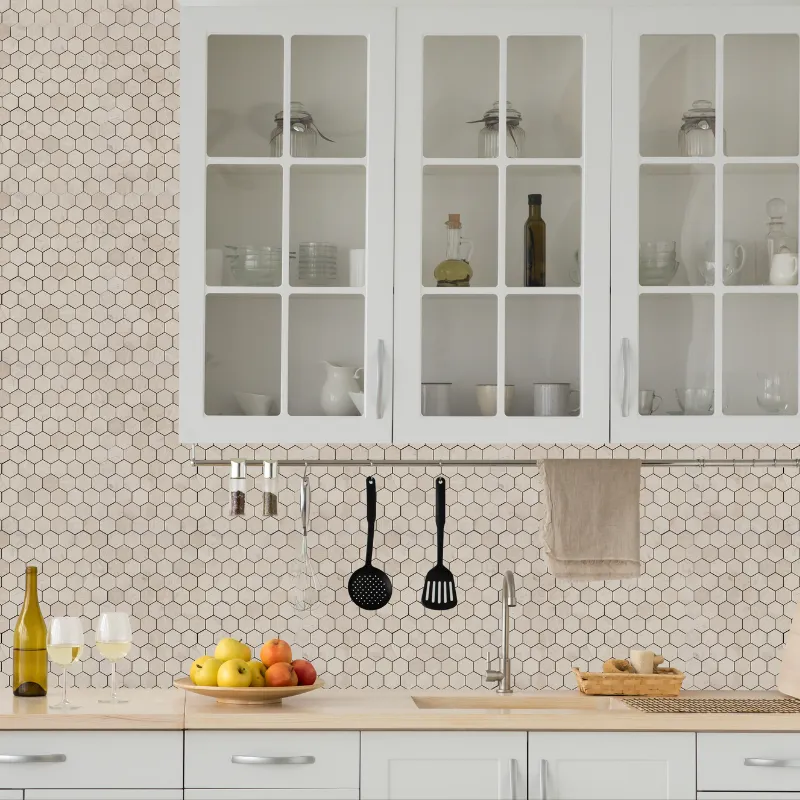
The honed matte surface enhances the natural beauty of Vanilla marble, offering a calm, refined appearance that works beautifully in kitchens, bathrooms, shower walls, and feature areas. Its geometric honeycomb design adds depth and visual interest without overpowering the overall look, making it a versatile choice for both contemporary and classic interiors.
Key Features
- Material: Premium Vanilla marble
- Finish: Honed – smooth, matte, elegant surface
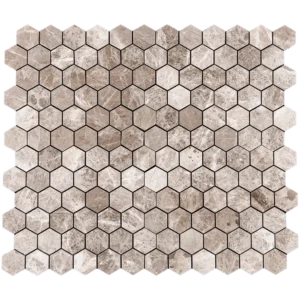
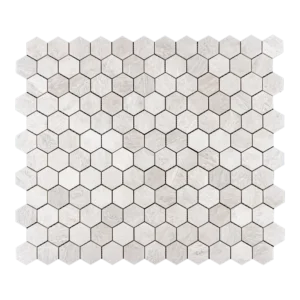
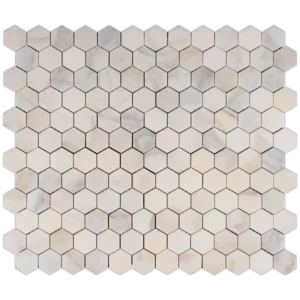
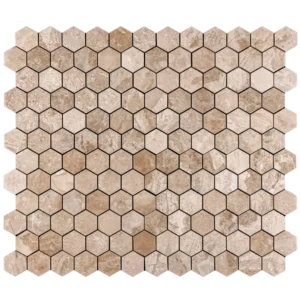
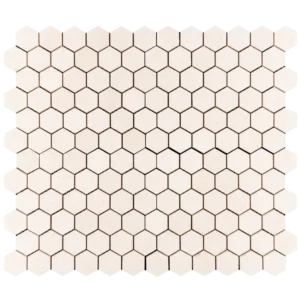
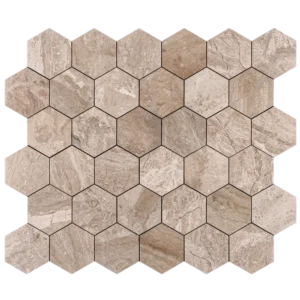
- Shape: 2″ Hexagon (Honeycomb) mosaic pattern
- Tile Size: 2″ individual pieces
- Sheet Size: 12″ x 12″ (30.5 x 30.5 cm)
- Color: Warm beige with natural soft veining
- Applications: Ideal for backsplashes, shower walls, bathroom floors, accent sections, and decorative features
Whether you’re designing a serene modern bathroom or adding natural warmth to a classic kitchen, this Vanilla hexagon mosaic delivers durability, beauty, and a timeless aesthetic that elevates any project.
Compare similar mosaics and matching styles in our mosaic tiles collection.