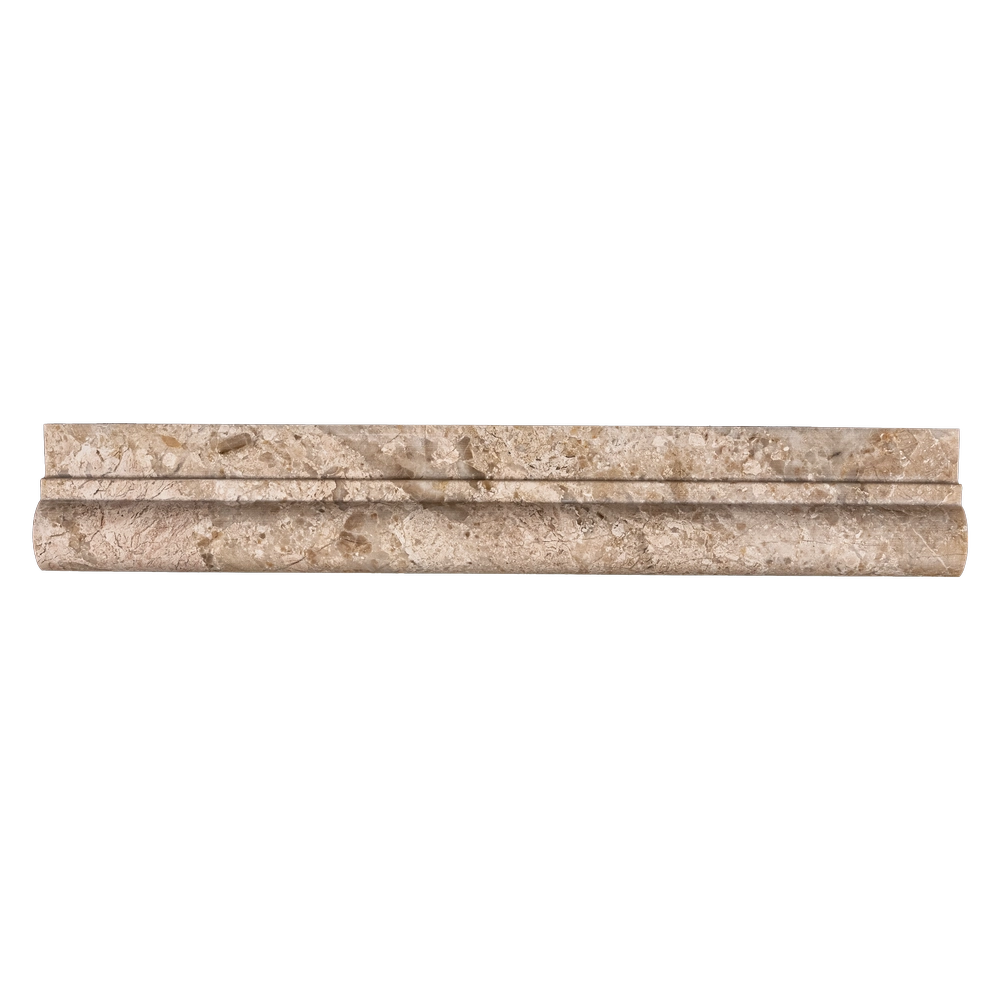
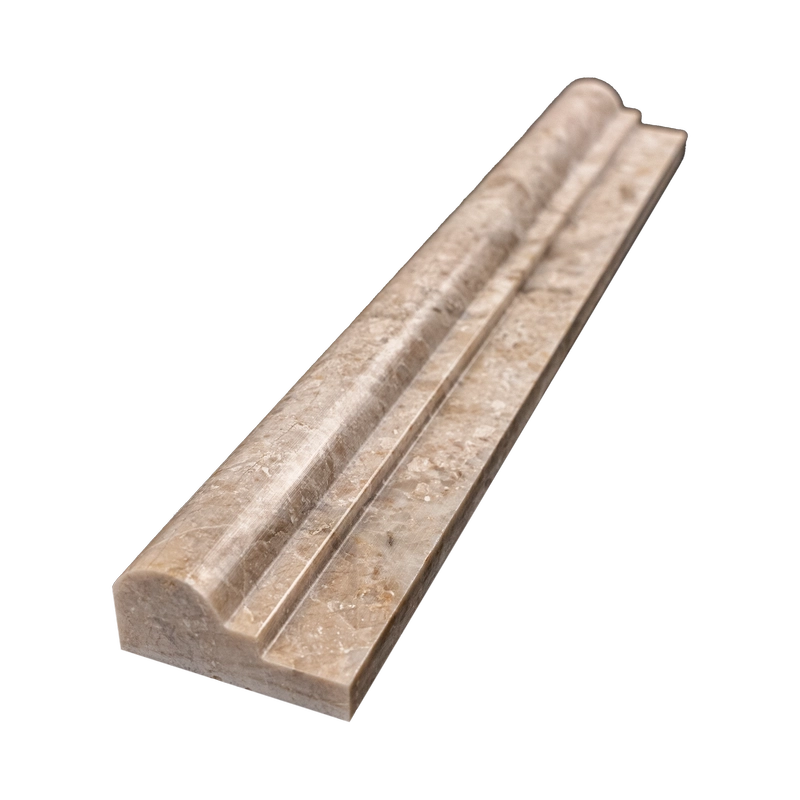
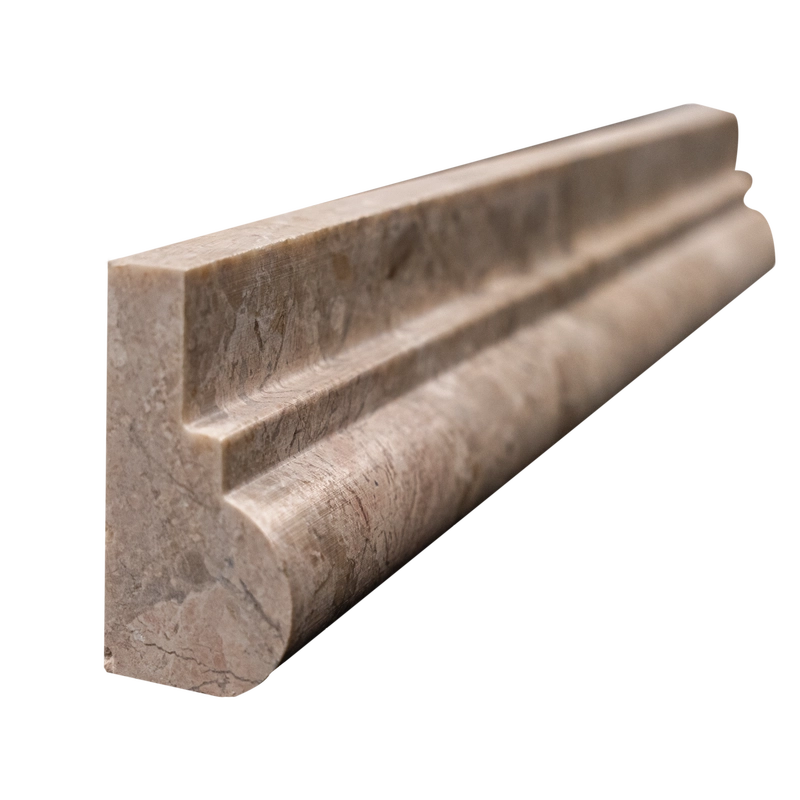
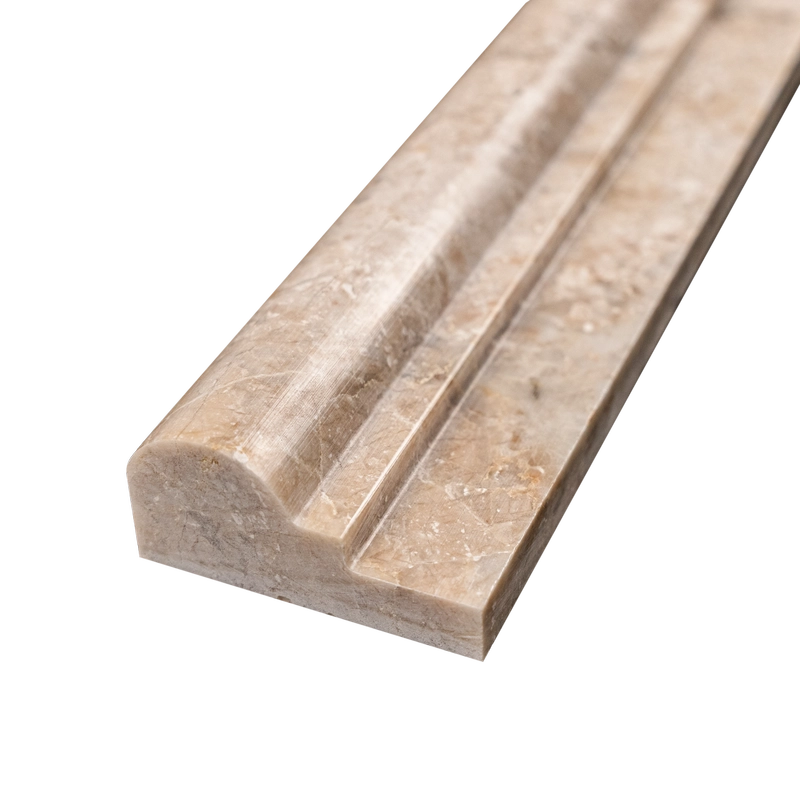
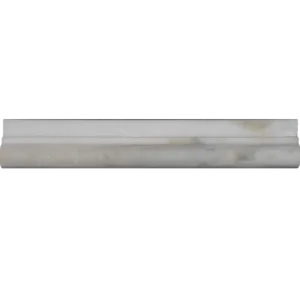
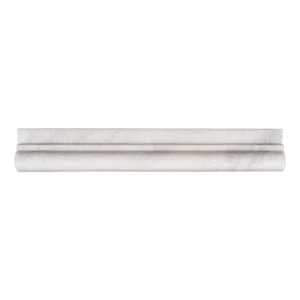
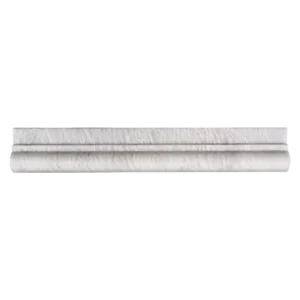
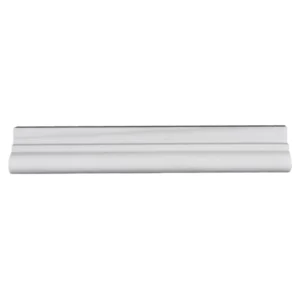
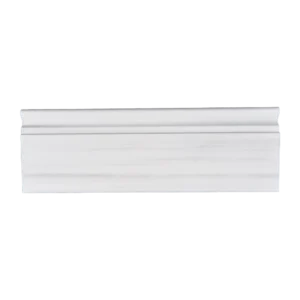
Royal Beige Polished Marble Chair Rail Trim – A Classic Element of Elevated Design
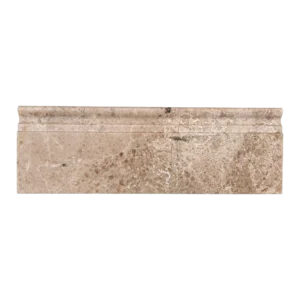
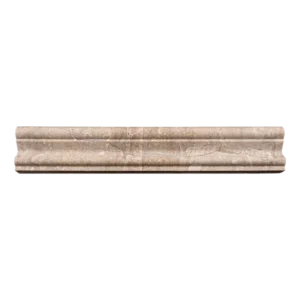
Introduce a sculpted, timeless finish to your interior walls with our Royal Beige Polished Marble Chair Rail Molding in a sleek 2″x12″ size. Inspired by classical architecture and refined with modern sensibilities, this trim piece showcases warm cappuccino tones with soft veining that echoes natural stone’s quiet sophistication.
Crafted from premium marble and finished with a radiant polish, it offers both protection and ornamentation. Whether outlining wainscoting, framing accent walls, or serving as an elegant border between tile and paint, the Royal Beige chair rail brings cohesion and depth to residential and commercial designs alike.
Key Features
- Material: Natural Royal Beige marble with cappuccino warmth
- Finish: Polished for a glossy, light-reflecting surface
- Dimensions: 2″x12″ (5.1 cm x 30.5 cm) – ideal for classic chair rail applications
- Profile: Decorative molding to transition and frame wall finishes
- Applications: Perfect for living areas, bathrooms, corridors, and lobbies
Balance functionality with elegance using this versatile trim piece—a graceful detail that transforms plain walls into a curated experience.
Installation Guide – Royal Beige Marble Chair Rail Trim (2″x12″ Polished)
Step 1: Surface Preparation – Clean and Ready
- Ensure wall surface is clean, dry, and smooth.
- Complete surrounding tile or panel installations prior to adding chair rail trim.
- Use a level to mark the desired height along the wall for the trim placement.
Step 2: Dry Layout – Preview the Look
- Dry-lay chair rail pieces to ensure consistent color tone and veining alignment.
- Use a wet saw with a fine diamond blade for precise cuts or mitered corners.
- Test-fit all pieces before applying adhesive.
Step 3: Adhesive Application – Proper Bonding
Recommended Adhesives:
- Laticrete 254 Platinum (White)
- Mapei Ultraflex LFT (White)
Instructions:
- Back-butter each trim piece with white thin-set mortar using a margin trowel.
- Press firmly into position along the guideline.
- Use painter’s tape or support brackets to hold trim in place during curing (at least 24 hours).
Step 4: Grouting – Finish the Details
- Use unsanded grout to prevent scratches on polished marble.
- Clean excess grout with a damp sponge during application.
- Buff away any haze after 30–45 minutes using a soft cloth.
Step 5: Sealing – Long-Term Protection
- After grout cures (typically 72 hours), apply a penetrating sealer safe for polished marble.
- Reseal as needed based on wear, cleaning frequency, and exposure.
Maintenance Tips
- Use pH-neutral, non-abrasive stone cleaners.
- Avoid acidic or harsh chemicals that may dull the polished surface.
- Wipe with a soft cloth regularly to maintain shine and clarity.
Important Note
Royal Beige is a natural marble with unique veining and tone variations. Always inspect and dry-lay material prior to installation. Stonemarket USA is not responsible for installation errors or natural stone inconsistencies.


