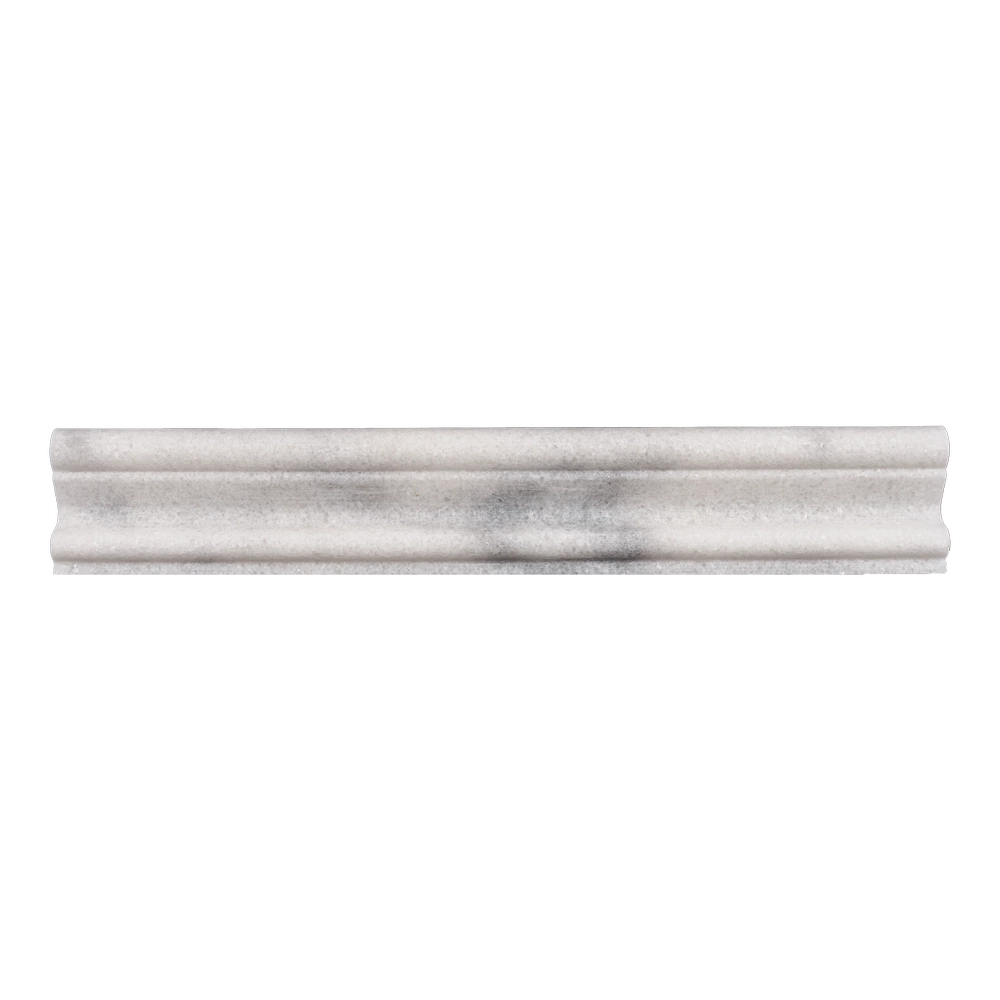
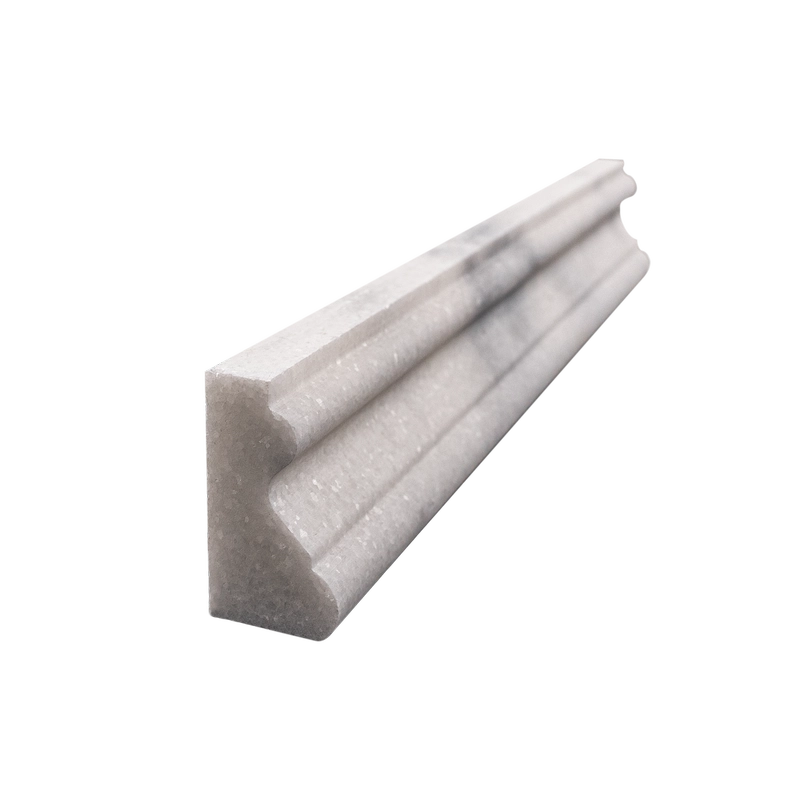
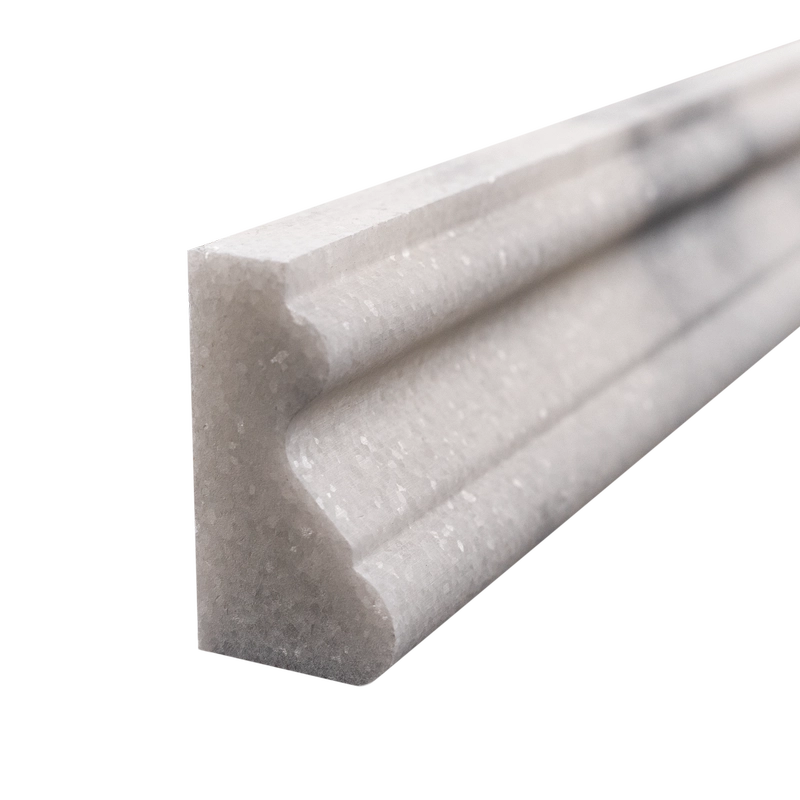
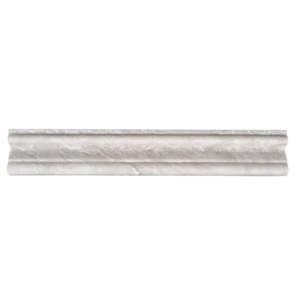
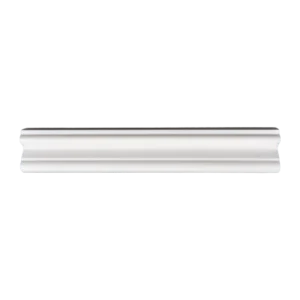
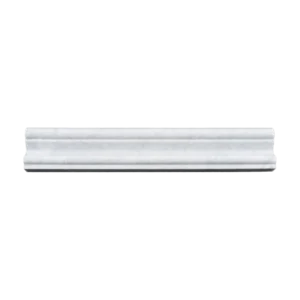
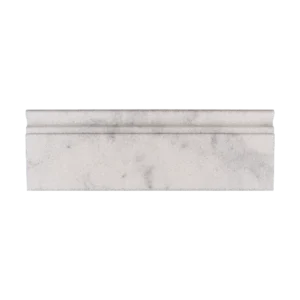
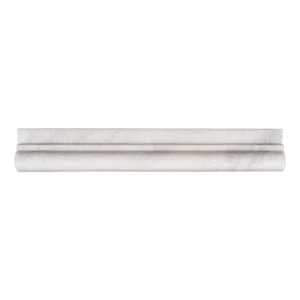
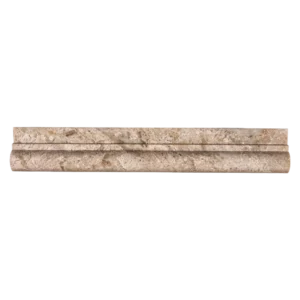
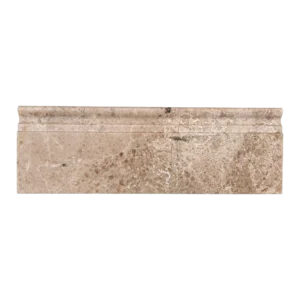
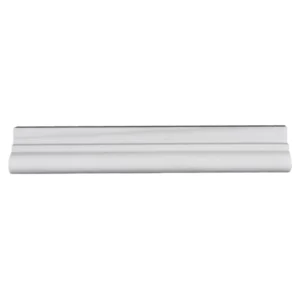
Milas White Crown Molding 2″x12″ Honed – White Marble
Complete your interior with the quiet sophistication of Milas White Crown Molding. Measuring 2″x12″, this honed marble trim features a soft matte finish and crisp architectural silhouette, perfect for framing ceilings, cabinetry, or tiled spaces. Crafted from premium Milas White marble, it offers a clean white base with subtle veining that adds refined texture without overwhelming the room.
Whether used to add elegance to a backsplash installation or create smooth ceiling transitions, this crown molding brings cohesion and depth to a variety of wall treatments. Its honed surface reduces glare and provides a natural, understated finish ideal for contemporary and transitional designs.
Key Features
- Material: Milas White Marble
- Finish: Honed – matte and soft to the touch
- Size: 2″ x 12″ (5.1 cm x 30.5 cm)
- Style: Crown molding for upper wall and ceiling transitions
- Application: Interior walls, backsplashes, ceiling detailing
Pair this Milas White marble crown molding with honed marble tiles to achieve a harmonious and timeless look throughout your project.
Installation Guide – Milas White Crown Molding (2″x12″ Honed)
Step 1: Surface Preparation – Clean and Stable Base
- Ensure the wall and ceiling surfaces are clean, dry, and free of dust or grease.
- Mark a level guideline near the ceiling where the crown molding will be installed.
- Ensure that adjacent field tile or wall finishes are completed first.
Step 2: Dry Layout – Fit and Preview
- Dry-lay crown molding pieces along the guideline to confirm veining flow and tone match.
- Use a wet saw with a fine diamond blade to make precise or mitered cuts for corners and ends.
- Test-fit each piece before applying mortar.
Step 3: Adhesive Application – Set the Molding
Recommended Mortars:
- Laticrete 254 Platinum (white)
- Mapei Ultraflex LFT or equivalent non-sag white mortar
Instructions:
- Back-butter each piece using a margin trowel for full coverage.
- Press into place along the wall-ceiling transition using your marked guideline.
- Support with painter’s tape during the initial curing period (at least 24 hours).
Step 4: Grouting – Seam Finishing
- Wait 24 hours before applying grout.
- Use unsanded grout to prevent scratching the honed marble surface.
- Fill joints, wipe off excess with a damp sponge, and buff clean after 30–45 minutes.
Step 5: Sealing – Protect the Surface
- After grout cures (72 hours), apply a penetrating sealer for honed marble.
- Reapply as needed based on exposure to humidity and usage.
Maintenance Tips
- Use only pH-neutral stone cleaners.
- Avoid acidic, abrasive, or bleach-based products.
- Dust or wipe gently with a soft cloth to maintain appearance.
Important Note
Milas White marble is a natural material and may vary in tone and veining. Always dry-lay and inspect before installation. Stonemarket USA is not liable for installation-related issues or natural stone variations.


