Sublime 2.0 Gris Rectified Natural Brick Tile 3×12
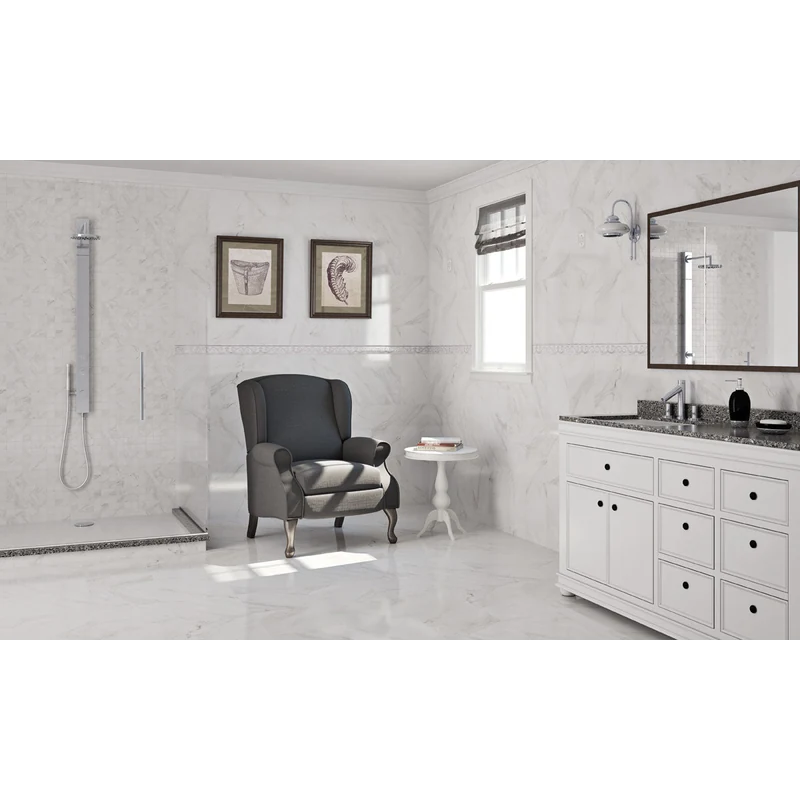
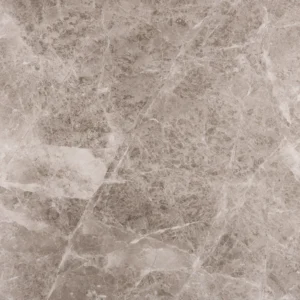
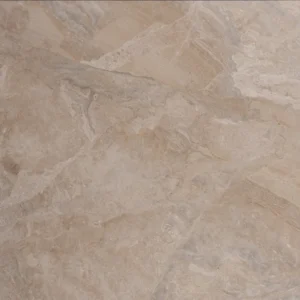
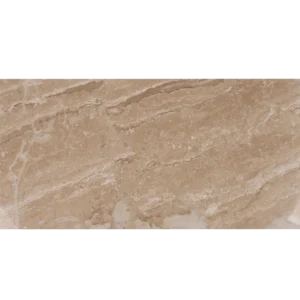
Sublime 2.0 Gris Rectified Natural Brick Tile brings a versatile gray tone and understated surface character to tile designs. Its compact 3×12 brick format supports running bond, stacked, and other carefully planned layouts.
Made from porcelain with a 5/16-inch thickness, this rectified tile offers a precise format for clean, coordinated installation lines. The Natural finish pairs easily with stone, wood-look surfaces, cabinetry, and other architectural materials.
With a PEI 4 rating, DCOF greater than 0.42, and frost-free construction, Sublime 2.0 Gris is suitable for appropriately specified interior tile projects and other applications confirmed by the project requirements and manufacturer guidance.
Features
- Porcelain tile from the Sublime 2.0 collection
- Gris gray color with a Natural finish
- Rectified edge for precise, consistent installation lines
- 3×12-inch rectangular brick format
- 5/16-inch thickness
- PEI 4 rating
- DCOF greater than 0.42
- Frost-free construction
- Sold using square-foot coverage-based purchasing
Recommended Applications
- Interior accent walls
- Residential interior walls
- Commercial interior wall features
- Kitchen backsplashes and decorative backsplash areas
- Brick-pattern accent bands and feature installations
- Appropriately specified tile applications where the Gris color and Natural finish complement the design
Installation Guide – Sublime 2.0 Gris Rectified Natural Brick Tile 3×12
Important Advisory
Review the current Happy Floors product instructions before installation. Confirm that the tile, setting materials, substrate, waterproofing or drainage provisions where applicable, and planned layout are appropriate for the specific project. Installation should comply with applicable local building codes and recognized tile-industry standards.
Step 1: Layout & Planning
- Verify the tile, color, finish, dimensions, edge type, and quantity before beginning work. Do not install material with visible defects.
- Measure the installation area and establish reference lines for a balanced layout. Dry-lay representative pieces to review the brick pattern, cuts, joint alignment, and color distribution.
- Use tiles from multiple boxes as installation progresses to promote a consistent blend of the available material.
- Plan movement accommodation, perimeter clearances, transitions, and changes of plane in accordance with project conditions, manufacturer instructions, and applicable industry guidance.
Step 2: Tile Installation
- Prepare a structurally sound, clean, dry, flat, and properly cured substrate suitable for porcelain tile installation. Remove dust, grease, loose material, and other contaminants.
- Where moisture exposure is part of the approved application, coordinate the substrate and waterproofing system according to manufacturer instructions and applicable code requirements.
- Use a suitable tile mortar recommended for porcelain tile, the substrate, and the installation environment. Apply the mortar using an appropriate method and maintain sufficient coverage without allowing it to skin over.
- Set the rectified tiles along the planned reference lines, maintaining consistent joints and checking alignment frequently. Do not rely on the tile edges alone to establish the finished layout.
- Press each tile firmly into the mortar and remove excess material from joints and exposed surfaces before it hardens. Allow the setting material to cure according to its manufacturer’s instructions before grouting.
Step 3: Cutting
- Measure and mark cuts carefully, allowing for planned joints, transitions, and perimeter clearances.
- Use a wet saw or other diamond cutting equipment appropriate for porcelain tile. Follow the equipment manufacturer’s safety instructions.
- Smooth or protect exposed cut edges as required by the design, and dry-fit cut pieces before setting them.
Step 4: Joint Filling
- Confirm that the mortar has cured and that joints are clean, dry, and free of setting material before grouting.
- Select grout compatible with porcelain tile, the joint design, and the project conditions. Follow the grout manufacturer’s instructions for mixing, application, cleaning, and curing.
- Apply grout evenly, remove excess from the tile surface, and clean residue using methods recommended for the Natural finish. Use flexible sealant at changes of plane, inside corners, movement joints, and perimeter joints where required.
- Protect the installation from traffic, moisture, and impact until the grout and setting materials have cured as directed.
Step 5: Cleaning & Maintenance
- Remove construction residue with products approved for porcelain tile and the Natural finish. Avoid abrasive tools and cleaners that could scratch or alter the surface.
- Use a pH-neutral tile cleaner for routine maintenance and wipe spills promptly.
- Inspect grout and sealant joints periodically, especially in areas exposed to moisture, and repair them when needed.
- For exterior or other demanding installations, confirm suitability and follow the applicable maintenance recommendations before installation.
Disclaimer
Installation results depend on substrate conditions, layout, setting materials, workmanship, and project environment. Stone Market USA recommends that a qualified tile professional review the installation and follow Happy Floors instructions, applicable local codes, and recognized industry standards. Confirm suitability before installation, and inspect all material before it is set.