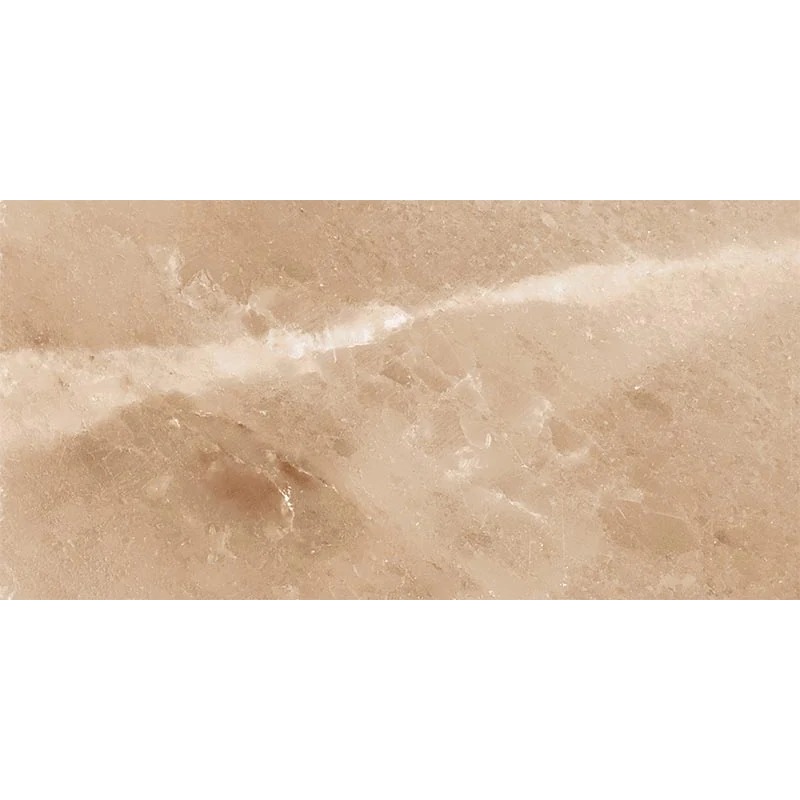
Installation Guide – Salt Stone Terra 12×24 Porcelain Tile Natural
Important Advisory
Always follow Happy Floors installation instructions, applicable local building codes, and recognized industry standards such as ANSI and TCNA guidelines. Confirm that the selected substrate, mortar, grout, waterproofing, drainage, movement accommodation, and site conditions are appropriate for the intended application.
Step 1: Layout & Planning
- Confirm that the substrate is clean, dry, structurally sound, and suitably flat for the selected tile format and installation location.
- Dry-lay or plan the layout before setting tile to establish balanced cuts and consistent alignment.
- Review tiles from available boxes before installation and organize the layout to create a cohesive appearance.
- Use spacers appropriate to the selected pattern and pressed-edge tile, and provide movement joints as required by the installation environment and recognized industry guidelines.
Step 2: Tile Installation
- Use a setting material and mortar approved for porcelain tile and suitable for the specific substrate and application.
- Apply mortar according to the mortar manufacturer’s instructions, keying it into the substrate and combing it consistently in one direction where appropriate.
- Set each tile with firm, even pressure and a slight sliding motion to establish proper contact. Lift tiles periodically to verify adequate mortar coverage for the application.
- Maintain consistent joints and remove excess mortar from the joints before it hardens.
- Allow the mortar to cure according to the setting-material manufacturer’s instructions before grouting or exposing the installation to traffic or moisture.
Step 3: Cutting
- Use a wet saw or other appropriate cutting equipment with a quality diamond blade intended for porcelain tile.
- Measure and mark cuts carefully, support the tile during cutting, and make test cuts when needed to confirm the setup.
- Smooth or protect exposed cut edges where required by the design, transition, or finishing detail.
Step 4: Joint Filling
- Select grout compatible with porcelain tile, the joint width, and the intended installation conditions.
- Mix, apply, and cure the grout according to its manufacturer’s instructions. Fully pack the joints and clean the tile surface without leaving grout residue.
- Do not grout movement joints or changes of plane. Use an appropriate sealant in these locations as required by the installation system.
- Protect the finished installation from traffic, moisture, and contamination until the grout and setting materials have cured as directed.
Step 5: Cleaning & Maintenance
- Remove installation residue using products recommended for porcelain tile and the grout system; test cleaning products in an inconspicuous area first.
- Maintain the surface with routine sweeping or dust removal and a pH-neutral cleaner suitable for porcelain tile.
- Avoid harsh abrasives, inappropriate acids, and cleaning methods that may damage the grout or surrounding materials.
- Follow the grout and installation-system manufacturer’s recommendations for ongoing care and any required sealing.
Disclaimer
Installation should be performed by qualified tile professionals. Confirm product condition, shade, sizing, and suitability for the specific site before installation. Stone Market USA is not responsible for problems caused by improper installation, handling, substrate conditions, or failure to follow manufacturer instructions.