Iceberg Marble Tile 12″x12″ Honed – White Marble with Beveled Edge
Timeless Elegance in Compact Format
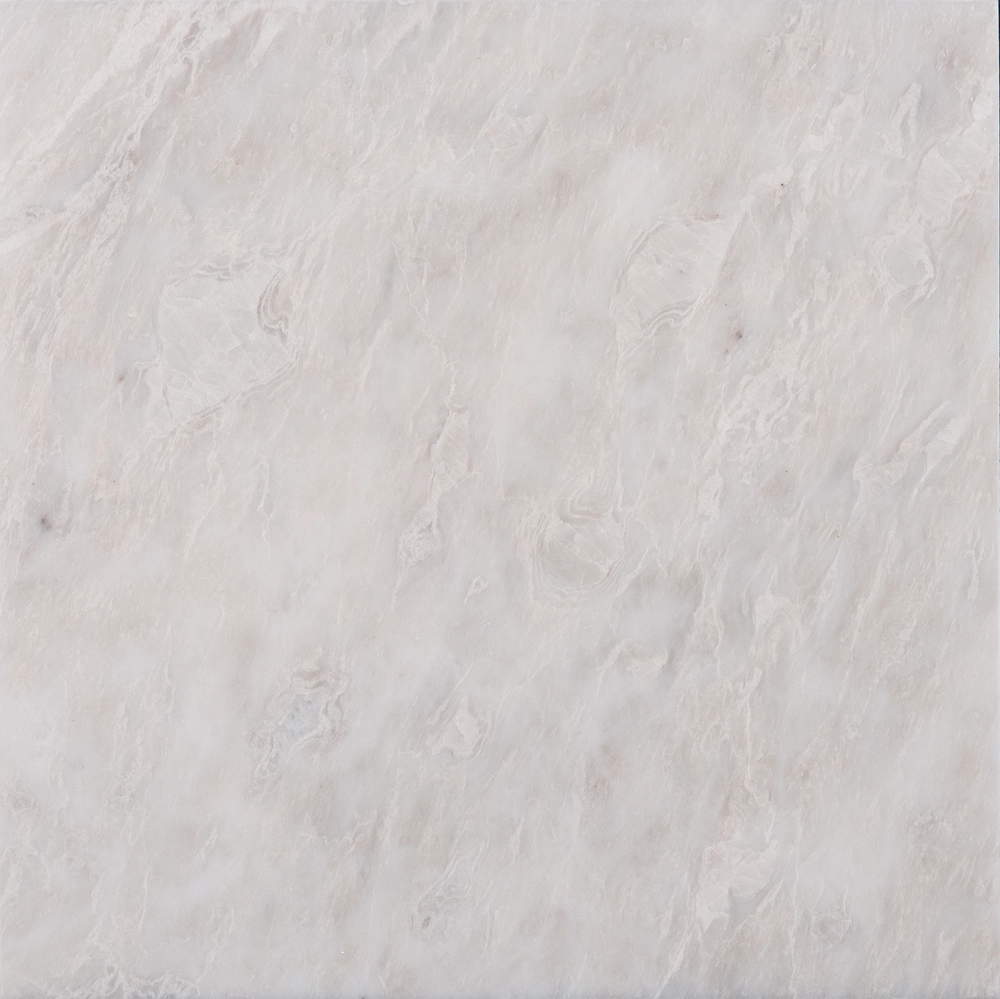
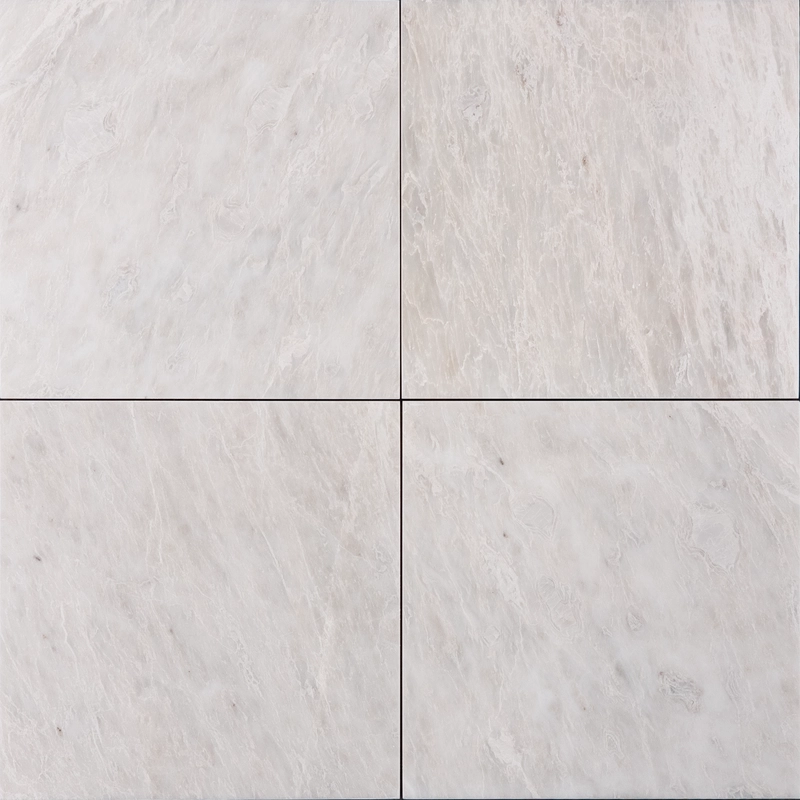
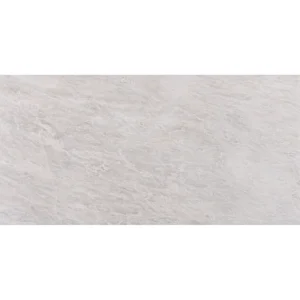
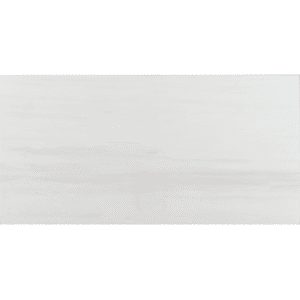
The Iceberg Marble Honed Tile Honed brings a sleek, luxurious feel to any interior with its soft white color and subtle icy veining. Cut from high-quality Iceberg marble and finished with a smooth honed surface, this tile introduces quiet sophistication to bathrooms, kitchens, and accent walls. Its beveled edges add definition without disrupting the visual flow of your design.
Thanks to its smaller 12″x12″ format, this tile offers greater flexibility for tighter spaces or detailed layouts. Whether used as a shower surround, backsplash, or feature panel, the natural texture and crisp tone enhance light and provide a refined backdrop to both traditional and modern designs.
Key Features – Iceberg Marble 12″x12″ Honed Tile
- Material: Premium Iceberg White Marble
- Finish: Honed – smooth, non-reflective surface
- Color: Bright white with icy veining
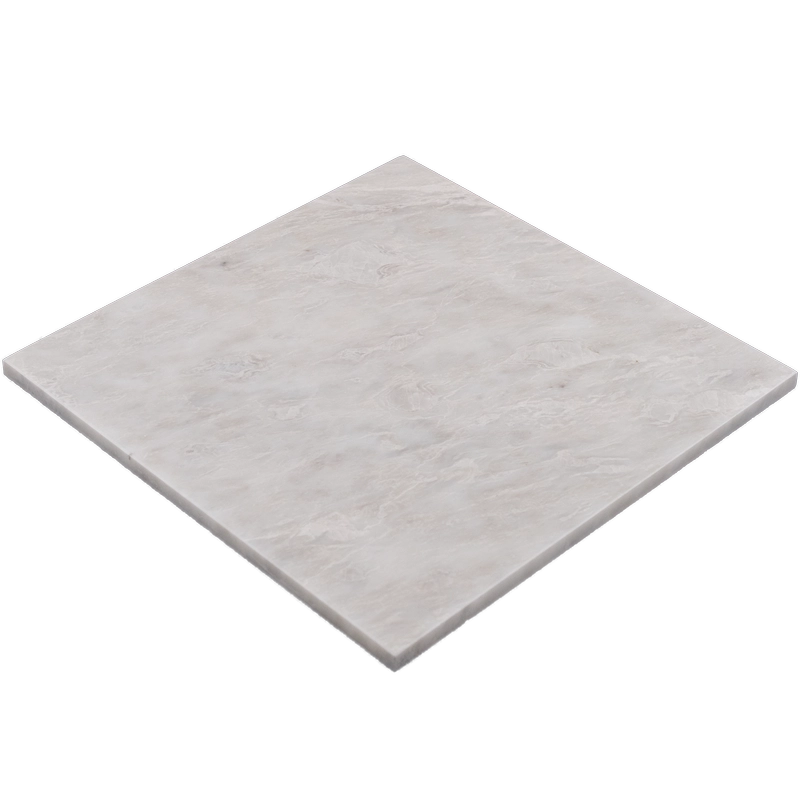
- Size: 12″x12″ (30.5×30.5 cm)
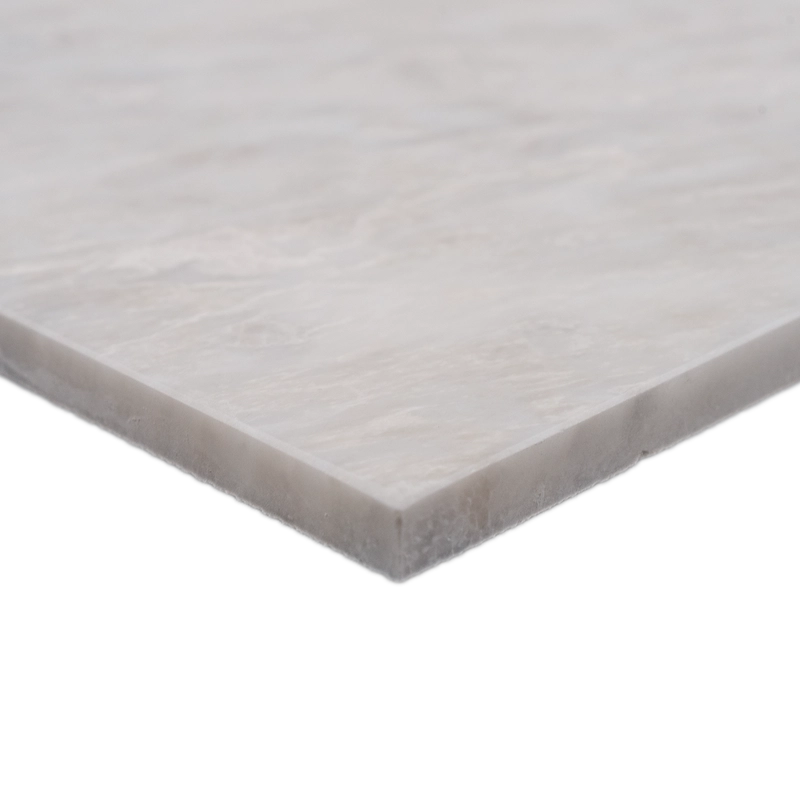
- Thickness: 0.47″ (1.2 cm)
- Edge Detail: Beveled edge for subtle depth
- Application: Indoor walls and low-traffic floors
Why Choose This Tile?
If you’re looking for a marble tile that balances elegance with practicality, the 12″x12″ honed Iceberg Marble is a smart choice. Its compact size suits detailed installations, while the honed finish offers a slip-resistant feel and understated beauty. Plus, the cool white hue works well with metallic fixtures, warm woods, or other natural stones.
Installation & Care Tips
- Use white thin-set adhesive for best visual consistency
- Apply non-sanded grout to protect the honed surface
- Seal before and after grouting to preserve natural stone quality
- Clean regularly with pH-neutral marble cleaner
Installation Guide – Step by Step
Step 1: Surface Preparation – Flat and Dry Substrate
- Clean the surface thoroughly. Remove dust, oil, or previous adhesives.
- Check the substrate for levelness with a long straight edge—correct any unevenness with a self-leveling compound.
- Apply a waterproofing membrane in wet areas such as showers or kitchens.
Step 2: Layout Planning – Visual Consistency
- Use chalk lines to create a balanced layout from the center of the space.
- Dry-lay several tiles to inspect veining and shade variation. Iceberg marble exhibits subtle icy movement that should be evenly distributed.
- Use **1/16″–1/8″ spacers**. The beveled edge design will highlight grout lines, so consistent joint spacing is essential.
Step 3: Mortar Application – White Thin-Set Only
Recommended Mortars:
- Mapei Ultraflex LFT White
- Laticrete 254 Platinum White
- Ardex X77 White
Instructions:
- Use a 1/4″ or 3/8″ square-notched trowel depending on surface flatness.
- Back-butter tiles for 100% mortar coverage and secure bonding.
- Apply mortar in small areas to avoid premature drying.
Step 4: Cutting & Fitting – Clean Edges Matter
- Use a wet saw with a diamond blade rated for marble to avoid edge chipping.
- Dry-fit cut tiles before installation, and polish cut edges with a fine file for a finished appearance.
Step 5: Tile Setting – Flat and Level
- Place tiles firmly into the mortar bed and align them carefully to maintain beveled edge consistency.
- Use a rubber mallet for gentle adjustment and a leveling system if needed for perfectly flat installation.
- Clean excess thin-set from surface and grout joints immediately—especially important on honed marble to prevent staining.
- Allow to cure at least 24 hours before grouting.
Step 6: Grouting & Sealing – Lock In the Finish
- Pre-seal tiles using a high-quality penetrating sealer to prevent grout absorption into the honed surface.
- Use non-sanded grout to avoid scratching the stone and maintain a clean joint between beveled edges.
- Apply grout diagonally with a rubber float. Wipe surface clean immediately with a damp sponge.
- After full grout curing (typically 72 hours), apply a second sealer coat to protect the surface long-term.
Maintenance Tips – Keep It Pristine
- Use only pH-neutral, stone-safe cleaners. Never apply acidic or abrasive products.
- Wipe up spills immediately—especially oils or acidic substances like lemon juice.
- Reseal every 6–12 months depending on traffic and area of use.
- Use soft pads under furniture and protective mats in high-use areas.
Shipping & Packaging
Each 12″ x 12″ Iceberg Honed Marble Tile with beveled edge is packed with foam separators and reinforced cartons. Store indoors in a clean, dry area. Inspect tiles prior to installation for consistent tone blending.
Important Note
Iceberg marble is a natural white stone with unique veining. Always plan layout in advance and blend tiles from multiple boxes. Stonemarket USA is not responsible for installation errors or variations inherent in natural stone.